DopeyBadger
Imagathoner
- Joined
- Oct 15, 2015
- Messages
- 10,376
Ms. Marvel - Fun with magnets
Previous:
-Initial Design and Working on the Bracelet
Alright, it's been too long since I updated on our progress with G's Ms. Marvel cosplay.
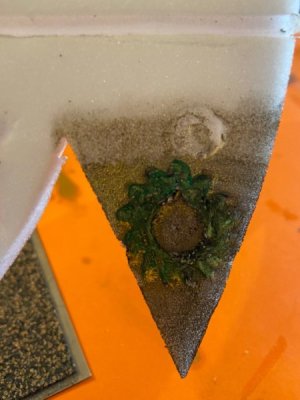
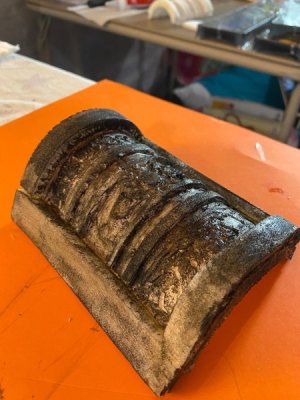
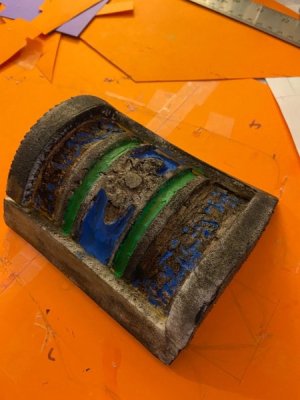
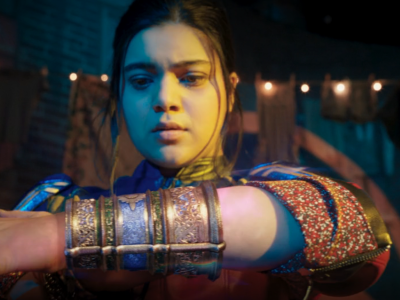
So we left off with the bracelet (bengal) having been carved into. The goal was to have it create a circle around G's wrist, and the plan was to accomplish that with magnets. A big lesson was learned when working with magnets. Patience. I drilled in four holes using the dremel into each of the edges of the bracelet. I paired up the magnets and then used Barge's All purpose cement into the holes with the magnet as well. I'm using 4mm x 2mm magnets which fit into the holes quite well, but they're tiny. So it was a struggle to get the magnets into the small hole and my fingers were covered with the glue. The glue is legit. Which means I really shouldn't be touching it with my fingers because it really causes issues. I let the glue dry (about 30-60 min) and then put the two bracelets together. To my horror, some of the magnets didn't match polarity and thus opposed each other instead of attracting. So despite my best efforts things went wrong there. So I had to dig some magnets out. Oh, did I mention that of the 8 pairs of magnets, I had the wrong polarity on SEVEN of them! UGH!!! Like, even just doing it randomly I probably would have had a better chance. I learned a couple of tricks though. Do one side of the magnet set first. Let the glue dry, and then place the second magnet on top. Draw sharpie on the side of the magnet you can see. Then when you place it in the opposite hole, you place it so you can't see the sharpie mark. I also used a nail cuticle cutter to place the magnets because it was small and magnetic. It worked well. So thankfully, we got this.
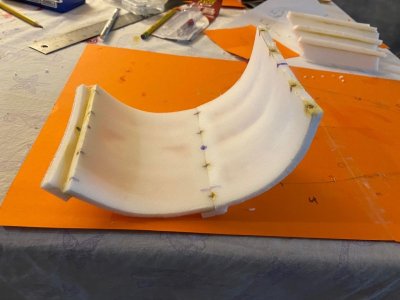
BUT, the magnets aren't strong enough to get it to hold a circle.
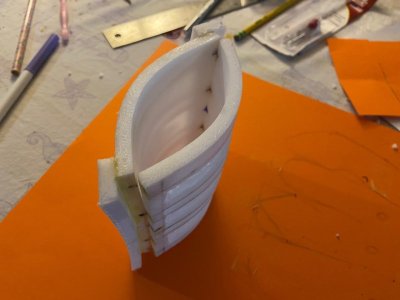
So I tried to add edges in put magnets in the other axis direction, but it's not strong enough still. So we put this on the backburner for now because this will eventually attach to the hand with magnets and maybe that'll help hold its shape. We moved to the fist/hand.
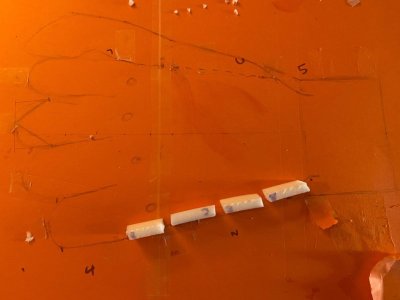
So along the outline I'm putting small blocks that were glued together.
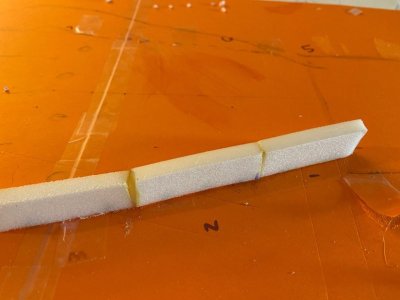
I cut every piece in duplicate so that the top of the hand and bottom of the hand match. It'll make the connection between the two cleaner. I then drilled holes into each set of blocks and put magnets in.
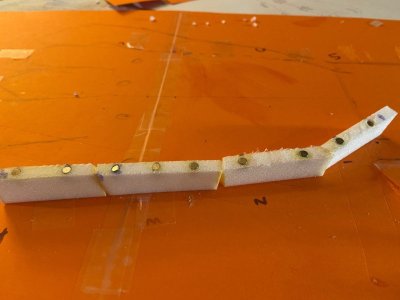
The big question is whether this is too many or too little magnets. Unlike the bracelet the magnets are working against the foam to hold a shape. But I've got a ton of magnets because we're still working under the assumption that we're going to put a light show on the inside of the fist. So that will carry weight and thus the magnets need to be able to hold the pieces together. Once I got the four pieces finished (top/bottom and left/right side), then it was time to work on the fingers.
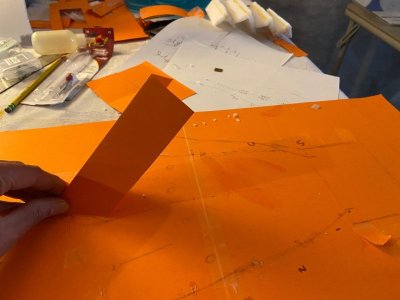
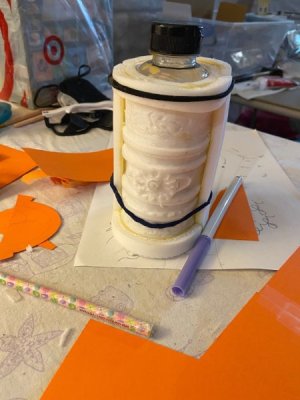
Based on the hand height, I had to do some geometry to figure out how tall, how long, and at what angle each of the fingers should be. If you look at your first you'll see that the knuckles get progressive taller and the fingers are progressively longer (until the pointer finger). So I wanted to make sure I replicated that. In the end, I went from theory, to this:
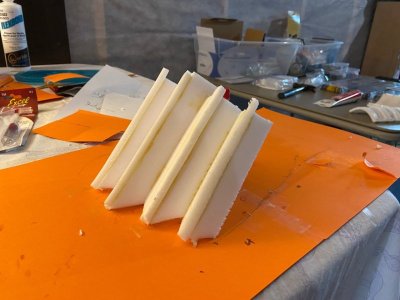
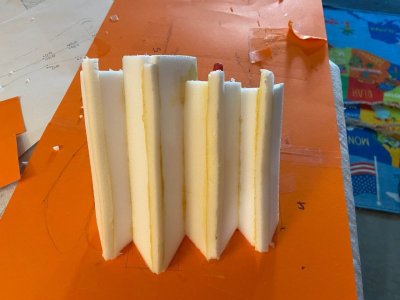
It's hard to fully capture it in the picture above, but I got the heights, angles, and lengths about where I wanted them to be. I had considered doing rounded fingers but because of the difficulty of the bracelet holding shape I decided to go with sharper angles. I then cut the piece down the middle and placed a small piece down the middle to have each adhere to.
Now that the fingers are mostly finished and the sides are coming together, I went through the process of designing the bottom half's connection with the fingers (the mid-joint of the finger).
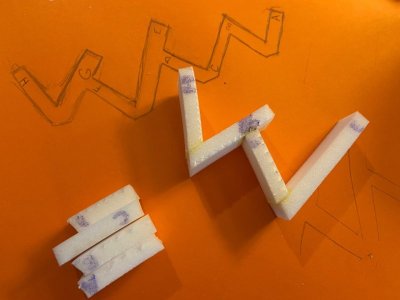
I traced the pattern on paper and then cut out each piece individually. Gluing each one at a time.
That's where we'll stop for now. So like I said, this update was fun with magnets. AND LOTS of lessons learned when it comes on how to place and match them appropriately. We're happy with how it's coming together so far. Lots still left to do.
Next: Bengal Painting
Previous:
-Initial Design and Working on the Bracelet
Alright, it's been too long since I updated on our progress with G's Ms. Marvel cosplay.
So we left off with the bracelet (bengal) having been carved into. The goal was to have it create a circle around G's wrist, and the plan was to accomplish that with magnets. A big lesson was learned when working with magnets. Patience. I drilled in four holes using the dremel into each of the edges of the bracelet. I paired up the magnets and then used Barge's All purpose cement into the holes with the magnet as well. I'm using 4mm x 2mm magnets which fit into the holes quite well, but they're tiny. So it was a struggle to get the magnets into the small hole and my fingers were covered with the glue. The glue is legit. Which means I really shouldn't be touching it with my fingers because it really causes issues. I let the glue dry (about 30-60 min) and then put the two bracelets together. To my horror, some of the magnets didn't match polarity and thus opposed each other instead of attracting. So despite my best efforts things went wrong there. So I had to dig some magnets out. Oh, did I mention that of the 8 pairs of magnets, I had the wrong polarity on SEVEN of them! UGH!!! Like, even just doing it randomly I probably would have had a better chance. I learned a couple of tricks though. Do one side of the magnet set first. Let the glue dry, and then place the second magnet on top. Draw sharpie on the side of the magnet you can see. Then when you place it in the opposite hole, you place it so you can't see the sharpie mark. I also used a nail cuticle cutter to place the magnets because it was small and magnetic. It worked well. So thankfully, we got this.

BUT, the magnets aren't strong enough to get it to hold a circle.

So I tried to add edges in put magnets in the other axis direction, but it's not strong enough still. So we put this on the backburner for now because this will eventually attach to the hand with magnets and maybe that'll help hold its shape. We moved to the fist/hand.

So along the outline I'm putting small blocks that were glued together.

I cut every piece in duplicate so that the top of the hand and bottom of the hand match. It'll make the connection between the two cleaner. I then drilled holes into each set of blocks and put magnets in.

The big question is whether this is too many or too little magnets. Unlike the bracelet the magnets are working against the foam to hold a shape. But I've got a ton of magnets because we're still working under the assumption that we're going to put a light show on the inside of the fist. So that will carry weight and thus the magnets need to be able to hold the pieces together. Once I got the four pieces finished (top/bottom and left/right side), then it was time to work on the fingers.

Based on the hand height, I had to do some geometry to figure out how tall, how long, and at what angle each of the fingers should be. If you look at your first you'll see that the knuckles get progressive taller and the fingers are progressively longer (until the pointer finger). So I wanted to make sure I replicated that. In the end, I went from theory, to this:


It's hard to fully capture it in the picture above, but I got the heights, angles, and lengths about where I wanted them to be. I had considered doing rounded fingers but because of the difficulty of the bracelet holding shape I decided to go with sharper angles. I then cut the piece down the middle and placed a small piece down the middle to have each adhere to.
Now that the fingers are mostly finished and the sides are coming together, I went through the process of designing the bottom half's connection with the fingers (the mid-joint of the finger).

I traced the pattern on paper and then cut out each piece individually. Gluing each one at a time.
That's where we'll stop for now. So like I said, this update was fun with magnets. AND LOTS of lessons learned when it comes on how to place and match them appropriately. We're happy with how it's coming together so far. Lots still left to do.
Next: Bengal Painting
Last edited:

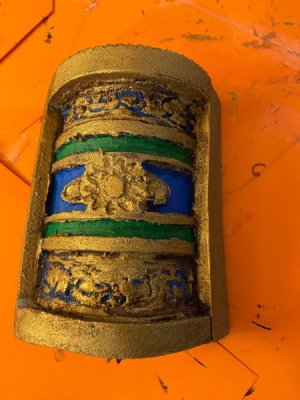
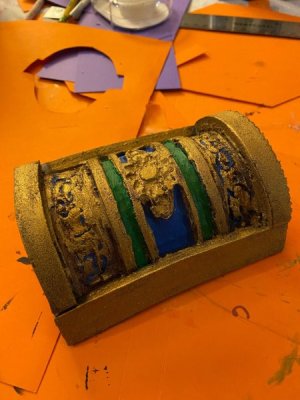
 That would also be another inception level cosplay.