Moana Jr Costumes - Pua
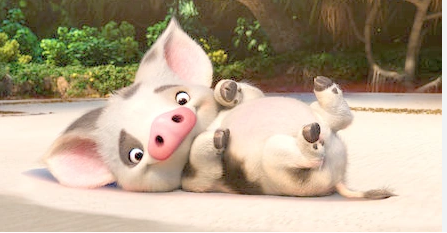
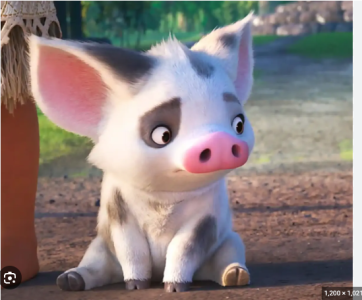
As previously mentioned, G has been cast in the theater stage performance of Moana Jr this summer. The play is in August, and practice starts in a few weeks. She's going to be playing Pua the pig companion of Moana.
View attachment 873872
View attachment 873873
In the Moana movie, Pua plays a relatively minor role. He is Moana's initial animal companion, goes on a small journey to overcome the island's barrier reef, and then becomes afraid of the water after him and Moana get capsized. Pua doesn't join Moana for the bulk of her journey to find Maui and return the heart.
In the stage play, Pua is a moderate role. He has a few singing roles in duets or trios with Moana/Hei Hei or villagers. But also still doesn't go on the journey with Moana. Interestingly, neither does Her Hei in the stage play, unlike the movie.
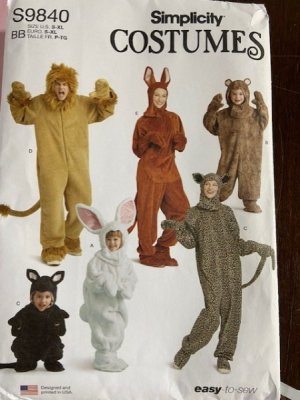
Once G was cast as Pua, I volunteered to make the costume for the stage performance. I initially started with trying to find a suitable sewing pattern. Thankfully in 2023 Simplicity released pattern S9840 which had several different animal costumes (lion, bear, cat, bunny, and kangaroo) in adult and children sizes.
View attachment 873883
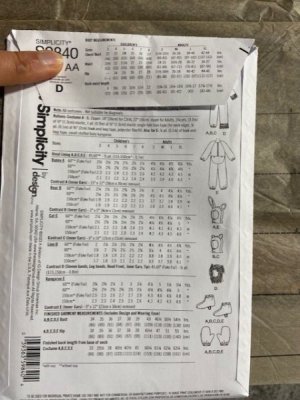
When we initially ordered the pattern off of Simplicity's website, we got the above pattern. I used it to find all of the necessary fabric sizes when we went to Jo-Ann's based on the back of the envelope.
View attachment 873888
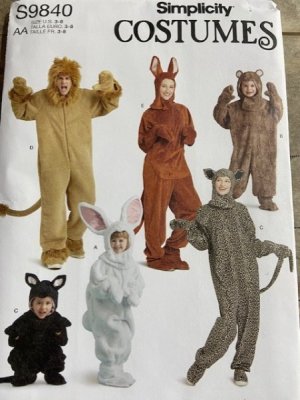
Based on G's measurements, I planned to make a Child's Size 7. So when I had all of my supplies and was ready to get started making the costume, it came as a surprise when I undid the contents and only found adult sizing patterns. Re-looked at the front, and it very clearly said S-XL, but made no mention of children's sizes. So Steph quick ordered from
Amazon a children's pattern, and it arrived a few days later. Only for it to be an adult's size again. Contacted Amazon, got a refund, and had a new one sent out to us. Only for this second from Amazon, and third overall, to be ANOTHER adult size package. Got refunded and just went to my local JoAnn's instead. Thankfully the pattern had just come out in 2023, so it wasn't hard to find in their stock.
View attachment 873889
I was pleasantly surprised when the retail price was $22 (had been paying 14-16 on Amazon), and it was discounted for only $2 at Jo-Ann's. So that felt like a major win after several days of delays and frustration.
Once we had everything, we decided to set some goals for the project:
1) To make it as movie accurate as we could.
2) To make it fluffy.
3) To get the headpiece to tuck into the costume instead of being on the outside.
4) To rework the hands and feet from the original pattern into something more movie accurate.
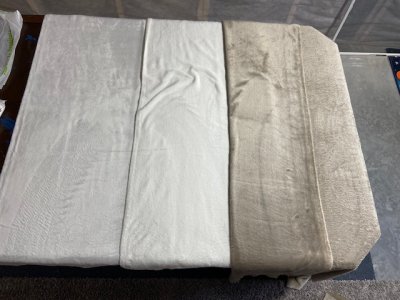
I don't have it written down, but I believe we purchased a lush fleece fabric for the majority of the costume.
View attachment 873887
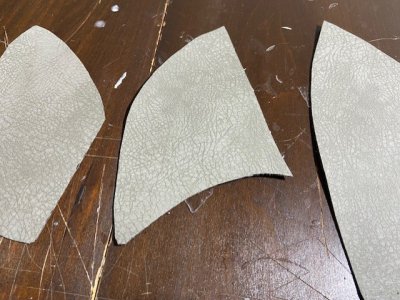
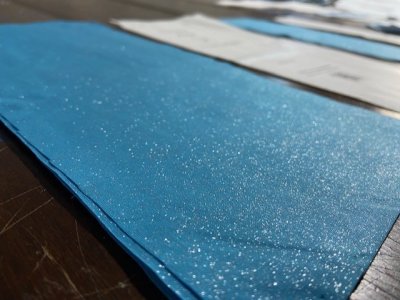
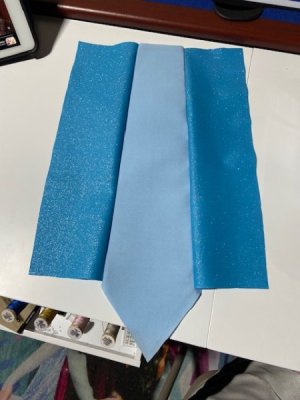
It was two sided with a slightly longer side and a shiny side. We opted for the slightly longer side as we felt Pua shouldn't be shiny. In addition, we purchased thread, single sided bias tape, and a zipper all in the same cream color. Pua's patches were harder to match. There was straight grey, and something with a little grayish with brown tones. So we went with the brown tone fabric, but once we got it home it was a tad browner and less grey than planned. But we stuck with it. The inner ear was made with a pink scuba diving fabric as it was the only thing close in desired color. We also found some upholstery fabric to make the mittens and shoes out of that looks like grey scaled hooves. At different points in the process we had to go back to JoAnn for the "mohawk" fabric (which was a white Husky faux fur fabric) and the tail tip (which was grey Husky faux fur fabric). I also needed to use some batting/stuffing for the tail which I already owned.
Once we had the materials, then it was time to map everything out to try and best nail the movie accurate look. After reviewing several other theater costumes, I felt like Pua's spots were the place that most people went off script. So I created a look book for Pua and took screenshots of every angle I could find of him. This gave me the opportunity to map out roughly where Pua did and didn't have spots. Pua also has a straight tail. Which saddened the theater director because she was really looking forward to a curly tailed G up there on stage. But after reviewing some literature Kune Kune pigs can have straight or curly, and Pua just happens to have curly. Lastly, Pua has a small mohawk shape to his head. So I wanted to try and capture that look as well, and the base fabric just likely wasn't going to nail that look exactly.
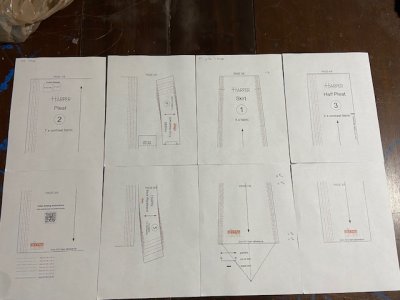
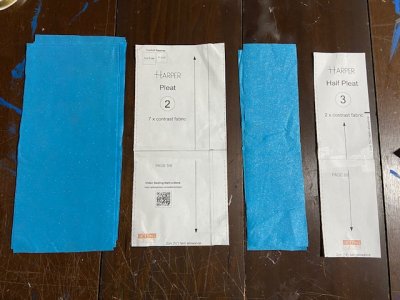
The pattern itself was very easy and straightforward. There is one front panel (and reverse it), one back panel (and reverse it), one front arm panel (and reverse it), and one back arm panel (and reverse it). That makes up the majority of the base of the costume.
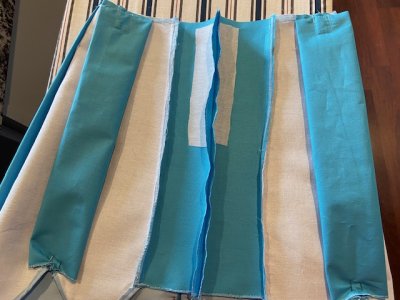
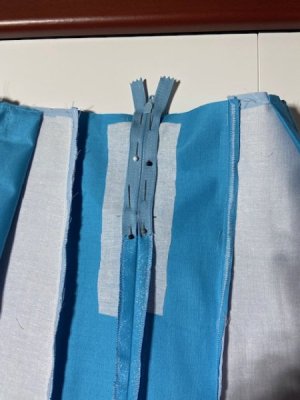
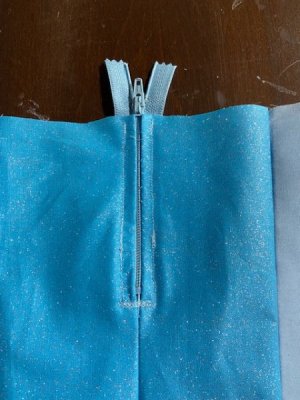
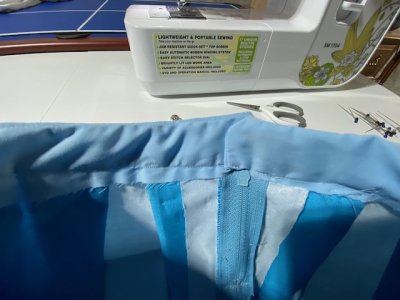
So I started with the front of the costume, because I had been warned that a zipper can be tricky. At first I found it odd that the zipper was going to be on the front of the costume and not the back. But then it allows G to put the costume on without assistance, so I could see the benefit. I traced and cut out each of the front panels by pinning the pattern to the cream fabric. Always making sure I was working on the "right" side of the fabric. The zipper instructions weren't completely clear, but the Simplicity pattern included a QR code to additional learning modules, one of which covered invisible zippers. Personally, I figured attaching the zipper to one front panel, while aiming to get the closure as close to the fabric as possible, and then sewing on the second side was the easiest method. I can't remember at this point, but I also think I sewed the non-zipper seam up the front together before the zipper to get it in the right place. This is where it would have been nice to take more pictures during the making of this costume, but I didn't. Regardless, I didn't find the zipper too overly difficult, and felt like everything ended up in a good place. The hardest part was knowing where to the put the top of the zipper (which I ended up misplacing by just a touch. I then sewed each of the front arms to the front body panels, and had a one half costume.
The back of the costume was much the same, except no zipper, and there was a tail. The pattern had a kangaroo, bear, bunny, cat, and lion tail. But nothing was quite like the Pua pig tail. I figure my best bet was the lion tail but about half the desired length. So I cut the pattern out as is, and then truncated it in half by just copying the overall design of it. The tail design comes in two parts. The main part of the tail, and then a contrasting fabric for the tail tip. I used the Pua spot grey/brown for the contrast. The tip is sewn onto the tail piece. The combo is folded inside out and sew up the side, but the final edge is left open. It's turned inside out and then stuffed with batting/fluff. I went with a medium grade batting that had some rigidity, but not a ton. Then I sewed off the opening to have a completed tail. The instructions were a bit confusing on attaching the tail to the back of the costume, but it ended up being that you'd sew the tail to one half of the back panel, and then sew the other back panel such that the seam of the tail opening was pulled into the seam of the two back panels coming together. It took a few passes with the sewing machine, but eventually I got it to work. Then I sewed on the two back arm panels. Now I had the front half and back half complete.
Well, so I thought at least. Because once I took a good hard look at the tail I had created, it just wasn't going to work. Let's just say it resembled some anatomy WAY too closely. And in a stage performance with a bunch of elementary and middle school aged kids, I was getting flashes of extreme embarrassment. So that had to be fixed. Problem was, the tail was sewn over multiple times and wasn't coming out. Additionally, I couldn't just cut it away so easily, because of how it was pulled into the seam of the back panels. Plus, I needed to devise a method for making it less suggestive. That's when G and I went back to JoAnns and got the Husky fur in grey. Similar, but not the same color, but at least it would look more like Pua's tail, and far less suggestive.
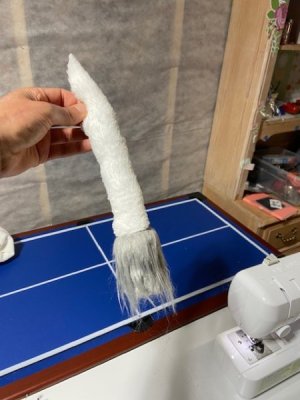
So I lost a lot of material (which I would later cannibalize for other parts of the costume), and about 4-6 hrs of progress in remaking the back panels. But it had to be done. This was the second iteration of the tail.
View attachment 873886
Next, there were patches along the costume. So like I said, I mapped out where the brown/grey patches were, and then did my best to replicate that on the costume. Some covered seams which meant I could only do them once two pieces were sewn together. So I had to be strategic about when to sew pieces together, and when to sew the patches on.
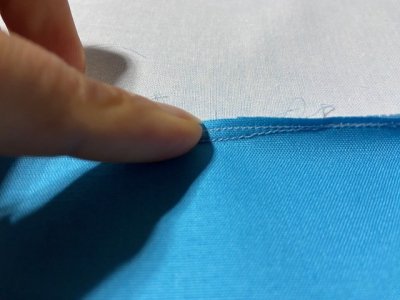
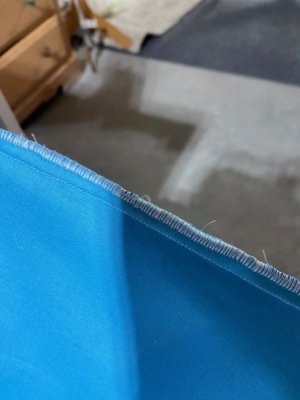
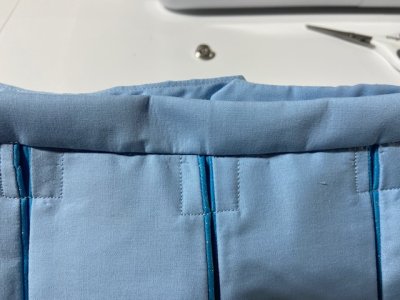
The neck hole was sealed up with single sided bias tape. Again, the instructions weren't crystal clear to me, but the QR code provided a video lesson that was more informative. So I followed that. Ultimately, I was just off by a little on the right side of the collar, and so I had to fold it down a second time to make the two sides even. You can see some extra stitching along the collar if you're looking for it, but otherwise, you'll probably never notice.
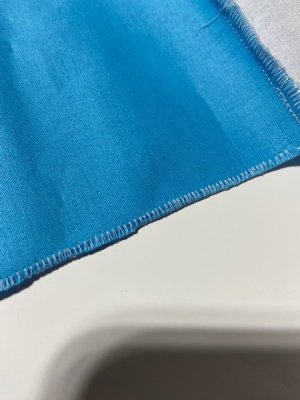
The arms and leg holes were closed with elastic. The pattern recommends measuring the wrist and ankle lengths, and then adding 0.5 inches to the elastic measurement. Cut that and then string it through a sewn folded over tip. I felt like it was really hard to get the elastic through there, so on a second attempt I just marked the correct length of the elastic, but left the entire strip in tact. This gave me lots to work with, and I felt like it was easier to maneuver it through the folds. When I finished with the first arm hole, I wasn't completely convinced. There's a lot of bunching, but the whole just felt really small. When I had G try on the costume, she felt like it was too tight. And I agreed with her when I attempted to stick my arm through one of the foot holes at roughly the same circumference as her ankle. So I ended up redoing the elastics to be 1.5 inches longer than measured, instead of 0.5 inches longer and this felt more comfortable to both of us. I'm not 100% convinced though that I liked the look of the elastic ends, but that's something to change later down the line once the whole costume comes together. This essentially wrapped up the entire base of the costume. So next up was the head piece.
So Pua has a distinct "mohawk" or extra tuff of fur that goes down the center line of his head, and I wanted to try and recreate this. Which meant I needed to edit the pattern piece to fix this. The pattern headpiece is in three parts. The center front which is one piece that covers from neck, to head tip, to neck. And then two back panel pieces that are mirrored. So I took a couple pieces of scrap fabric and made a few different designs in the fabric sewing, and then tried to stuff in some of that Husky grey fur, and ultimately came up with an edit for the costume pattern. I needed to cut the center front piece in half (it was mirrored already see each 1/2 of it was exactly the same in the first place). Then when I laid out the pattern I would fold over the fabric to make it double sided. I placed the pattern on the folded edge so that it would remain attached. Then I slightly angled what was a mirror on the flat side of the center line into a triangle. So this would give me about 1-1.5 inches of extra fabric to work with on the top of headpiece. I also added the same amount to each of the back panel mirrored pieces. This way it would gradually get bigger as you moved from her eyes to the center of her head, and then get smaller as you worked your way backwards towards the back of her head. Additionally, since this head piece was suppose to be on the outside of the costume, it had a certain length to it. I couldn't be certain, but the neck hold seemed enormous to me, and unusually large. But since we wanted to tuck the headpiece into the base costume, I added an additional 3.5 inches on to the base of the headpiece to make it longer.
Once I had the headpiece and two back headpiece cut out, then it cut right down the center of the front head piece. This gave me a place to sew the mohawk fur into once I tucked the seam in. It worked reasonably well, but G's head is a tad lumpy. We'll fix that by putting her long hair in some Rey buns that'll hold up the costume a bit on the inside.
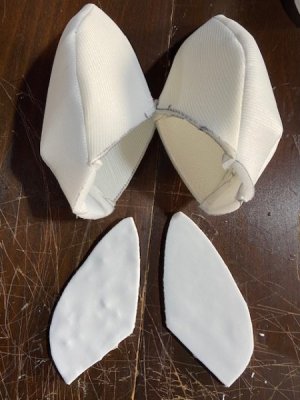
The next part was the ears. According to the instructions we should assemble each of the ears, then attach to the center front headpiece, and then sew on the back panels. But I wasn't convinced since I had altered the front headpiece, and because Pua's ears aren't quite like any of the ears in the costume patterns. So we made the cat ears, but then I didn't fold, pin them in on themselves. I also pinned the entire headpiece together, and then had G wear the pinned headpiece so that I could try and position the ears as desired. This is where I had a listen to dad speech with G. At this point I had spent probably 20-30 hrs making the costume. So when I asked her for 5 minutes of her time to try it on so that I could get the ear placement right, and she gave me lip service, I wasn't having it. I explained to her that I get that her friends want to play with her right now, but I'm spending tons of my free time making this costume for her. I could as easily be playing video games, watching tv/movies, or doing something else. She snapped back that no one was forcing me to make this costume at break neck speed and I could take a break until she was more available. To which I replied that I'm not only working on Pua, but Anne armor, Anne skirt, Anne tennis racket, Darcy dagger, and any other Moana Jr costumes stuff they request. So yes, Pua doesn't
have to be done in a short period of time, but if I don't continue at the pace I'm working at, I fear I might have to sacrifice some other portions of our desired projects. I think it's at this point she understood me. She calmed down, and settled into helping me with trying on the costume.
Ultimately, we got the ear placement that we all liked, and then I took it to sew it. But I'd be lying if I said this was easy. Because there really wasn't any part of the pinned on costume that I could easily disassemble and then sew. So the whole thing was tough. And at some point the first ear shifted position and I was off by about 1 inch in two different directions (a tad too forward, and a tad too low). I quickly took it to Steph to see if we could fix it, because she had mentioned how easy it should have been to remove the tail from a few days ago, and then when she looked she agreed it wasn't an easy fix. So I just decided to roll with it and match the second ear to this new positioning. It's not quite where I wanted them, but it's not the end of the world either.
Once I got the ears sewn on, then I finished all of the other seams on the headpiece. I also sewed on a patch near the mohawk. This was a bit tricky because I had forgotten about this patch. So the whole headpiece was finished, and it didn't want to play well. I also happened to sew a pin into the costume at this point and had to cut it out. The pattern wants you to sew in a liner, but I left that off, and instead I just rolled over the edges along the headpiece and sewed it on itself to give it a finished look.
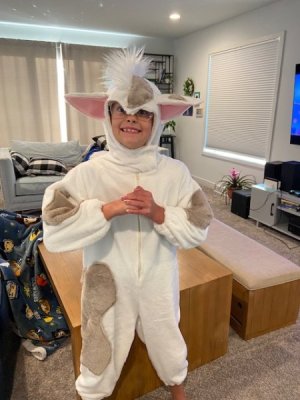
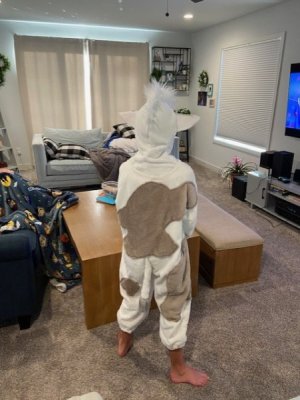
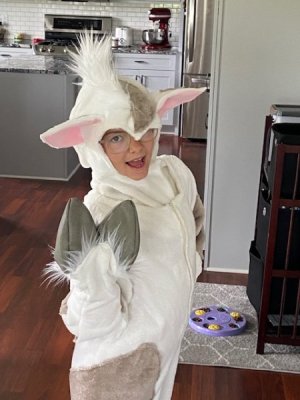
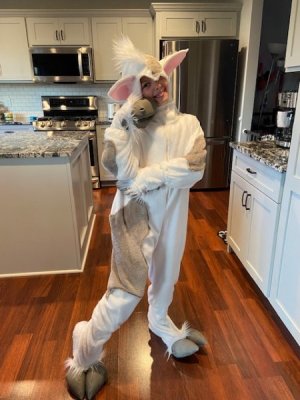
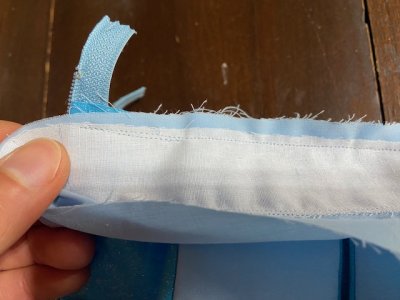
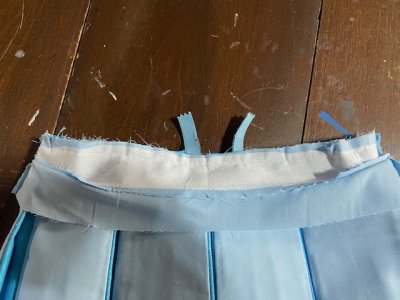
Lastly, since we were tucking it in, I wanted to place velcro on the headpiece and the base costume at the shoulders so it would stay put better. So we marked those spots while G was wearing it. I also marked spots for velcro on the front hood of the headpiece as it wrapped around G's neck so that I could velcro that closed as well (that's part of the pattern, but not quite as tight as desired). So to that point, I finally took a picture of the costume, and we had this look.
View attachment 873885
View attachment 873884
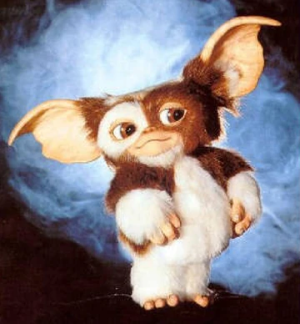
The mohawk is a little long, but I want a hairstylist to actually cut that, because I'll cut it too flat, and we only get one shot at it. Her arms and legs are longer than a Child's size 7 apparently, so I'll need to take that into consideration when making the hands and feet of the costume. And the ears are a little low. She's giving me Gizmo from Gremlins vibes.
View attachment 873969
But all in all, it looks pretty good.
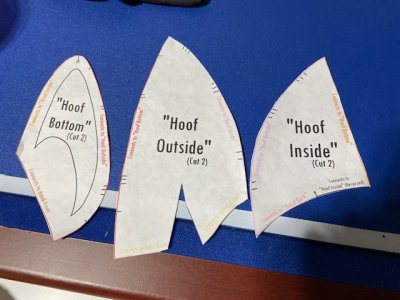
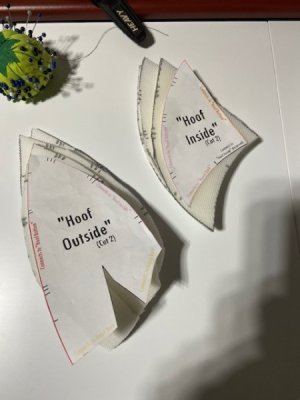
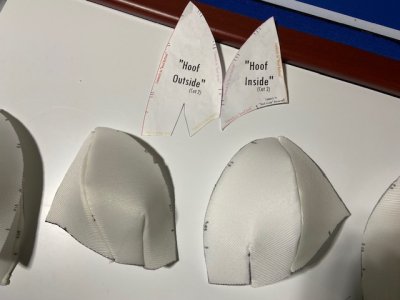
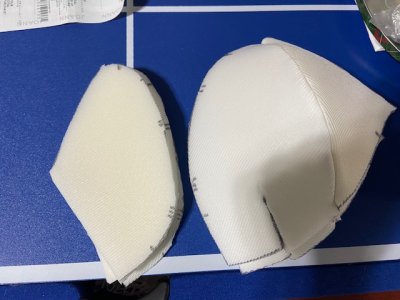
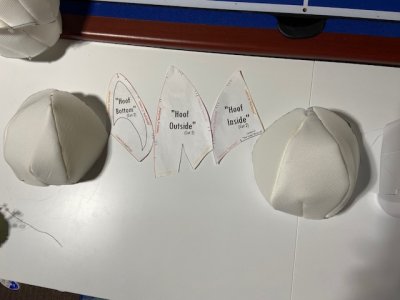
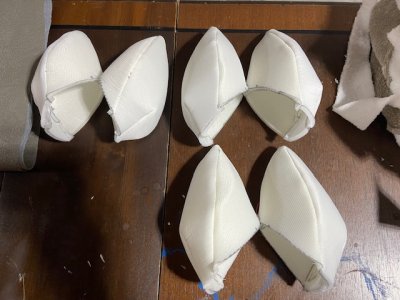
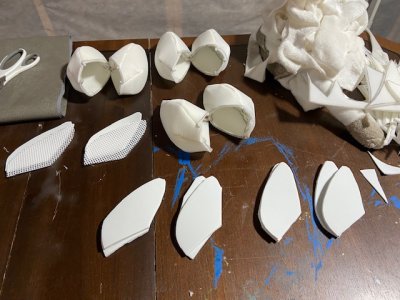
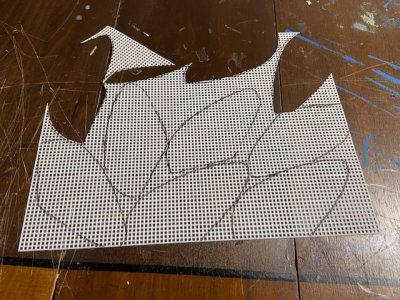
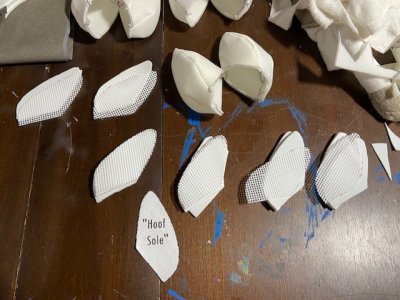
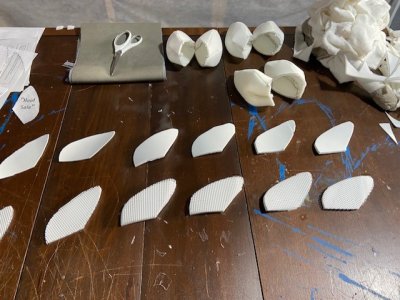
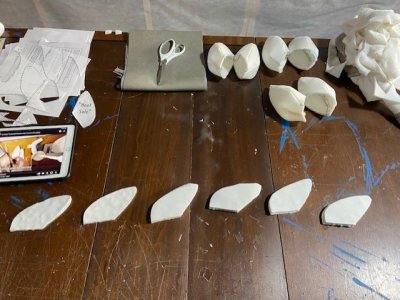
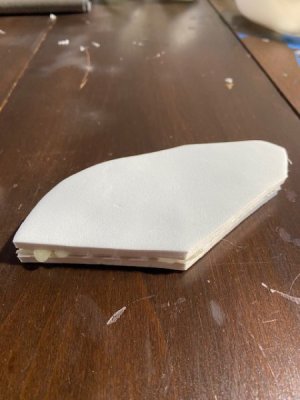
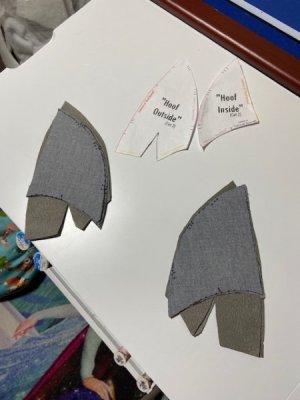
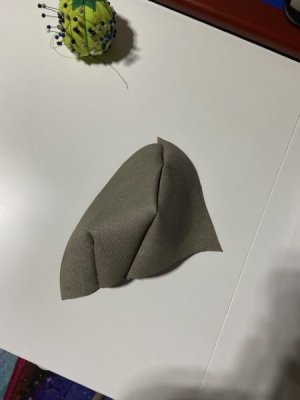
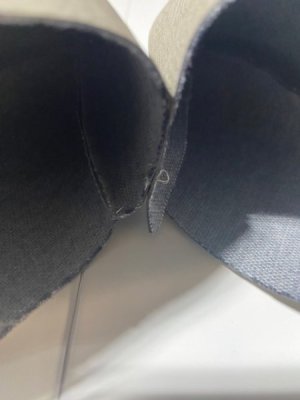
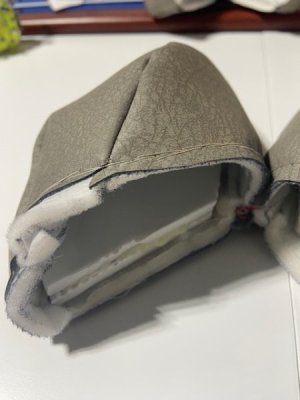
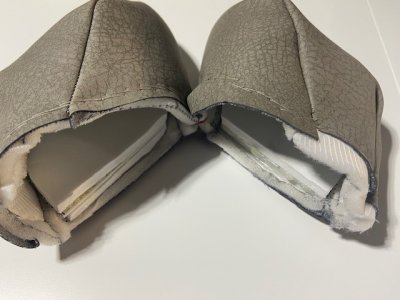
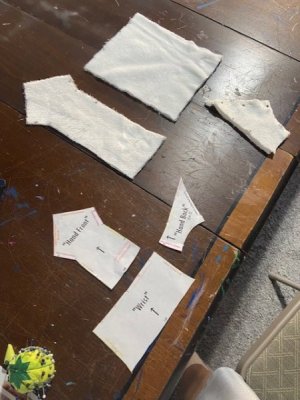
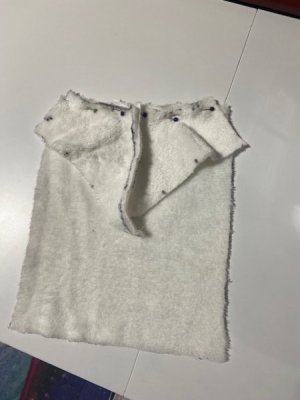
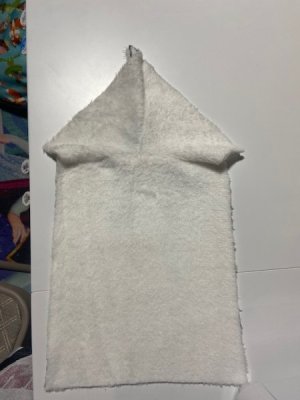
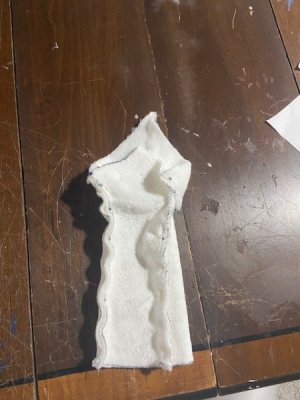
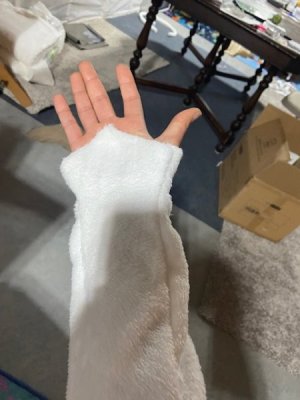
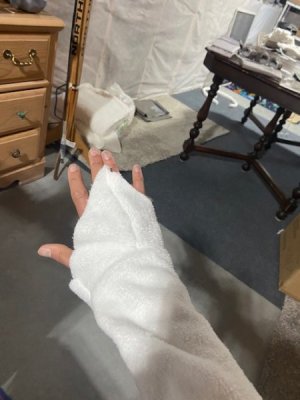
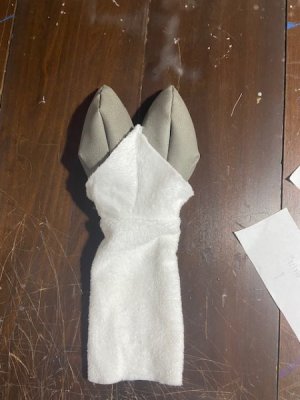
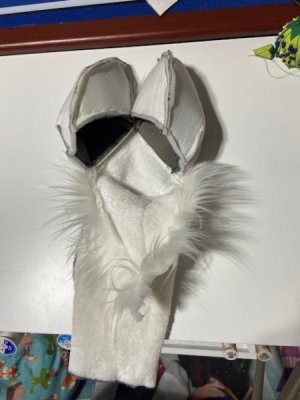
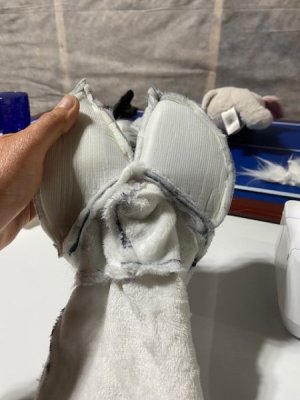
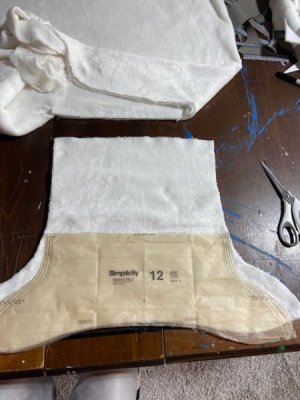
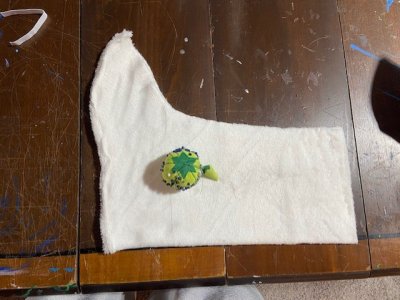
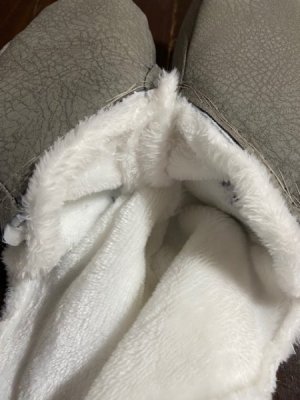
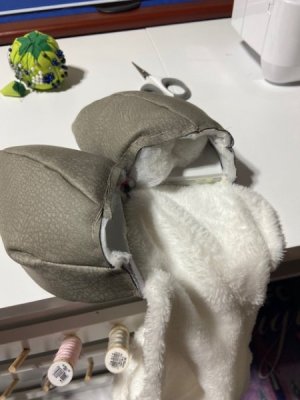
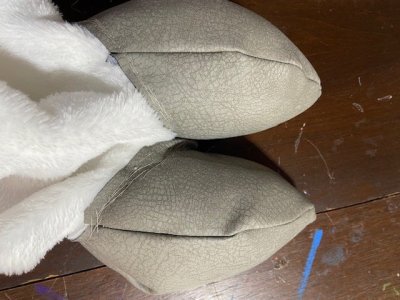
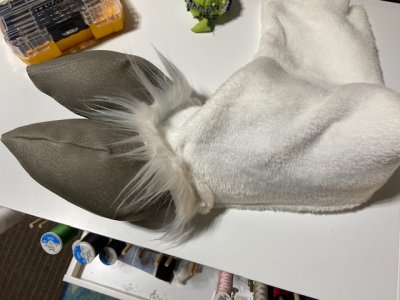
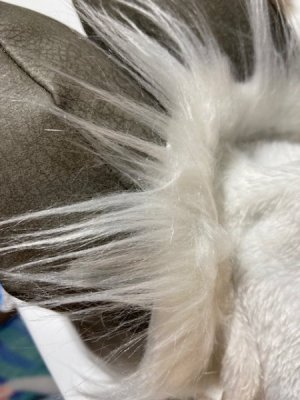
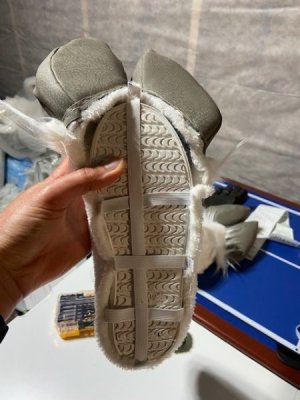
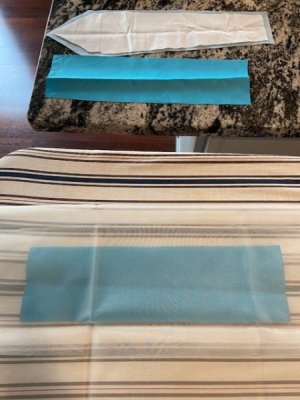
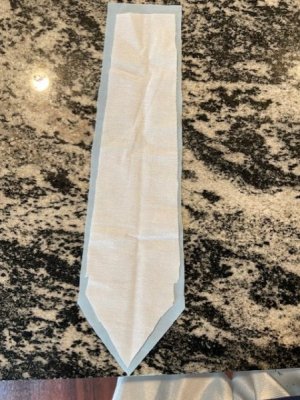
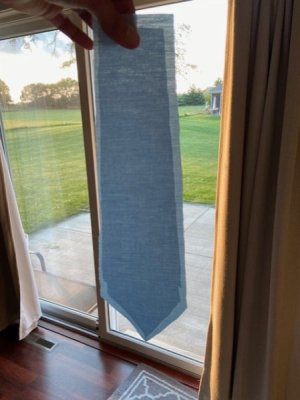
The next step was the hands and feet. I wasn't a big fan of the looks of what the pattern had set out for me. A simple mitten for the hand, and a shoe that was all suppose to be the contrasting fabric. So I did some searching, and found something that I think is much better. But I'll cover that in a later update since that's still a work in progress.
Next Pua update -
