Moana Jr Costumes - Maui Hook Prop
So the theater asked me to make the Maui Hook prop. I've made Maui's hook once before about a year ago (
link). That particular hook had a fatal flaw in that it was too flimsy. So it wasn't possible to hold the hook at the handle and not have it slunk over. But you could hold it in the middle and it would stay structurally sound. So I wasn't heartbroken about getting a second chance at this one as I had a few ideas on how to fix it. The original had a bendable wire core, and instead I would go for bamboo or PVC for something that was even more rigid. The question to the theater was whether they wanted it to light up like my first attempt, or if they wanted just normally. I told them I could probably do the non-lighted one for $25-35 and the lighted one for $80. The difference in cost of materials mainly comes from the foam itself. The Plastazote LD45 translucent foam is nearly 2.5x the cost as the nice high density foam. They chose the non-lighted version.
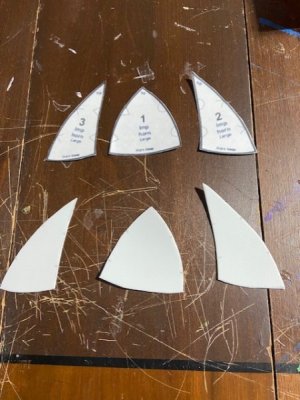
I already had the pattern made from the first attempt, but I essentially just blew up an image from the movie itself to make the hook roughly 3 feet long. Then I traced the pattern on 8mm high density foam (
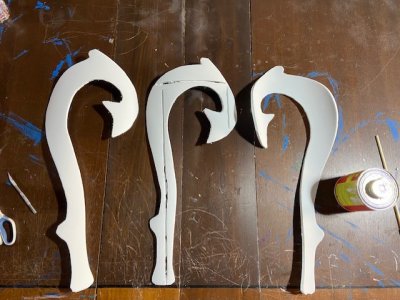
link) three times. This would give me a final thickness of 24mm or just about an inch. I cut out the pieces. For the middle piece, I used my Dremel 4000 with shaft attachment and carved out a path for some 1/4 inch bamboo sticks. I had considered PVC as well, but I couldn't find anything that was 8mm or less in outside diameter that was fairly rigid. We had the bamboo sticks on hand because Steph and the costume team are making fans for the water characters.
View attachment 880108
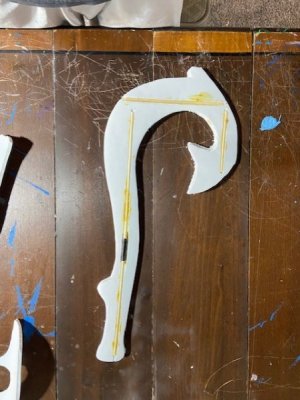
Once the bamboo stick holes were carved out, then I used Barge cement glue to affix the first and middle pieces together. Once they were attached, I added the bamboo sticks in, and then glued those down as well.
View attachment 880107
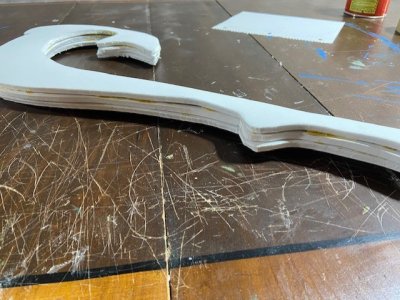
Lastly, I added the third piece on top, and glued it down as well.
View attachment 880106
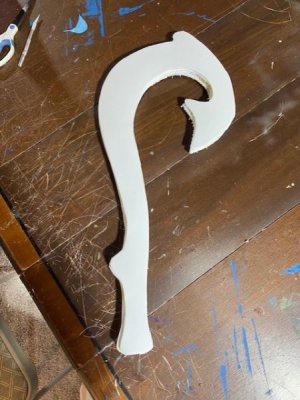
The edges weren't perfect, and they weren't intended to be.
View attachment 880105
I used the Dremel 4000 to smooth out the edges, and also give it a tapered appearance. Then I filled the cracks with DAP Kwik Seal (
link). After letting the caulk dry overnight, I hand sanded the edges going from 180 grit to 220 grit to 400 grit. So it gave me a nice smooth to the touch finish, and had no noticeable defects.
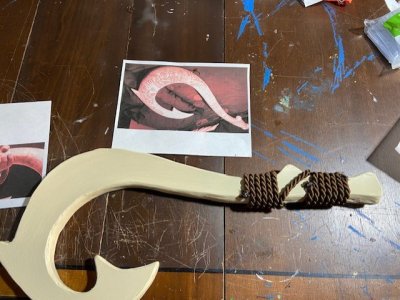
Once the base of the hook was finished, and in satisfactory condition, I added one layer of Flexbond primer. The hook isn't overly flexible, but on the off chance it could show cracks in the acrylic paint, I just decided to do the primer. After the primer dried overnight, I put on a single layer of unbleached titanium acrylic paint.
View attachment 880104
This gave it a nice bone color appearance.
I purchased two yards of wound brown rope from JoAnn's (
link). I decided to go with something that had a soft finish that would feel nice on the handle instead of something that was more authentic and scratchy. So it has the right appearance, but won't bother Maui on stage. I cut the rope into 1 yard pieces, and then hot glued it to the hook. Since I didn't need to be able to access the inside of the hook ever, then I could permanently seal it up. This is unlike the illuminated hook which was held together with magnets, and then the leather around the handle was affixed using velcro. For this hook, as I went around each rotation I added a dot of hot glue to hopefully make the overall bond strong and able to withstand a child's wildness.
View attachment 880103
In retrospect, it probably would have been nice to have 3 yards instead of 2, but I think it still works. It took me a while to figure out how to wrap it and have the piece cross over the notch on both sides. That's when I realized to cut it in half and do the top half of the handle, and then the bottom half of the handle separately. This enabled me to be able to cross the notch on both sides, without having to double over any area of the handle. So final thickness was around 2 inches given the 1 inch foam, and two rotations of the 3/8inch rope.
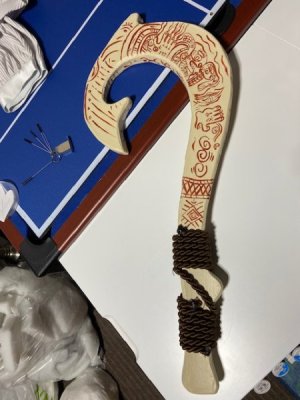
The last step was painting on the images. I used the smallest paint brush I had, and red oxide colored acrylic paint. I tried to secure images from the movie itself of the hook, but wasn't able to find any good clear images. But I did find a youtube video of someone else making Maui's hook, and was able to grab some images that looked correct from theirs. I penciled on the image first, and then traced over it with the paint brush. It was tough to make the lines so small, but it all worked out.
View attachment 880101
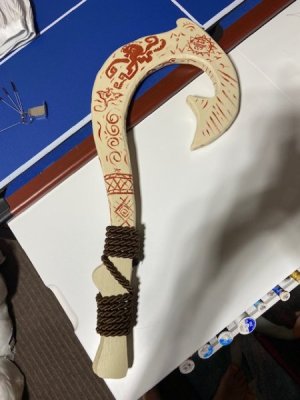
I wasn't able to find any images of the other side of the hook. So I couldn't be sure whether it just repeated on both sides, or was uniquely designed on each. I ended up pulling out the Maui tank I made, and used some of the images from that. Those images were things that appeared in the movie, but not necessarily were found on the hook. But I think it fits the spirit of what's going on.
View attachment 880102
So overall, I'm pleased with the second attempt at the Maui hook. The hook is very rigid compared to the first version. The handle will also be nice for a child to hold with the soft rope. It was a fairly quick project. I would say actual work time was under 3 hours, but it did take several days because I had to wait to allow it to dry for the glue, flex bond, caulk, and paint. Total cost wise it ended up being around $35 or so for the materials (foam and rope) as I had most of the other items on hand (paint, glue, small amount of flexbond, dremel, etc.). So another reproducible project for others with a minimal time commitment and minimal cost compared to other projects I've done/am doing. Excited to see it up on stage.
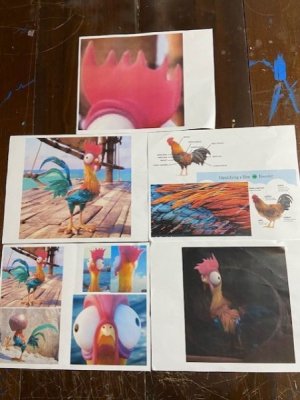
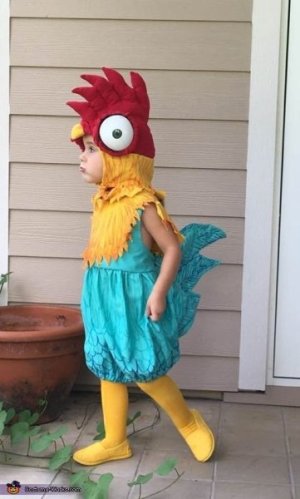
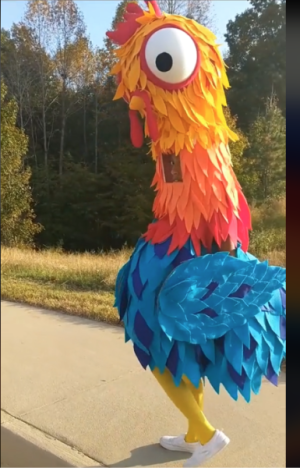
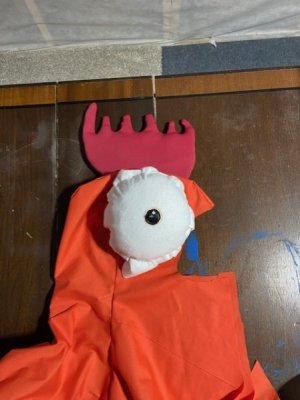
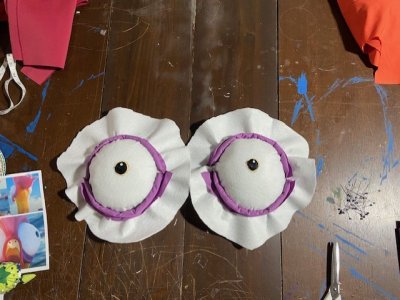
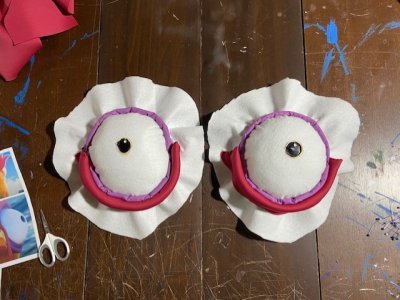
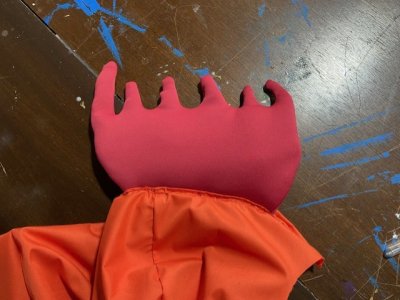
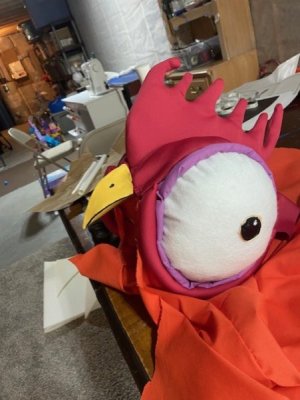
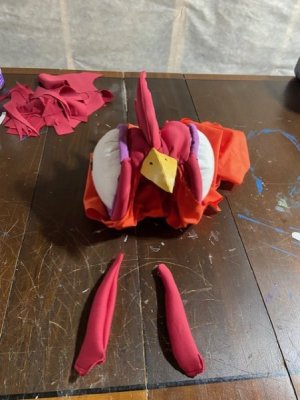
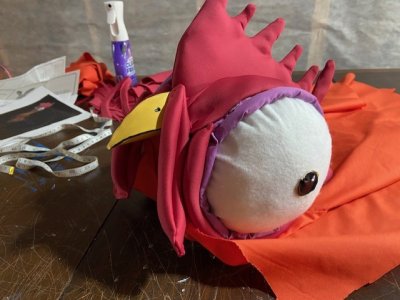
Next up is the Hei Hei costume and the Moana necklace. Or should I say necklaces. As it was just revealed that they want two Moana necklaces because there's a young Moana who first gets the heart from the ocean, and then a quick transition to older Moana. So there's no time to hand off the necklace from one person to the other. The Hei Hei costume is coming together well to this point, but not to the point that I've got enough to discuss yet. I'm finding it far harder to make a costume for someone who isn't just in the house and I can get them to try things on for 1-3 minutes. So I've sort of half built pieces that are adjustable on the off chance they don't fit right. I'm trying to get it to a good place by Monday because that's when the person playing Moana is back from vacation, and hopefully I can get some feedback.
Next up -
