To Infinity and Beyond - Becoming a Better DopeyBadger (Comments Welcome)

Amphibia Costumes - Anne's Hair - Part 8

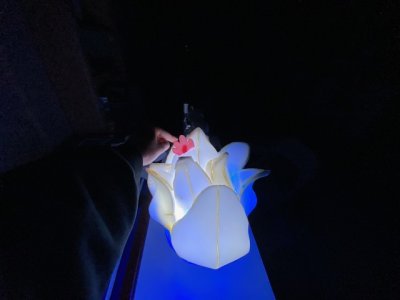
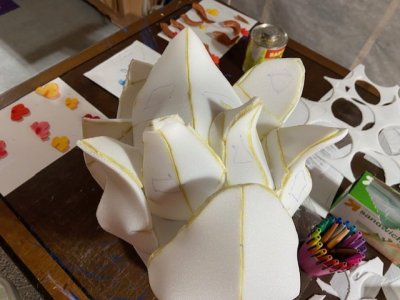
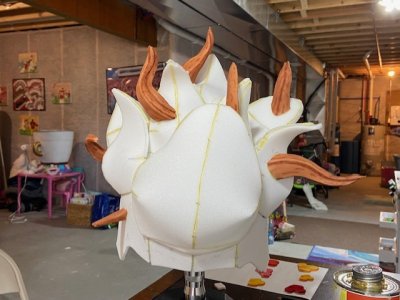
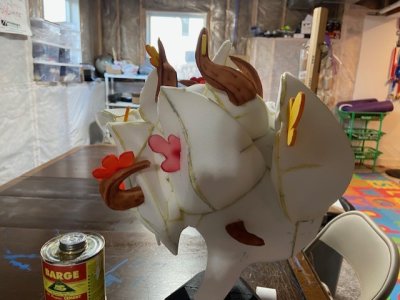
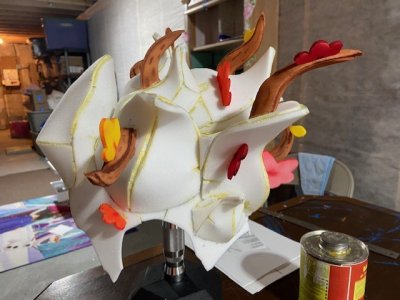
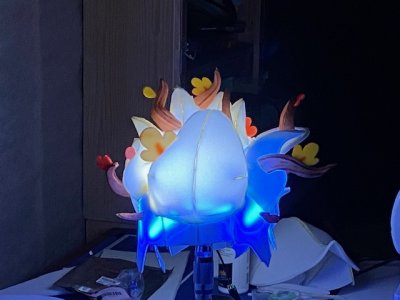
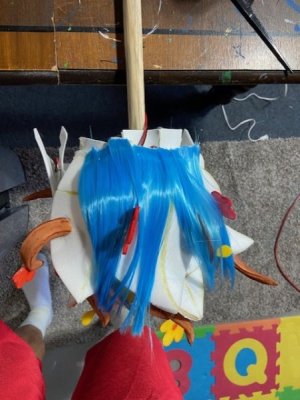
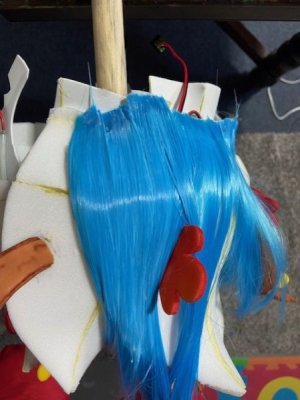
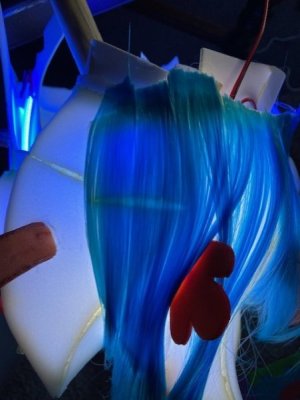
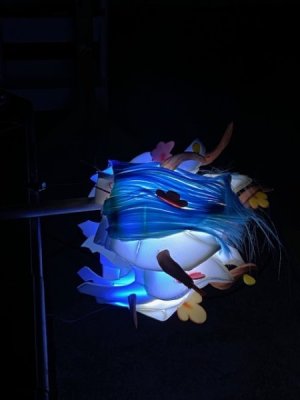
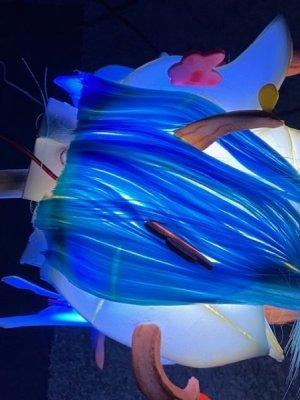
So, we placed the freshly airbrush painted leaves next to the illuminated hairpiece.

thumbnail_IMG_6998.jpg

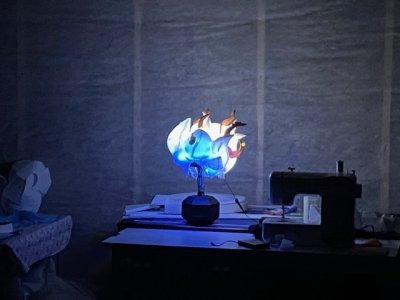
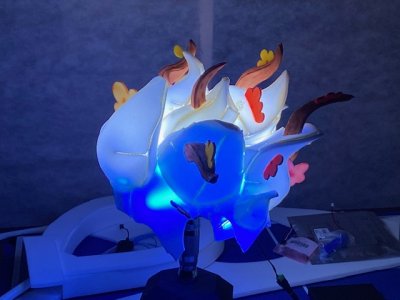
It doesn't really glow when near the blue light. Although you can clearly see it in a completely dark space. It was a little better when near the white light.

thumbnail_IMG_6997.jpg

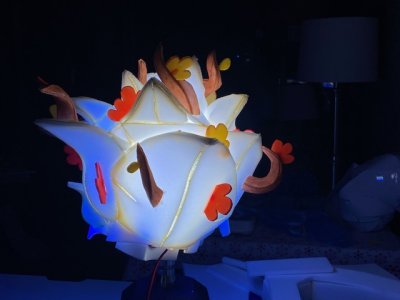
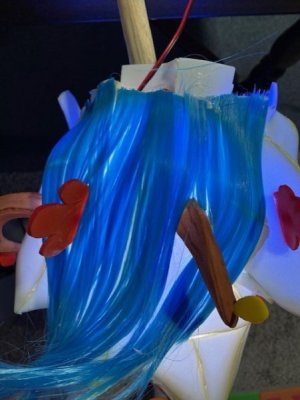
This is one of the brightest spots on the piece because there's no hair tip here and just 2nd layer skull cap.

thumbnail_IMG_6996.jpg

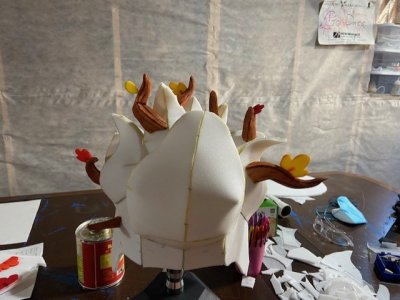
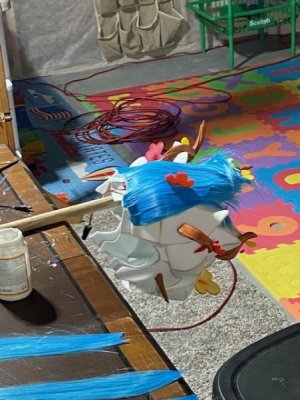
But even on the back side, it's still very clearly illuminated by the surrounding area. So, it'll come down to some decisions for us. Break the 2-D structure of leaves to get more glowing as 3-D leaves, or leave as is.

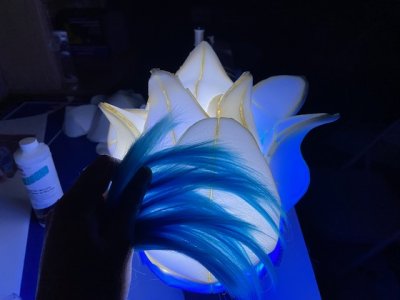
I also overlayed the wig hair on the white and blue lights since we're finally getting close to affixing the hair just to see whether it still glows, and it does.

thumbnail_IMG_6999.jpg

thumbnail_IMG_7001.jpg

Next up is making decisions about the leaves, painting the remainder, and then make some 3-D sticks out of translucent foam to place in the hair as well. We're going to lightly paint the sticks red/brown based on the Anne image, and I think we're going to be using some horns patterns to get the shapes of sticks we're looking for.

Next -
 
Amphibia Costumes - Anne's Hair - Part 9

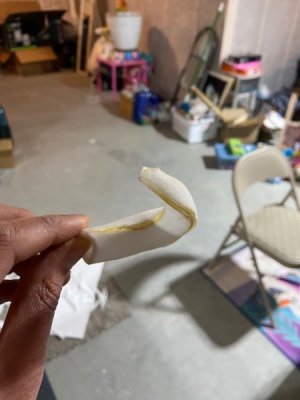
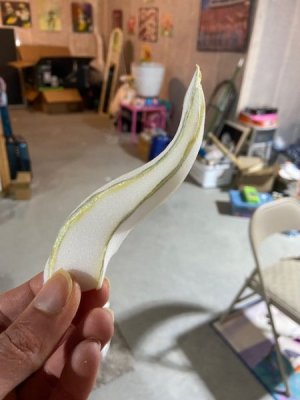
Time to make some sticks!

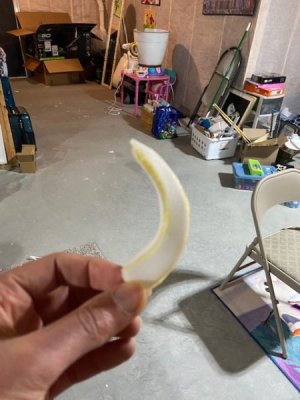
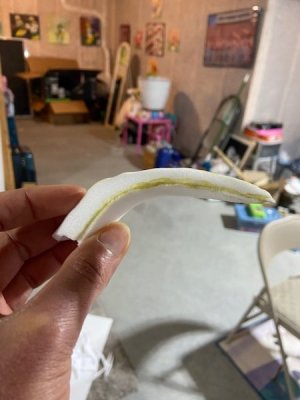
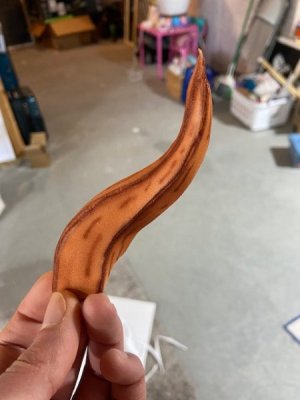
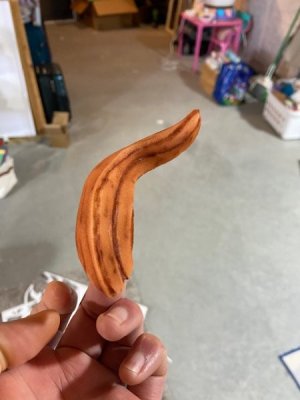
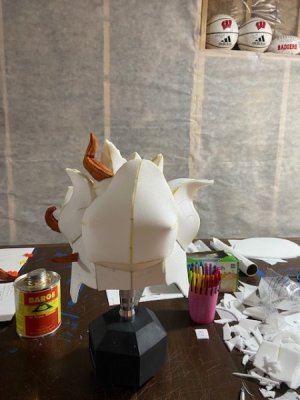
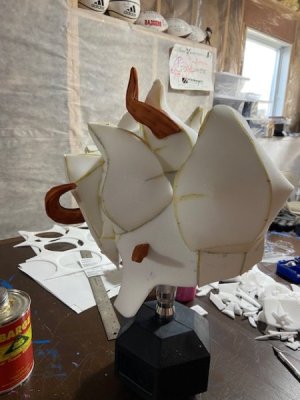
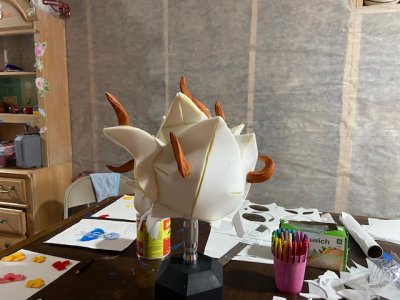
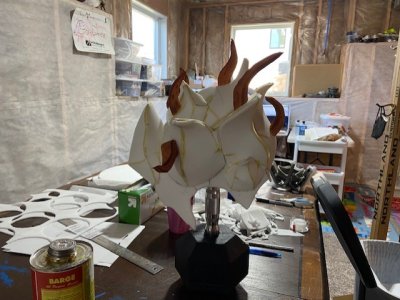
I started off using a horns pattern that I purchased from Pretzl Cosplay (link). I resized the images and printed them smaller than original size. They were meant as full size horns, and instead I was aiming to make them look like the sticks stuck in Anne's hair. I cut out the patterns, traced them onto the translucent 2mm foam, cut them out with the blade, used the Dremel to angle the inside edges for better seams, and then used the Barge cement glue to stick them together.

thumbnail_IMG_7006.jpg

thumbnail_IMG_7003.jpg

thumbnail_IMG_7005.jpg

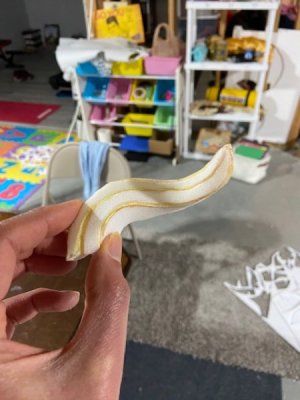
They were good, but they were as complicated as I needed for a few of the sticks. So I dig some digging on the internet for a little more complicated horns pattern that still looked like a stick and settled on Kamui Cosplay's horns patterns (link). I believe I ended up getting long horn, ram horn, and twisted horn which all gave me a little different look.

thumbnail_IMG_7004.jpg

thumbnail_IMG_7002.jpg

I really liked the Kamui Cosplay ones because it gave me a lot of motion in the stick which gave it a realistic look.

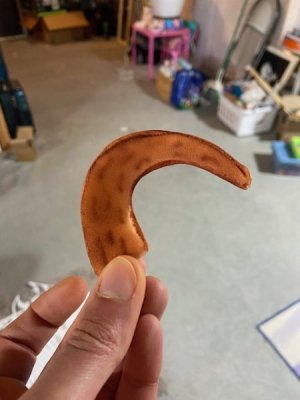
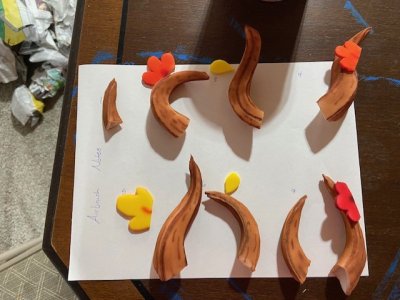
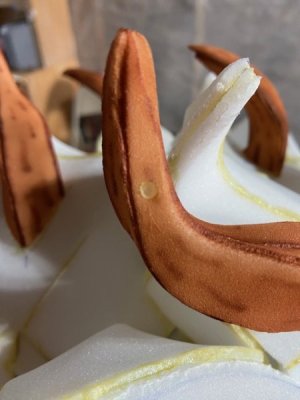
Next up was some airbrush painting with G. We chose to go with a light reddish brown color for the base color. We did a nice soft base of color, and then came in with a mahogany color to add in some highlights along the seams. Additionally we did some touches of mahogany to give it a wood appearance. We started off with this look.

thumbnail_IMG_7008.jpg

G decided she wanted it a little darker so we gave it a little more oopmh and ended up with this look.

thumbnail_IMG_7011.jpg

thumbnail_IMG_7010.jpg

thumbnail_IMG_7009.jpg

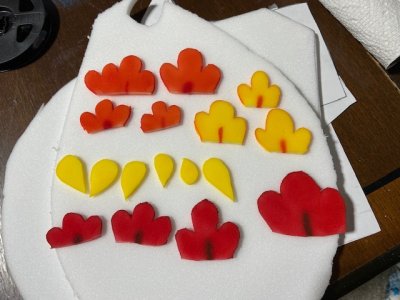
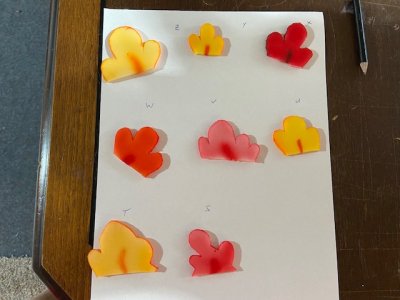
We were pleased with the final look. We made some additional leaves with a variety of colors as well.

thumbnail_IMG_7007.jpg

We didn't plan on using all of them, but we liked having options. Next up was figuring out where we wanted all of the sticks/leaves, and then attaching them. Getting close now!

Next -
 
Amphibia Costumes - Anne's Hair - Part 10

G and I went back quite a bit about the position of the sticks and leaves in the hair. G really wanted to stick to animation accurate, and I was more for aiming for balance in the overall look. In the end, we probably ended up in some meshing of the two with some balance and some animation accurate look. We marked all of the locations with numbers and letters.

thumbnail_IMG_7014.jpg

thumbnail_IMG_7015.jpg

thumbnail_IMG_7012.jpg

thumbnail_IMG_7013.jpg

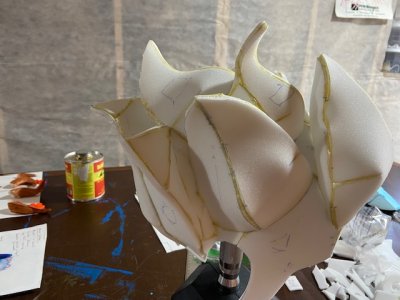
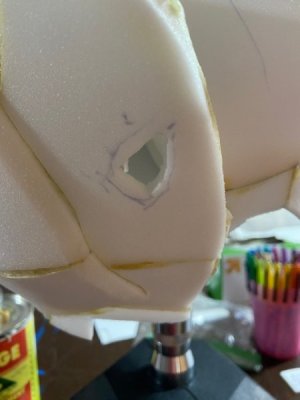
For the sticks, I wanted to give them the best chance to glow, so I cut out the layer of foam underneath the sticks to let the most light through.

thumbnail_IMG_7016.jpg

Then I made my way through attaching the sticks in the pre-planned locations.

thumbnail_IMG_7017.jpg

thumbnail_IMG_7018.jpg

thumbnail_IMG_7019.jpg

thumbnail_IMG_7020.jpg

thumbnail_IMG_7021.jpg

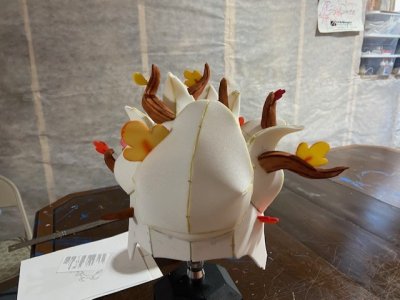
Honestly, I'm loving the look. Next up was adding in the leaves.

Next -
 
Amphibia Costumes - Anne's Hair - Part 11

Many of the leaves needed a little touching up on the bottoms. For the small golden ones, the connection point was too small to leave me comfortable. So I drilled a small hole into the stick, and then stuck the small leaf into it.

thumbnail_IMG_7023.jpg

Once we finished attaching the sticks, we did a little adjusting on our scheme for the leaves. We had a few specific leaves we really liked, and made sure that stayed front and center.

thumbnail_IMG_7025.jpg

thumbnail_IMG_7026.jpg

thumbnail_IMG_7027.jpg

thumbnail_IMG_7028.jpg

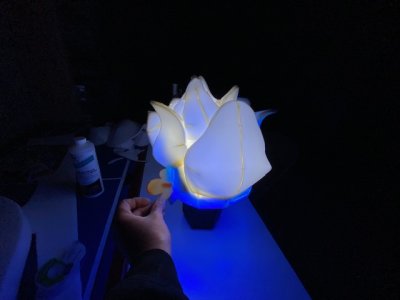
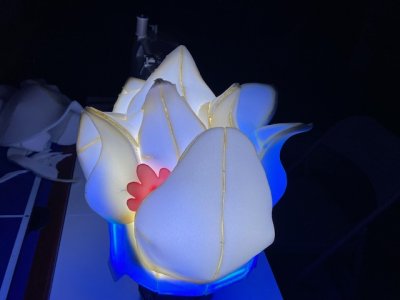
But the real check was to see how everything was coming together when it was illuminated in a fully dark space. And it didn't disappoint.

thumbnail_IMG_7033.jpg

thumbnail_IMG_7034.jpg


thumbnail_IMG_7036.jpg

thumbnail_IMG_7038.jpg

I've got no complaints. It looks beautiful. Now comes THE hardest part. Adding the wig hair to finish it off. In the Goku youtube video, the cosplayer has the advantage of simple spikes with no other obstructions. Here we've got really unique shapes, and obstructions all over. So I anticipate this process will take a while and require a lot of patience. Go slow, and do it right the only single attempt you get on every decision. Looking forward to finishing this off as we've got a backlog of other projects to start with these costumes.

Next -


So when G goes off to be a big star in Hollywood, will you start your 2nd career as a costume designer?

This is all pretty impressive.

Thanks!

I'm not sure if it's public information yet, but the academic lab I've been working in since 2006 (and started in mid-1950s) is closing in May 2025. So I do need to find another job within the next year, but I'm not sure costume designer would be a long term choice. Maybe G will hire me as a costume designer when she's a big star.
The situation with your job sounds stressful! And on top of everything else going on in your life....yeeesh. Hoping the best for you!


It's that time of year again so I'm sending you this link to math it out to maybe get your mind off more stressful things. I don't think it changes much off your previous Boston post though:

Once, I looked at BQ times relative to age graded performance--it was pretty even. I will always be grateful that old people have generous times (even though I have no desire to qualify/run again) It gave me several opportunities to run.
 
The situation with your job sounds stressful! And on top of everything else going on in your life....yeeesh. Hoping the best for you!

Thanks! It's been a whirlwind last few years.

Just caught up on all the costume happenings. Looks awesome! Love seeing the step-by-step and thought process.

Thanks!

It's that time of year again so I'm sending you this link to math it out to maybe get your mind off more stressful things. I don't think it changes much off your previous Boston post though:

Here are the old posts:

https://www.disboards.com/threads/t...badger-comments-welcome.3475601/post-56270664
Boston Qualifying Times: History, Who's time is more difficult, Rationale, and the future!

Looks like it was 8 years ago now. I'll do some poking around and see what I can get for you.
 
It's that time of year again so I'm sending you this link to math it out to maybe get your mind off more stressful things. I don't think it changes much off your previous Boston post though:

Boston Marathon Qualifying times - the updated version (2024)

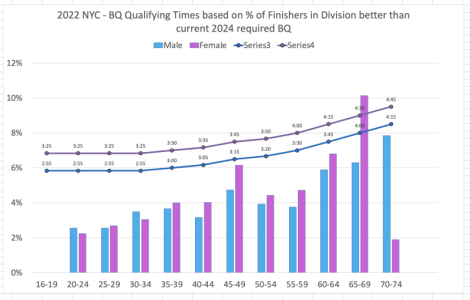
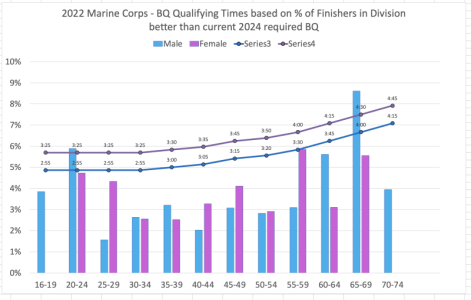
Here's the data from three of the largest marathons in 2022 using roughly the necessary cutoff for running in Boston 2024 (BQ-5 min).

Screenshot 2024-04-08 at 11.19.02 AM.png

In the NYC marathon, men and women are roughly equal in achieving the 2024 Boston standard at all age groups. The jump of 10 min at the age of 45 allows for a slightly higher % of division to hit the standard. Around 3-4% under age 45 hit the standard, and 4-7% over age of 45.

Screenshot 2024-04-08 at 11.08.56 AM.png

In the Marine Corps marathon, men and women are roughly equal in achieving the 2024 Boston standard at all age groups. The jump of 10 min at the age of 45 has a minimal impact. Around 3-4% of runners achieve the standard.

Screenshot 2024-04-08 at 10.57.38 AM.png

In the Chicago marathon, women are at a disadvantage or equal in almost all age groups. The jump of 10 min at the age of 45 allows for a slightly higher % of division to hit the standard. Around 11-12% under age 45 men hit the standard, and 13-15% over age of 45 men. However, around 7-10% under age 45 women hit the standard, and 11-15% over age of 45 women.

Previously running this exercise on the data showed that men and women roughly equally hit the standards. Age played more of a role. This time around, women might be at a slight disadvantage, but it's still pretty even across the board. So I would say, no. Based on the races that men and women are actually performing, the BQ standard is roughly equal between the two. Age still plays more of a role, and that makes sense based on Boston's internal data which showed the reason for the +10 min jump was to get more participants at that age group back when they made that decision (because of lagging enrollment and not because they wanted to overrepresent that group).
 
Sorry to hear about your lab closing! I thought you were at the university, so that seems weird to me (from fellow university person), but I suppose it happens. At least you do have a long lead time for planning. I imagine that staffing is going to dwindle exponentially as people find other jobs, though, which will make things even more of a challenge.
 
Sorry to hear about your lab closing! I thought you were at the university, so that seems weird to me (from fellow university person), but I suppose it happens. At least you do have a long lead time for planning. I imagine that staffing is going to dwindle exponentially as people find other jobs, though, which will make things even more of a challenge.

All true. There's a story there, but it's not for public consumption at this time (if ever).
 
Thanks!

I'm not sure if it's public information yet, but the academic lab I've been working in since 2006 (and started in mid-1950s) is closing in May 2025. So I do need to find another job within the next year, but I'm not sure costume designer would be a long term choice. Maybe G will hire me as a costume designer when she's a big star.
I'm so sorry to hear about this. I hope that you find something that makes you happy.
 
My trail race is in Dodgeville this Saturday (April 20). I'm flying into Milwaukee on Friday and driving west to Dodgeville, through Madison. Since this is one of the probably few times I'll ever be in your neck of the woods, I would feel bad if I didn't offer to take you out for a coffee for all the help you've given me over the years! But I realize mid-day Friday isn't a great time - what do you think? If you are interested, we can work out details.
 
My trail race is in Dodgeville this Saturday (April 20). I'm flying into Milwaukee on Friday and driving west to Dodgeville, through Madison. Since this is one of the probably few times I'll ever be in your neck of the woods, I would feel bad if I didn't offer to take you out for a coffee for all the help you've given me over the years! But I realize mid-day Friday isn't a great time - what do you think? If you are interested, we can work out details.

Let me get back to you. I've got to see what experiments are going on.
 
Amphibia Costumes - Anne's Hair - Part 12

Alright, Anne's hair piece was in a good place for the foam and LEDs. Which meant it was time for the last part of the piece, the wig hair. I had originally purchased this one (link), but we didn't like the tint of blue. It looked a little too greenish. I also bought this one (link) for the curls (because as we learned Anne has curls), but it wasn't going to be easy to work with for our purpose. At least the curly wig wasn't all for naught though. We ended up deciding that if G needs a break from the LED hair piece we can just throw on the other wig and the costume will still look complete. The wrong color wig was useful as well because I ended up using it for practice (of which there was a lot of). But ultimately we ended up with this blue wig (link) as the right choice.

So I didn't take a ton of pictures during the practice phase, but easy to say it was pretty frustrating. As a reminder, I was using that Goku youtube video as a basis for this project, but without any audio and it traveling at 3x speed it was hard to fully determine what he was doing. Especially for someone who has never done anything like this before. But after slowing the video down to 1/4 speed, I was able to learn a few things. He appears to be using a glue, and the liquid that he dips his hands into is likely soapy water to remove the glue residue because he immediately wipes his hands off. Thus not relevant to making the wig hair stick. He also appears to be using a hot glue gun for making the initial bond between the wig hair and the foam. So I had some things to work with.

I didn't have a mannequin head, so I had to improvise. I used the hockey stick coat rack I've been using to hang my Dremel off of. I attached a rubber play ball that was roughly the size of a head to the top using Gorilla tape in all four directions. Then I placed the wig over it to create my own make shift mannequin.
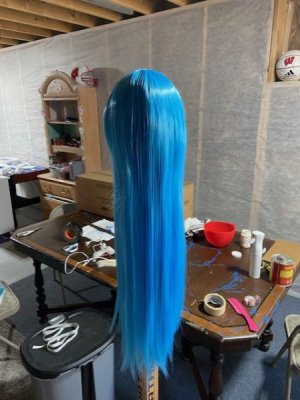
thumbnail_IMG_7067.jpg

I tried a few different sequence of events for the process. I used G's Johnson and Johnson detangler (which was very needed for the practice wig). Lucky to have a kiddo with long hair and already learning which detangler is better than the rest. I learned that you really need to not touch the wig as much as possible. These wigs are cheap, and every brush seems to straighten and tangle it equally. So less touching was always better.

The Goku video cuts the hair close to the scalp to make his small pieces of hair. I tried that method, and I also tried two others. I tried cutting the hair from the bottom at a certain desired length, and then I also tried removing the hair in wefts from the actual sewn piece. The wefts were handy in that the hair was attached to something else and moved less, but ultimately the look was way off. Cutting the hair from the top like the Goku video was good, but left me with uneven pieces that were harder to work with down below. I ultimately found cutting from the bottom at desired lengths and working my way up was the best method.
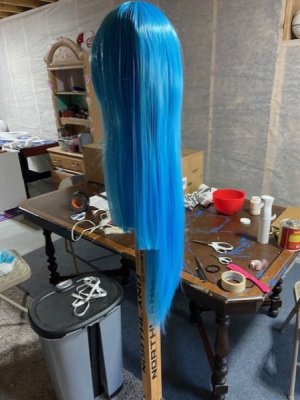
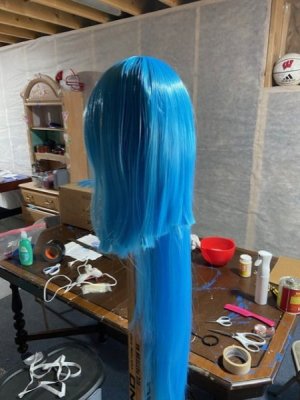
thumbnail_IMG_7069.jpg

thumbnail_IMG_7070.jpg

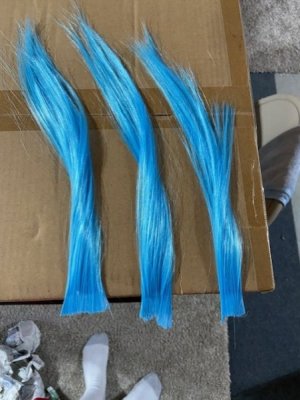
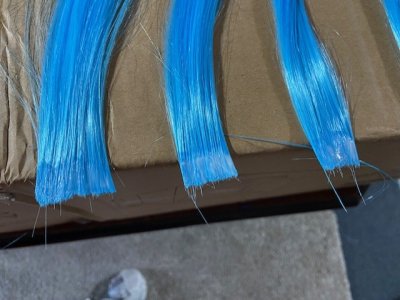
After getting a chunk of hair, cutting it using my special fabric scissors (a must), I would continue to hold that piece in my left hand. I tried to leave a tip of about 1/4 to 1/2 inch above my fingers. I'd then immediately dip my right fingers into MOD PODGE Matte to seal the tip together.
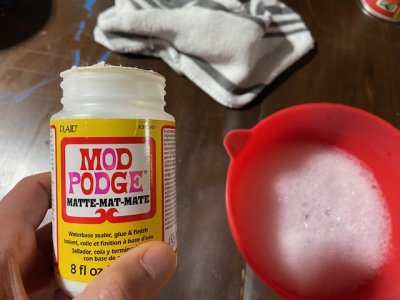
thumbnail_IMG_7043.jpg

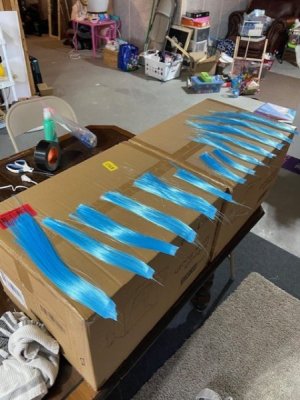
After sealing the tip, I would lean the edge of the tip off of a cardboard box having not yet moved any fingers on my left hand since cutting. And then open my left hand fingers as the hair laid on the cardboard box. I learned the less movement and touching the better. Then I'd rest my left hand over the hair above the glued tip line, and fix the tips with my right hand. The left hand holding the hair down was essential to not having the hair move on you while fixing it with the right hand. Once I got the tip in a good place, then I'd dip my hands in soapy water, remove the glue, and then dry them off. Now I'd start the whole process again with a new chunk of hair. I tried to make a variety of lengths, widths, and densities.
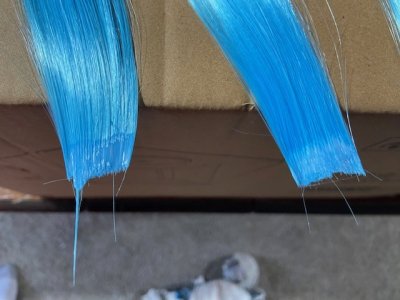
thumbnail_IMG_7072.jpg

thumbnail_IMG_7073.jpg

thumbnail_IMG_7068.jpg

thumbnail_IMG_7071.jpg

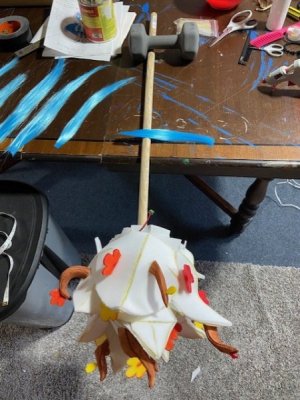
Once I had made a variety of hair pieces, then I could move to affixing them to the foam itself. The tough part of my hair piece is that I've got a lot of other things going on compared to the Goku wig. Additionally, I wanted to make my job easier by using gravity. In Goku's wig, he affixes all of the hairs at the base of the spike, then he forms them into a spike and uses a hair tie. But my forms aren't spikes and I don't think they'd come to a tip so easily. So I couldn't use that method. For that reason, I felt using gravity was a must. But I also can't lay my piece down on the table because it has pieces that'll get damaged. So I came up with a method that would allow the piece to hang off the edge of the table without damaging the sticks/leaves.
thumbnail_IMG_7074.jpg

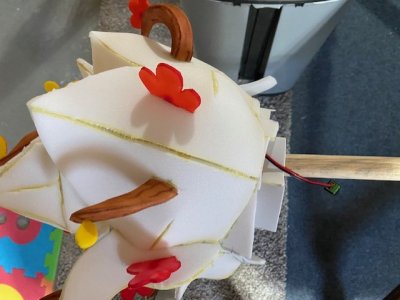
I put the hair piece into a long pole, and then placed a dumbbell on the other side. That way the pole couldn't raise up as long as the downward force of the hairpiece didn't exceed the weight of the dumbbell.
thumbnail_IMG_7075.jpg

The system worked well outside of some spinning every once in a while. Now that we had that issue settled it was time to work through how to actually afix the wig hair strips to the foam hairpiece.

Next -
 
Amphibia Costumes - Anne's Hair - Part 13
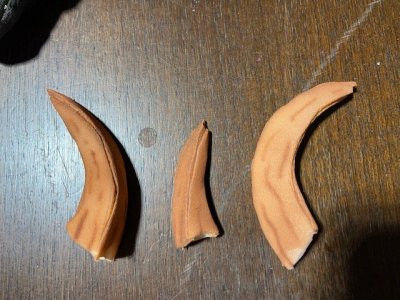
I first tried using the Barge cement glue to affix the wig hair to the hair piece. It worked, but the yellow tinge of the Barge cement glue shown through. So then I tried using the Goku video method of hot glue. That worked well, and so I stuck with that method.

I tried to find pieces of hair that were just long enough, but not too long such that I'd waste it. I figured the best place to start was the back of the hair piece because it would ultimately be the least visible. So I went through the process of adding strip after strip using hot glue. I was patient and did them one at a time so that I could get them well placed relative to each other.

thumbnail_IMG_7076.jpg

thumbnail_IMG_7077.jpg

Once I got a decent number of hair pieces placed with hot glue, it was time to affix the remainder of the strands of hair to the foam. During practice, I went through several different iterations of the process. I first tried just using the Mod Podge glue, but the problem was it wouldn't hold the shape of the foam. I tried using hair spray, but that didn't work well because my forms go up and down. Steph then suggested using water to weigh it down first, and that did the trick. A layer of misty water gave it some weight and it fell into the form of the foam. Then I tried using a small comb to even things out, but I learned that leaves too many strands of hair bound together. So I was better off using my finger to smooth out the hair into a layer. Once I got the strands in place, then I used hair spray to kind of hold it in place. Then came a thick layer of Mod Podge spread using my fingers, and ONLY ever in the direction of away from the hot glued tips. You go the opposite direction and disaster will come knocking. It takes a few hours for the thick layer of Mod Podge to dry.

So to summarize:
-hot glue the tips
-water to weigh it down
-smooth out with fingers
-hair spray to lock in place
-spread Mod Podge glue with fingers only ever moving in the direction away from the hot glued tips

Once you do that, then you get something like this.

thumbnail_IMG_7078.jpg

That left hand side has been sealed down, and the right hand side hasn't been worked with yet outside of the hot glued tips. Then I turned on the LEDs to test out the look.

thumbnail_IMG_7079.jpg

Admittedly a little disappointed to see the foam seams showing through a bit, but in person it's not nearly as noticeable.

thumbnail_IMG_7080.jpg

Then I made my way around that single piece of foam and tried to cover up all the white space.

thumbnail_IMG_7083.jpg

thumbnail_IMG_7081.jpg

thumbnail_IMG_7082.jpg

thumbnail_IMG_7084.jpg

I think it's really starting to come together. G's finally looking at it and realizing our vision from character to real life. It's going to be a really tedious process because you can only work in one section at a time as you allow the Mod Podge to dry when using this gravity system. So this might take a while, but a good consistent effort of 15-20 min every few hours will help move the whole thing along.

Next -
 

GET A DISNEY VACATION QUOTE

Dreams Unlimited Travel is committed to providing you with the very best vacation planning experience possible. Our Vacation Planners are experts and will share their honest advice to help you have a magical vacation.

Let us help you with your next Disney Vacation!


facebook twitter
Top