To Infinity and Beyond - Becoming a Better DopeyBadger (Comments Welcome)

Marty and Mike Wazowski - Costumes: Part 2

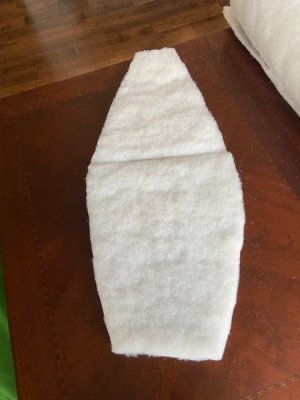
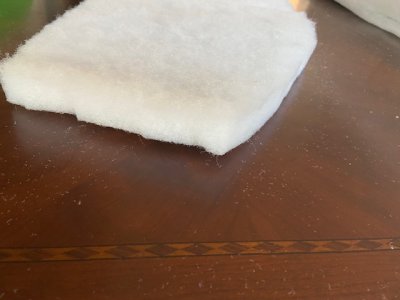
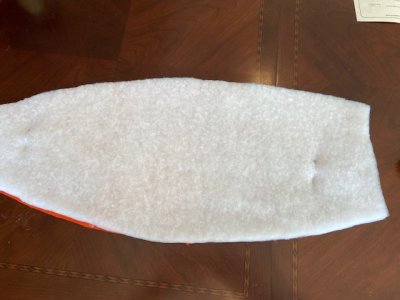
We then laid each piece of fabric with a single piece of the 1 inch ultraweight batting.
thumbnail_IMG_5985.jpg

thumbnail_IMG_5986.jpg

We pinned them together, and then it was time to sew them.

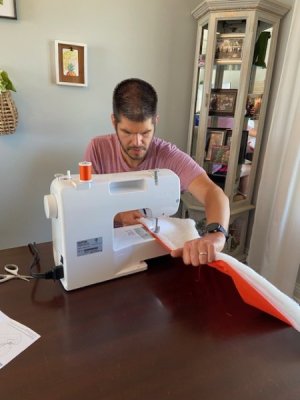
We loaded up the bobbin with the orange thread, and then weaved the orange thread through the machine to make our stitch. As a reminder, I'm using a Brother SM1704 sewing machine.
thumbnail_IMG_5987.jpg

The batting was not the easiest thing in the world to sew. The sewing machine has a claw foot, and so the batting liked to gather into the claw as I went along. I'd have to stop every once in a while to release some of the batting to try and get the stitch back on track. But after some frustrating moments, eventually we got it stitched together.
thumbnail_IMG_5991.jpg

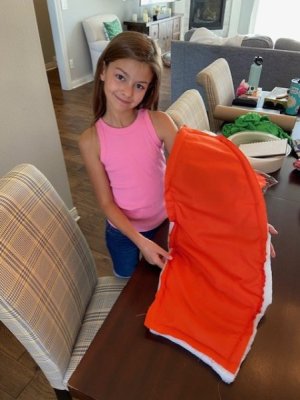
So this as per instructions. One piece of fabric attached with a stitch all around to one piece of batting.
thumbnail_IMG_5992.jpg

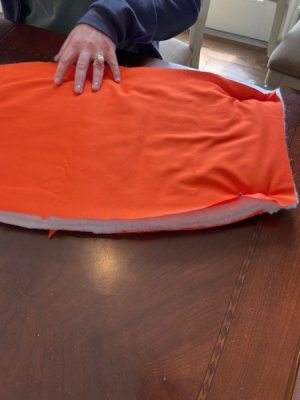
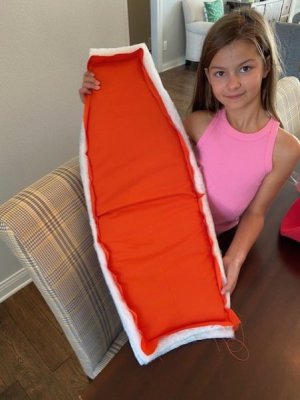
We then diverged from the instructions by then taking two wedges with one piece fabric+one piece batting each to make a sandwich wedge (now as 2 fabric outsides and 2 layers of 1 inch batting inside. Pinned together and then stitched them up.
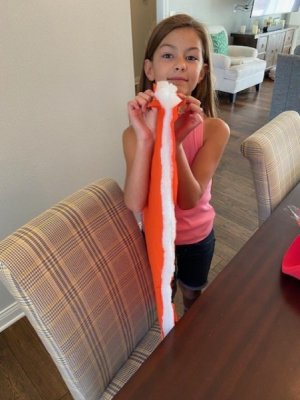
thumbnail_IMG_5993.jpg

thumbnail_IMG_5994.jpg

From memory, the sewing machine tolerated this addition, but it didn't like it a ton. So that's where we saw a potential problem. What happens when we take one super wedge (2 fabric + 2 batting) and attempt to sew it side by side with another super wedge. Because ultimately six super wedges will be sew together to make the costume. Short answer - the machine will revolt.
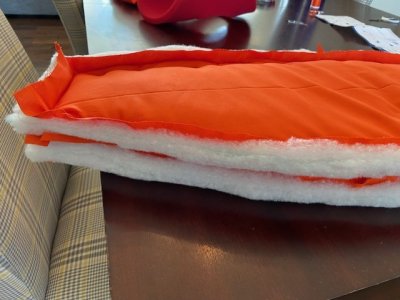
thumbnail_IMG_5996.jpg

The stack was so incredibly high. It took a lot of might for me to force this wedge underneath the foot, and then when I put the foot down, it didn't even really move. So we were really beyond max height. But we gave it a go. Within seconds of starting to sew the needle broke. It was just too much for the machine.

We tried trimming some of the batting away at the edges, and then sew again. But alas, the needle broke for a second time. We only had four needles and we were already down two. So it was time to scrap the super wedge plan. So then, we brainstormed a bit and decided to try and go with the sock and fill method. We'll see two pieces of fabric together along the sides, and then fill it with the foam through the open top and bottom.
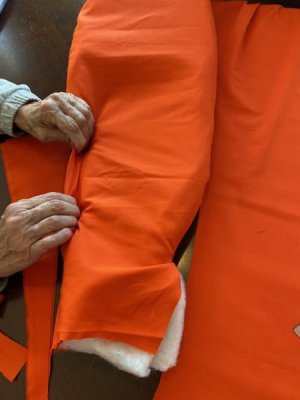
thumbnail_IMG_6006.jpg

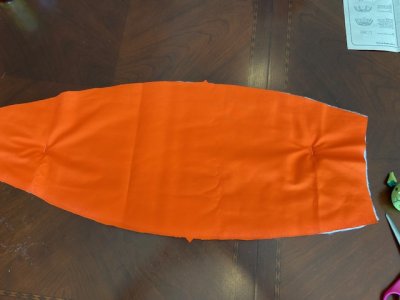
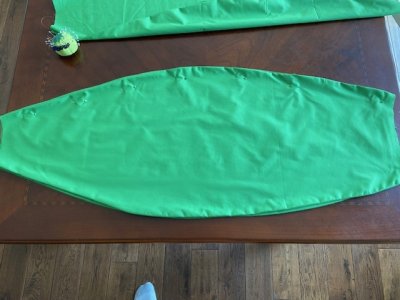
So we paired up 2 piece of fabric (no batting) and sewed them together along the sides into something like a tube.

Next post - Marty and Mike Wazowski - Costumes: Part 3
 
Last edited:
Marty and Mike Wazowski - Costumes: Part 3

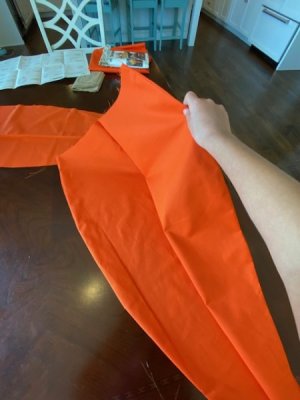
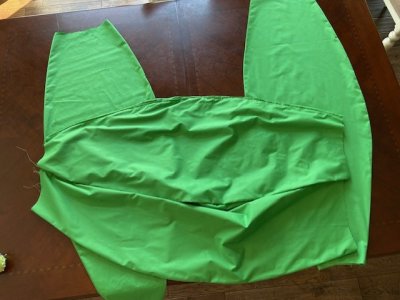
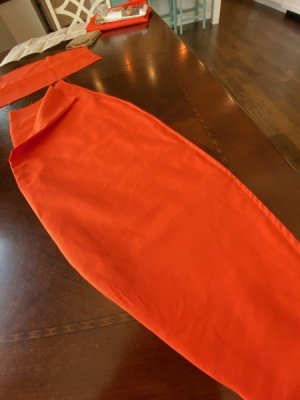
With two pieces of fabric sewn together into a tube like structure, we then sewed up six other pairs to make a total of 6 tube fabric pairs. Then we turned each of the six tubes inside out so that the seam would be on the inside of the tube. Next we went through and sewed each of the six pairs together.

thumbnail_IMG_6007.jpg

We did it in two sets of three.

thumbnail_IMG_6010.jpg

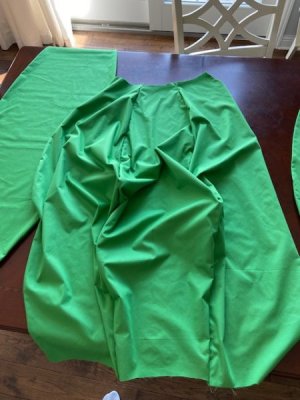
The key with the third wedge was making sure that we sewed it on the appropriate edge such that the two seams would both be on the inside/outside.

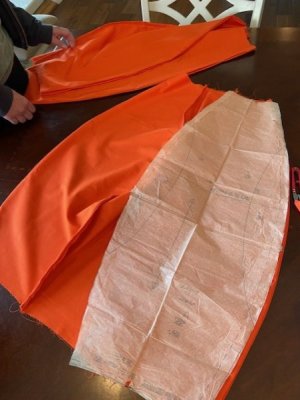
Lastly, the pattern have a notation that for the combination of the two sets of three wedges you leave an arm hole space. So we used the pattern to mark off when the stitch should be left open.

thumbnail_IMG_6014.jpg

It's important to note, the upper stitch is going to be sitting on the shoulder. Ultimately it is going to be holding the vast majority of the weight of the costume. So for that reason it needs to be really strong. So I went up and down a total of four times on the shoulder stitch including 2 forward and 2 in reverse. The hope is that it will be extra strong in that area.

Once the fabric costume was complete with six wedges, then we stuck two 1 in ultraweight battings cut into wedges into each tube. So we were back to our "super wedge" but without sewing the wedges to the fabric.

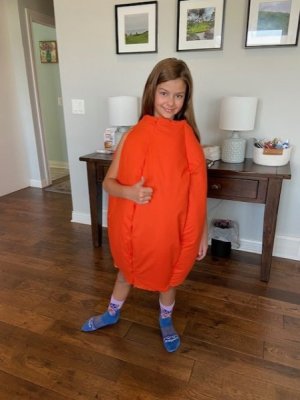
With that, it was the first time G could try on the costume as is.

thumbnail_IMG_6017.jpg

Some things we liked and some things we saw room for improvement. The color is good, and the length is good (although it'll come up some when it gets the elastic in it). We didn't like how the costume didn't seem full. Despite having double the amount of batting that the costume calls for, the costume didn't have nearly the girth we were hoping for. So I ended up taking a bunch of scrap pieces of foam and shoving them into the tube to bulk them up. What i didn't want to do was shove foam in the space between G and the costume because, again, she doesn't like the feeling of odd fabrics like that. Plus, who knows how warm it might be and how the batting would react to moisture. With a "filled to the brim" costume, we got this:

thumbnail_IMG_6020.jpg

It felt better. We were heading in the right direction. Without the accessories though, she looks like a pumpkin. Especially because the seams are bulging into what looks like the ridges of a pumpkin. While G didn't come out and say it, I did. And then she agreed. Right direction, but still not exactly the look we're going for. As I headed to bed, I had an idea of wrapping the costume in a second layer of fabric similar to the concentric circle system I used for capping off the laugh canister. It would enable me to wrap the top half and bottom half separately and then sew them together with a hand stitch. But we tabled that idea for the moment and decided we would start my costume and see if we came up with any other ideas. In total, G's costume took about 7 hours from start to this point.

Next Post: Marty and Mike Wazowski - Costumes: Part 4
 
Last edited:
Marty and Mike Wazowski - Costumes: Part 4
So, G's costume was in a bit of a pause, and we moved to my costume the next day. While I had a lot of help the day prior, G and Steph were tied up with play practice for mine. So I was about 1/2 solo, and then 1/2 got a hand from my SIL here and there. But I took many of the lessons learned from the previous day in order to attack my costume. Which is good, because my costume is about 50% larger than hers and thus everything just takes 50% longer to do.

So a lot of this is a repeat from G's costume run-down.

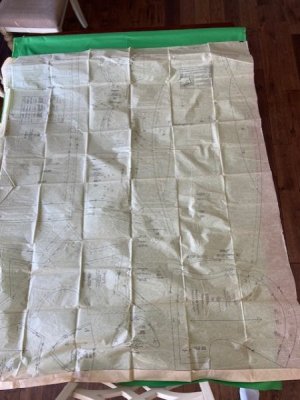
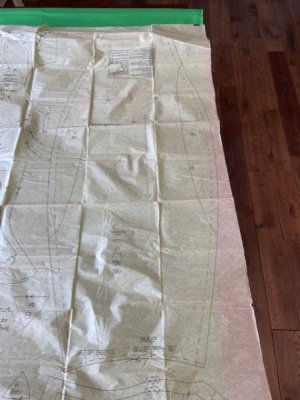
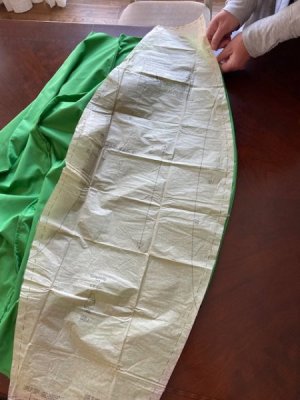
The pattern. Which BTW is HUGE. The pattern took up an entire dining room table.

thumbnail_IMG_6024.jpg

thumbnail_IMG_6025.jpg

The large size wedge. For some perspective, the youtube globe costume used a 33 inch length wedge. G's costume is 37 inches (if memory is serving me correct). The large wedge is closer to 50-52 inches in length. Given the fabric is only 44 inches wide it means we get less wedges per block of fabric. Where we could do three patterns side by side for G, in the case of my pattern we could do it in a 2-1 sequence. Again, we diverged and had 12 total wedges instead of 6 wedges, so that we could make the tubes. We ended up using the vast majority of the fabric, and I even had to go to two singles (instead of the doubled up fabric) because I ran out of space. I could have turned the pattern diagonally, but then I would be messing with the stretch direction of the fabric.

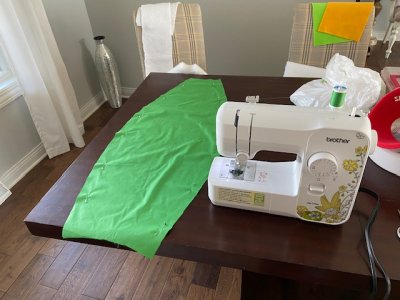
So I cut out 12 total wedges.

thumbnail_IMG_6027.jpg

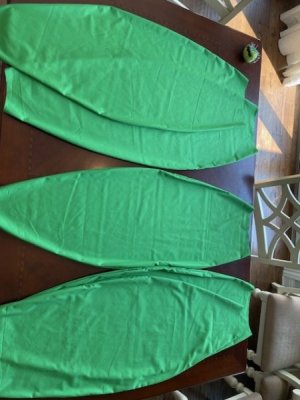
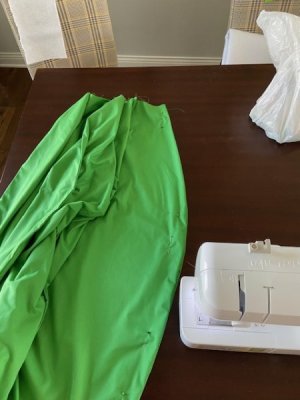
Then I sewed two wedges together on both sides to make a tube.

thumbnail_IMG_6028.jpg

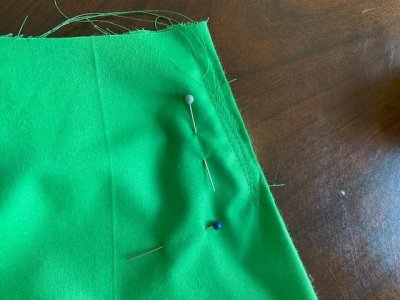
Look at those pins! Way to go me. Steph had a habit of putting the pins too close to the edge of the fabric and didn't leave me enough room for the foot/needle to go by. I placed the pins a little further inwards and cruised along. I would say my polyester blend fabric was much easier to work with than G's cotton fabric. Because mine was a bit stiffer it was easier for it to sit, not gather, and moved along nicely through the machine. Although mine doesn't feel as nice to the touch as hers does.

I completed sewing together a total of 6 tubes.

thumbnail_IMG_6029.jpg

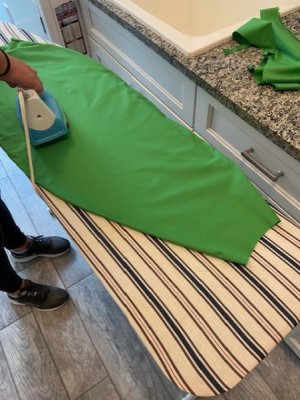
We then ironed them (I failed to mention we did that for G's as well before sewing two tubes together to get the seams to lay flat).

thumbnail_IMG_6031.jpg

Then I pinned two tubes together and sewed them only along one side.

thumbnail_IMG_6032.jpg

Make sure you put "good" on top of "good" because ultimately that's what is going to be showing.

This was two stitched together.

thumbnail_IMG_6033.jpg

And then a third.

thumbnail_IMG_6034.jpg


Next Post: Marty and Mike Wazowski - Costumes: Part 5
 
Last edited:
Marty and Mike Wazowski - Costumes: Part 5

Then, like with G's costume we marked the arm hole locations.

thumbnail_IMG_6037.jpg

Laid it out with the arm holes marked.

thumbnail_IMG_6038.jpg

Here's a close-up of the upper arm hole sew job. Yes, it looks like a mess. I did this on purpose to make it a strong seam.

IMG_6039.jpg

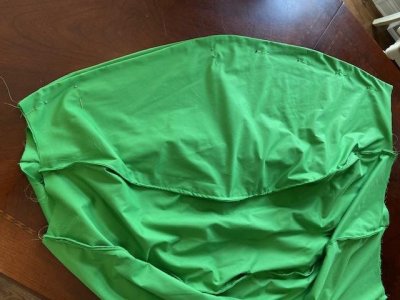
Then we had a near finished fabric shell of a costume.

IMG_6040.jpg

Turned it inside out and without any foam it looked like a beautiful dress... Ok, not really, but it looked like a giant 6 wedge tube.

Because G's costume was stuffed full of all the ultraweight foam we purchased (5 yards) and then some extra batting we had from the pizza costume, there wasn't any batting left over for me. So I was about to head to JoAnns, but my SIL remembered she had some scraps to work with if we wanted to give it a try.

She happened to have a piece of egg foam mattress like material. So it was nice to give that a try. Hers was 2 inch thick instead of 1-1.5 inch like the globe costume youtube video, bit it was worth a try. She only had enough to make four wedges, but we tried just a single wedge to see if it worked.

thumbnail_IMG_6041.jpg

It didn't end up working. While the foam is way more rigid and likely to hold a shape, it was too thick at 2 inches and we had a really tough time trying to get it into the costume. So I felt like the seams would pop, and the costume was likely to weigh a ton. There was already concern that G's costume might be too heavy as well, so we definitely didn't want to find ways to make it heavier.

I went back to JoAnns to but the same ultraweight batting that we got earlier, but since I didn't have a coupon the price was going to be steep for the amount of material I would need. So I bought a lighter, cheaper foam at twice the material we had in Gs.

When I got back to my SIL, she had a different foam to try. She said it was meant for outdoor furniture. We're not exactly sure what brand/material it is, but I suspect something like this NuFoam 27" by 2 inch thick (link).

thumbnail_IMG_6042.jpg

thumbnail_IMG_6043.jpg

It was lighter than the egg foam mattress, but had more rigidity than the ultraweight foam we used for the Marty costume. It felt like a good middle ground, and worth a try.

We learned that you get a buldging effect when you cut the foam wedges to the exact same pattern size as the wedges.

IMG_8972.jpg

It makes sense since the seams take up some of the lost space. So to account for that, we cut about 0.75-1 inches of foam off the edge of the pattern. With that, the foam would lay flat a bit better. I had to be conservative with the foam as I only had exactly enough to make six wedges and doing so had them a bit short of the full wedge. But with that, we made it to a point on the Mike costume.

thumbnail_IMG_8969.jpg

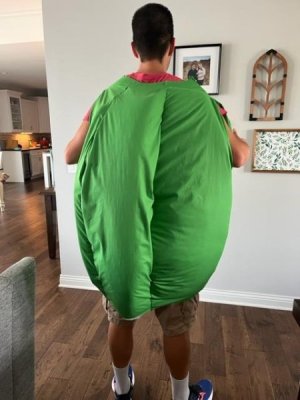
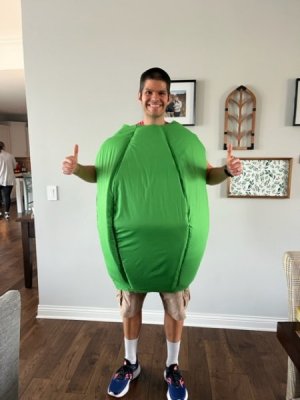
We felt like we're making progress. We've eliminated the bulging seams. This costume design is far lighter than the Marty costume filled to the brim. The rigidity of the foam is holding it in place. It just so happens the foam piece in the middle has a crease in it which is why it has that weird ridge (going to fix later). But definitely heading in the right direction.

Next Post: Marty and Mike Wazowski - Costumes: Part 6
 
Last edited:

Marty and Mike Wazowski - Costumes: Part 6

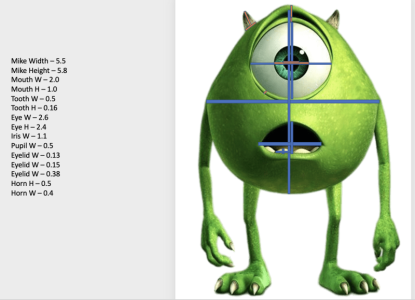
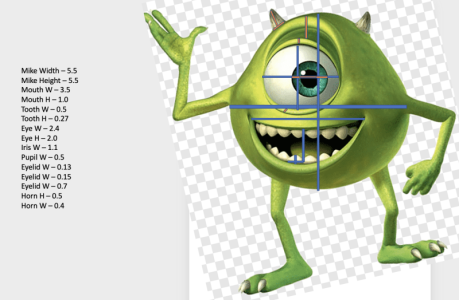
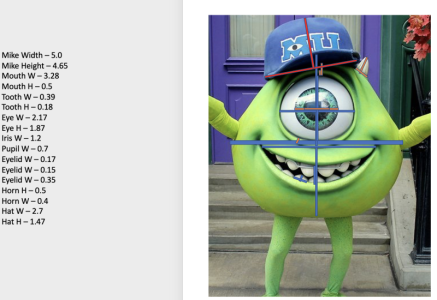
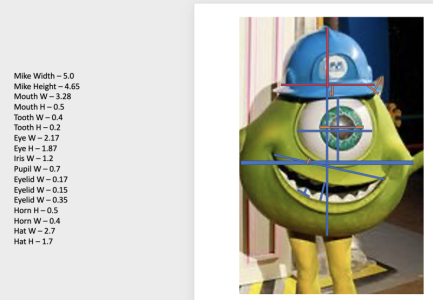
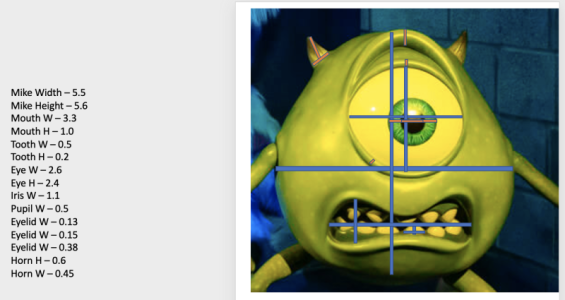
Now that the base of the costume is starting to come together, it was time to do some math! We knew roughly how big the costumes were, so to make sure we made the costumes look proportionally correct it was necessary to do some measuring of Mike Wazowski. I feel like making the costumes look proportionally correct really can make or break the costume.

I took multiple images of Mike Wazowski either from the movie itself or from the official Disney theme park costume. I used Powerpoint to accomplish this task, and then recorded the length of each key feature of Mike. We used multiple different images just in case one image was slightly different. Additionally, G and I decided that we want our faces and mouth expressions to be different.

Screenshot 2023-08-21 at 9.00.30 PM.png

Screenshot 2023-08-21 at 9.01.03 PM.png

Screenshot 2023-08-21 at 9.05.16 PM.png

Screenshot 2023-08-21 at 9.05.46 PM.png

Screenshot 2023-08-21 at 9.06.13 PM.png

G decided that she wants Marty to have a smiling face and she wants to wear the MU baseball hat. I'm a fan of the shocked face with Monsters Inc hard hat. But Steph thinks I should have the nervous mouth instead. So that's undecided at this point.

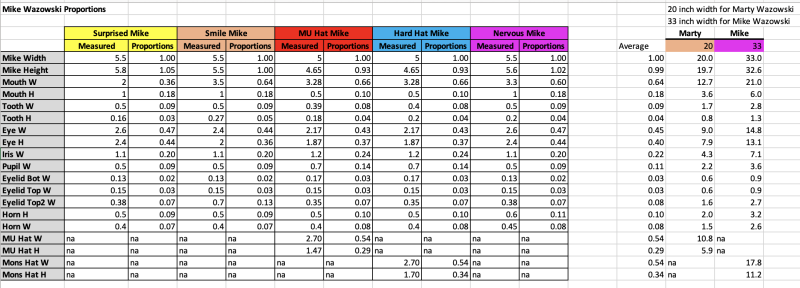
So once we had several different measurements, it was necessary to normalize them to a single measurement and get a proportional ratio of all the different features. I used Excel to accomplish this.

Screenshot 2023-08-21 at 9.10.38 PM.png

So since we had determined that the flat 2-D image of G wearing the Marty costume was roughly 20 inches wide, then we could determine how big other features should be. Such as, with a 20 inch wide costume, the eye should be 8-9 inches wide, and the smiling mouth should be 13 inches wide and 3.5 inches tall. The MU baseball hat should be 6 inches tall and 11 inches wide. The Mike costume is about 33 inches wide, so from there we could also determine the sizes of all of his features. While we won't be perfect, we can at least aim to be good.

So that brought us to what was the trickiest part of this build to date. The googley eye. The goal is a googley eye and I've been wracking my brain on how to make it. For G, it needs to be 8-9 inches wide, and for me it needs to be 13-15 inches wide. It should be light because the costume needs to hold it up. Ideally we make it ourselves, because Mike has a distinctive blue-green iris, and Marty has a blue iris.

Ultimately, I was looking for a plastic circle, with some depth, but not too much depth, that didn't have a ton (if any) embelshing designs on it, that was light, and transluscent/clear. So we came up with a lot of different ideas:

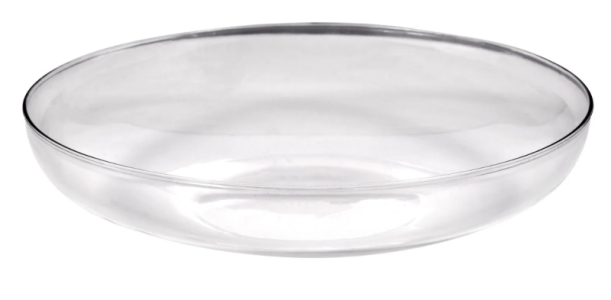
-Plastic serving bowls (link) and (link), but they were probably too deep.
-Warming lids for take out (link), but it seemed like these were only sold in bulk.
-Pizza take and back lid (link) and (link), again in bulk and checked our local Papa Murphys and grocery stores for food items to no avail.
-Food storage lids (link), but didn't quite find what I was looking for on the internet of in person at Target.
-Acrylic Dome (link), but probably too heavy and too deep.

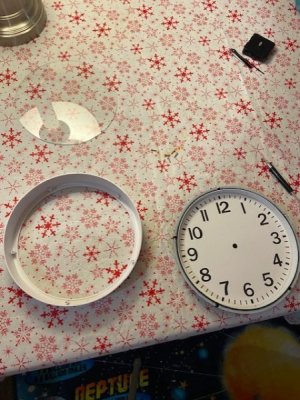
That's when I came across an idea. A wall clock! Made of plastic, it's light, and it already has the inner workings that I could replace and put in a moving iris. I found this one at Target that was 9 inches and only $5 (link). So that was a big win. I got it home and took it apart.

thumbnail_IMG_6051.jpg

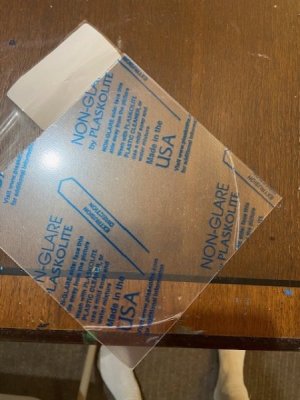
Sadly, I came to a surprising revelation. The cover for the clock is made of glass and not plastic. The outer rim is plastic, but the middle piece that covers the clock face is glass. So that's definitely not going to work. We can't be running around with glass. So that was out. I tried replacing the glass disc with a plastic one using the plastic I used for the laugh canister. But it's way easier to cut out a rectangle of plastic than it is a circle of plastic. And the plastic isn't translucent from a distance as it loses focus.

thumbnail_IMG_6052.jpg

So ultimately, it wasn't going to work.

That put me up to last night. Where I spent a good 1-1.5 hrs just scrolling through the internet to try and find any and all options. I ended up finding a lightweight, translucent, plastic terrarium dish from the Dollar Tree (link). It's 9.5 inches wide and about 2 inches tall.

Screenshot 2023-08-21 at 9.35.29 PM.png

For me, I found a similar floral dish that is 15 inches wide and 1 inch tall (link).

Screenshot 2023-08-21 at 9.37.01 PM.png

They seem like good options and I've got my fingers crossed. So that brings me to current. Things still left to do:

-Working Googly eye
-Eyelids
-Horns
-Mouth
-Lips
-MU Hat
-Monsters Inc Hard Hat
-Marty Microphone?

Made some good progress, but with about 1.5 months to go, I've still got some work left to do!

Next up - Marty and Mike Wazowski Costumes: Part 7
 
Last edited:

Won't it be hot running in those costumes? or are you not worried since it's for the 5k?

The Disneyland 5k in Jan’s historical temps are in the 50s. So it’s unlikely to be overly warm for the race. But even if it were hot, this past Princess 5k we were doing a 40 min/mile pace. So between historical temps and our expected pace, I’m not really concerned about how hot the costumes may make us.

Outside of the Disneyland 5k, we have three other planned uses. A fall festival in early Oct that may/may not be warm, the Halloween party in Disney World, and Halloween itself. I’m probably most concerned about the Halloween party in DW, but we will deal with it as it comes.
 
Outside of the Disneyland 5k, we have three other planned uses. A fall festival in early Oct that may/may not be warm, the Halloween party in Disney World, and Halloween itself. I’m probably most concerned about the Halloween party in DW, but we will deal with it as it comes.
As a Central Floridian, I can guarantee that will be the worst time to wear the costume. Bring fans and take lots of inside breaks!
 
I think these are basically the same rules that apply to the Halloween parties, so you’ll have a chance to try them out then, with hopefully enough time to utilize a backup plan before Disneyland.
 

GET A DISNEY VACATION QUOTE

Dreams Unlimited Travel is committed to providing you with the very best vacation planning experience possible. Our Vacation Planners are experts and will share their honest advice to help you have a magical vacation.

Let us help you with your next Disney Vacation!


Latest posts


facebook twitter
Top