jenn-
DIS Veteran
- Joined
- Jun 12, 2007
- Messages
- 571
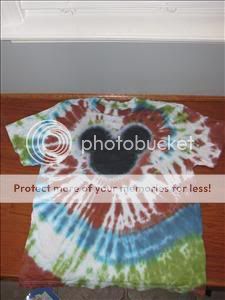
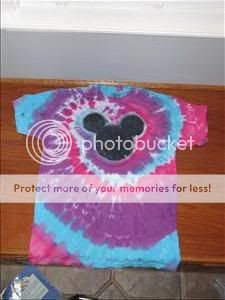
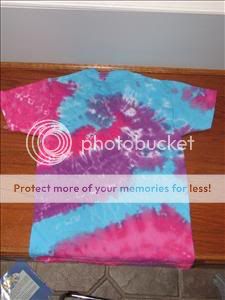
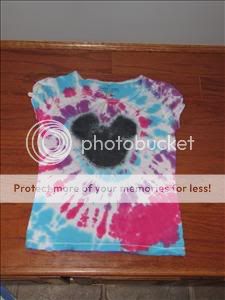
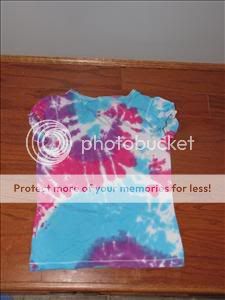
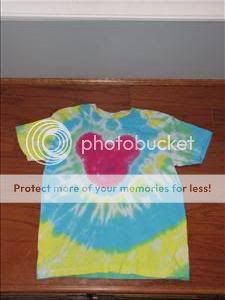
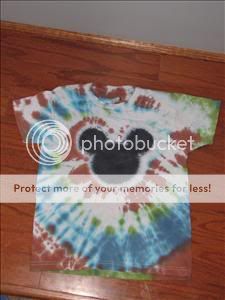
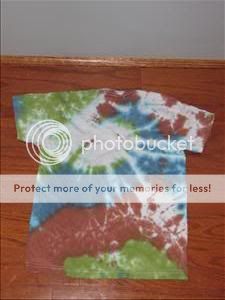
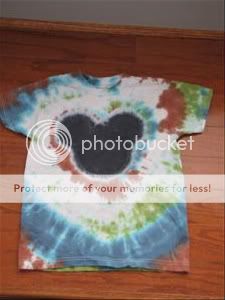
Okay, I am all done with swirled Mickey tie dying. This last batch came out good and I just don't think I have it in me to stitch another Mickey head. Does anyone have a suggestion on how to stop 2 little bitty holes from growing? I wasn't careful enough snipping away the rubber bands on one shirt (mine  ) and there are two small holes on it. Anyways here are the results of the last batch. If you want to see how I "fixed" my DH's first shirt or what I did with the leftover dye this time you will have to stop by the PTR .
These are fronts and backs.


) and there are two small holes on it. Anyways here are the results of the last batch. If you want to see how I "fixed" my DH's first shirt or what I did with the leftover dye this time you will have to stop by the PTR .These are fronts and backs.
") Love it!~
Love it!~ .
.


 Yes, I have to be my own model! I have mannequin forms, but my female one is super tiny, and the V neck shirts dont look as cute on her, so I just use my cameras self timer!

 just remember I have prob done, like, IDK- 150 shirts!