Homemade FE gifts - Part 2

closetmickey - That's great. Good to know it fits, and you used it for 5 people. I will grab a couple next time I'm at Ikea.

Poohbear 64 - That tutorial doesn't look too hard. And if we were going to go regularly, I'd probably give it a go.
 
For our recent cruise, I made magnets for each room (mostly I gave 2 princesses and 1 Mickey):

6798998012_ed256c27be_z.jpg


Pendants for the women and older girls:

6798998834_79a608efe7_z.jpg


And Mickey and Minnie ears for the younger kids:

6831514760_4758484b8f_z.jpg


I couldn't come up with something homemade for the men and older boys, so I gave the men Mickey-themed calendars or planners, or little Spanish-English dictionaries, and the older boys got either Disney word searches or movie candy. I also found a bunch of High School Musical things for one young man who I'd heard loved it. We had so much fun participating in this!
i totally love your magnets is it possible to tell me how you made them thanks soo much
 
On our last disney cruise, we received a gift of 6 or 7 little squares of disney fabric doubled sided with Velcro to stick them togather. There was no tag on them and I don't really know the proper use for them, has anyone made or seen this before?[/

Drink coasters? Luggage tags?

They sound like covers for the handle on your luggage to help you identify it at the airport or any other baggage claim area.
 
I did Captain Morgan's Spiced Rum bottles with eyepatches and tattoos in an "instant pirate kit for adults" I think people liked it. :confused3

Just saw this, what a great idea! :) I know I would have liked receiving this!
FE are NOT just for kids lol


Hi there I was wondering about magnets for the doors. Does the magnet paper you can print on usually work well? Or should I use a thicker stronger magnet?


Agree. Those are adorable!

Sent from my iPhone using DISBoards
Thanks, I was really excited about whale tails for Alaska.

I love the whale tail charms.

Corinna
Thanks Corinna, your comment means so much to us! In 2012 my daughter took your class on the Hawaii cruise, and we've continued to make key chains and charms, since then. I can't thank you enough for starting us on this fun hobby!
 
Thanks Corinna, your comment means so much to us! In 2012 my daughter took your class on the Hawaii cruise, and we've continued to make key chains and charms, since then. I can't thank you enough for starting us on this fun hobby!

I am glad that I was able to sew a little seed. This is such a wonderful hobby.

Corinna
 
OK -

I'm not sure I'm supposed to post that? Sorry if not!

You can either buy the bottle caps with a hole punched, or without. The punches are in the jewelry making section at Micheals/JoAnns. I picked out my jump rings first, then got the sized punch to match (they are in mm - of course I have thrown out the packaging so I don';t know the size I bought!) it will probably take a few tries to get them right! Then set yourself up at a table with 2 sets of pliers, jump rings, charms, chain & clips. I found it easier to cut all the chain first, & attach to the clips, then I attached all the charms at the same time. Doesn't take a huge amount of time, if you are organized.

You will also need a 1 inch punch to punch out the bottle cap images. I use a little hot glue to stick them, then carefully (NOT touching the sticky side) put them on top.

I have images if you want me to email them too.

Good luck!:thumbsup2
Was wondering if I could get them emailed to me?! I am in love with that whole idea! SOOO doing this!
 
I just love duct tape:) I even made my FE using a shopping bag from Disney's 40th and gold duct tape.

The steps were slightly different for four cup holder vs the two cup.
Start with it folded. I believe for two cup I did red row of duct tape o bottom, then gold row starting at top edge of cup part, then black strip over leaving a bit of red and gold showing,(go all the way around) I then did a red strip at top folding over (so half strip) then covered top with a couple rows of white. (For top part i did one side at a time instead of going all the way around)

I used an exacto knife to cut through at the right spots. It helps to look at is unfolded to see where you need to cut. I found using the sheets of duct tape from craft store easier for making the circles. Fantasy I just printed, laminated and glue dotted.
The main difference for four cup was an extra black row and the cutting was a bit awkward. It might be easier with a different type holder. I had Chick-fil-a holders and the 4 cup curved at top of cup part.
Hmmm... Maybe I will get a couple more and take pictures of the process.

Sent from my iPhone using DISBoards

Do you have a blog or anything with pictures on how to do this? this would be PERFECT!!!!
 
Can I get these too??? Please!! Sorry, I'm new to this.... The hidden Micky things is what I'm asking about.
 
Ok.. not really home made, but I did design on the computer ;) to have the beanies created..

This is one of the gifts we gave out for our Alaskan cruise. We passed them out before we got to Tracy's Arm on July 4th, so that they could be used during the cool day going through the fjord and glacier viewing.

004.jpg

My son loved his beenie and still wears it
 
MnMzMoMi4LiFe, I'm happy to post the instructions. I posted them on the DCL FE Facebook group page so as far as I'm concerned they're public domain :)

Chalkboard Art How-To
1. In a photo editing program such as Photoshop Elements, open up a jpg file of the chalkboard background. I found mine by Googling chalkboard art backgrounds and then I right-clicked and saved it to my computer to use.
2. All of the fonts I used are free online to download, most of them I think I found at dafont.com.
3. Use the font Newport Classic for the words, "Disney Cruise Line'.
4. Open up a file containing the image of the name of the Disney ship and copy that name over to the chalkboard background and resize it to your liking. Again, I found my image by Googling DCL ship logos and looking at Images until I found one that I could right-click and save.
5. Here are a list of fonts that work well as chalk-style writing fonts or images: Grutch Shaded, Bergamot Ornaments, Birmingham, KR Down by the Sea, Handy George, Lucida Handwriting.
6. For my chalkboard art I used Wingdings 2 and Mickey Mousebats for some of the images.
7. For my chalkboard art I used the following fonts for the various words/images:
• Grutch Shaded - Cruise date, "Grand Cayman"
• Bergamot Ornaments - "To" image, the swirls on both sides of "To", the scrolls on the sides, and the divider above and below "Magic"
• Newport Classic - "Disney Cruise Line"
• Wingdings2 - Hand image
• Birmingham - "Key West"
• KR Down by the Sea - Shell image
• Handy George - "Cozumel"
• Lucida Handwriting - "Castaway Cay"
• Mickey Mousebats - Mickey head image
8. Once you have your chalkboard the way you want it, print it out in the size you wish to use. Just print it on a regular printer using regular copy paper.
9. Cut out the chalkboard art image, then adhere onto surface of your liking. Spray adhesive works best because it doesn’t get the paper wet which will make it wrinkle or bubble up. I adhered my chalkboard image on canvas board, but blocked canvas or wood can be used as well. You may want to paint the edges of your background surface black.
10. Once the image has dried on the background surface, spray it with a few coats of matte sealant to seal it.

I'm sure there are other ways to do it but that's how I made mine. Hope that helps!
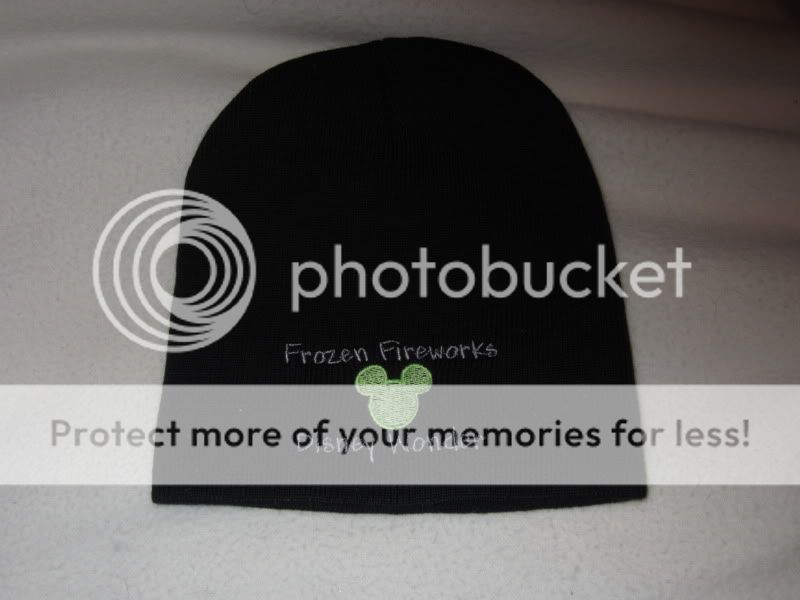
 

GET A DISNEY VACATION QUOTE

Dreams Unlimited Travel is committed to providing you with the very best vacation planning experience possible. Our Vacation Planners are experts and will share their honest advice to help you have a magical vacation.

Let us help you with your next Disney Vacation!


GET UP TO A $1000 SHIPBOARD CREDIT AND AN EXCLUSIVE GIFT!

If you make your Disney Cruise Line reservation with Dreams Unlimited Travel you’ll receive these incredible shipboard credits to spend on your cruise!


facebook twitter
Top