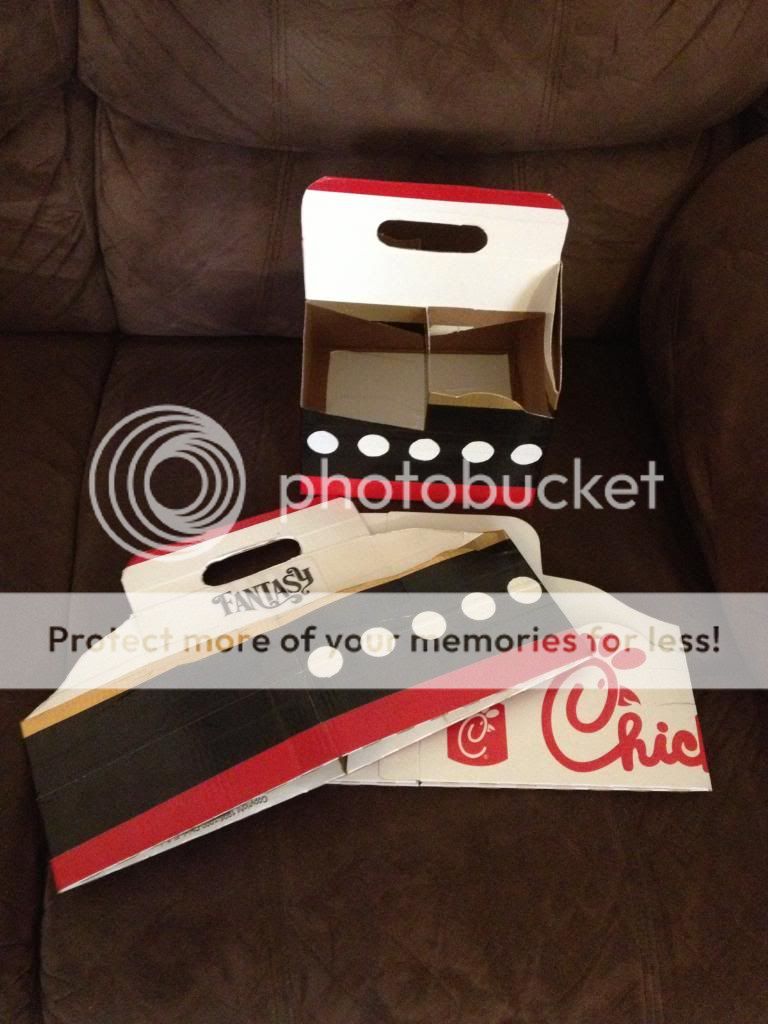
For those that have asked how I made the drink holders using a cardboard drink carrier from Chick-fil-a and duct tape- This is for you

Here goes-

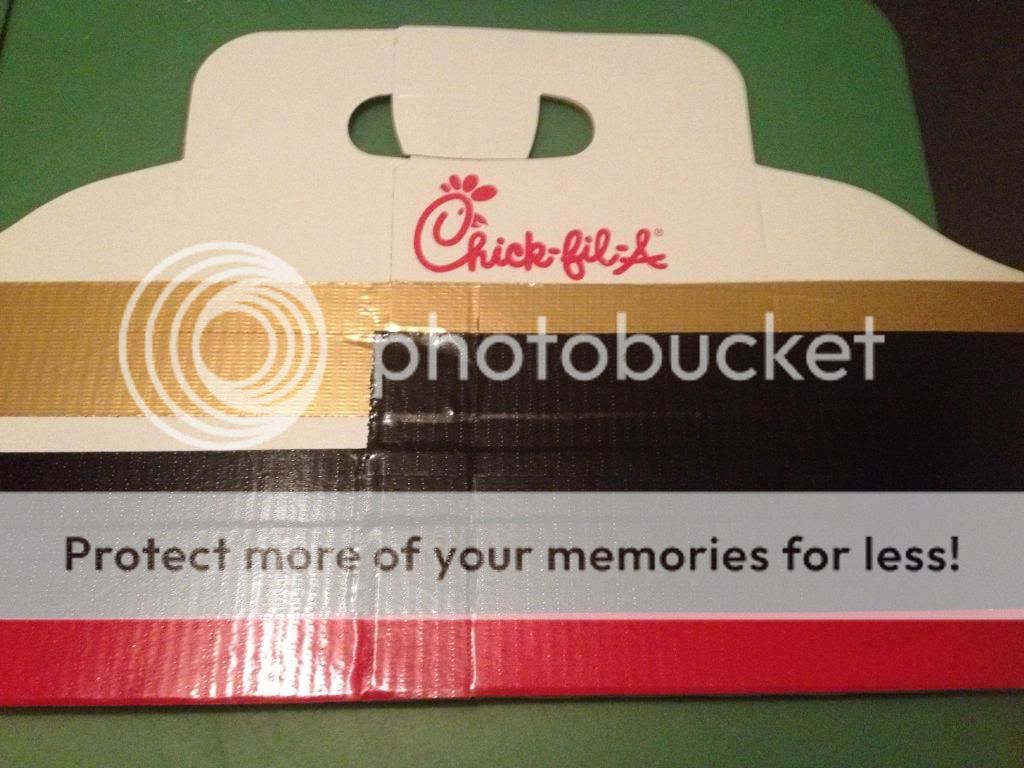
How to Make a Cruise Ship Drink Holder
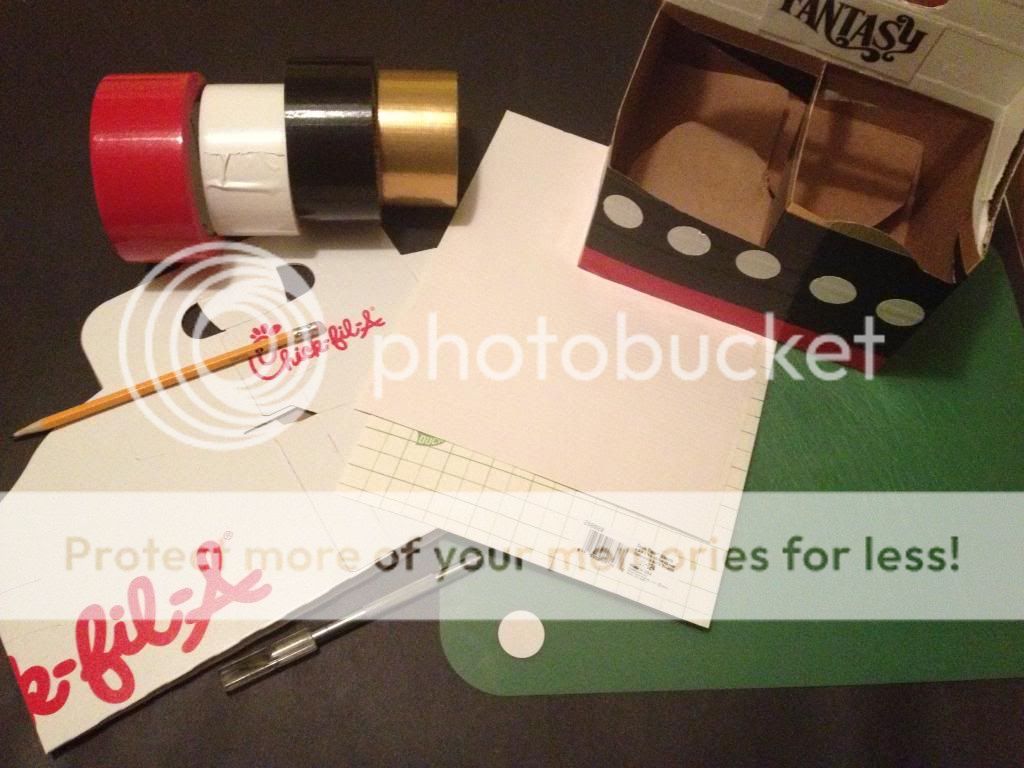
Supplies: Red, white, black, and gold duct tape, white duct tape sheet, a drink holder (I used one from Chick-fil-a), exacto knife, a one inch circle (for stencil), a surface for cutting and scissors. Optional- ruler and pencil
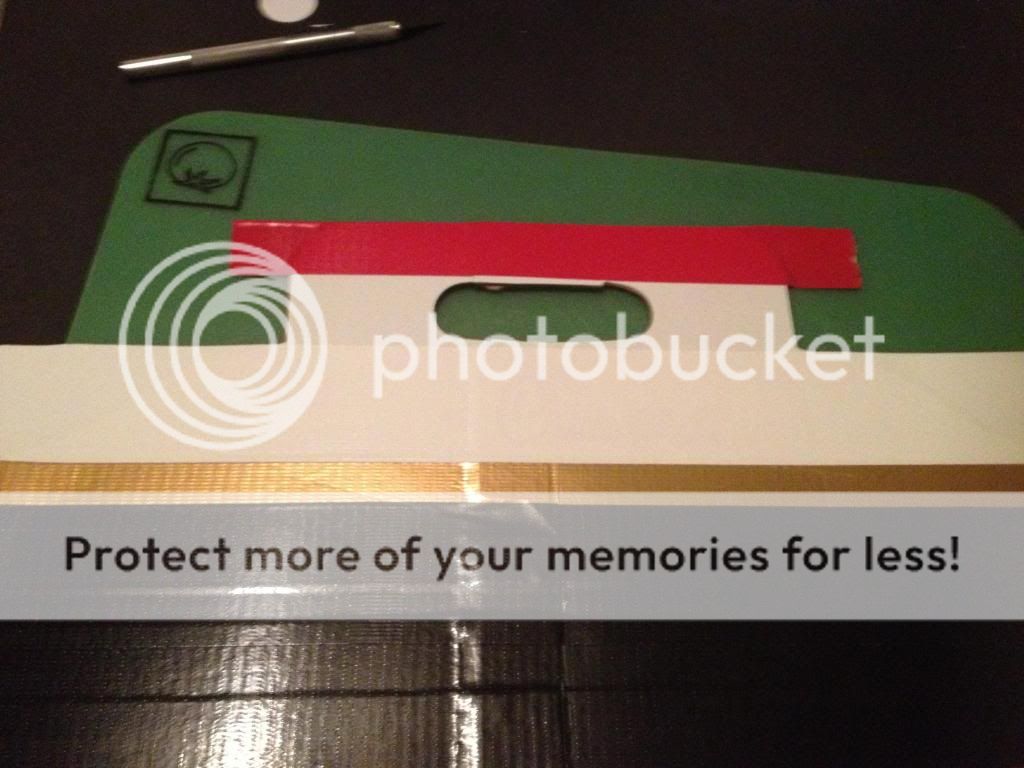
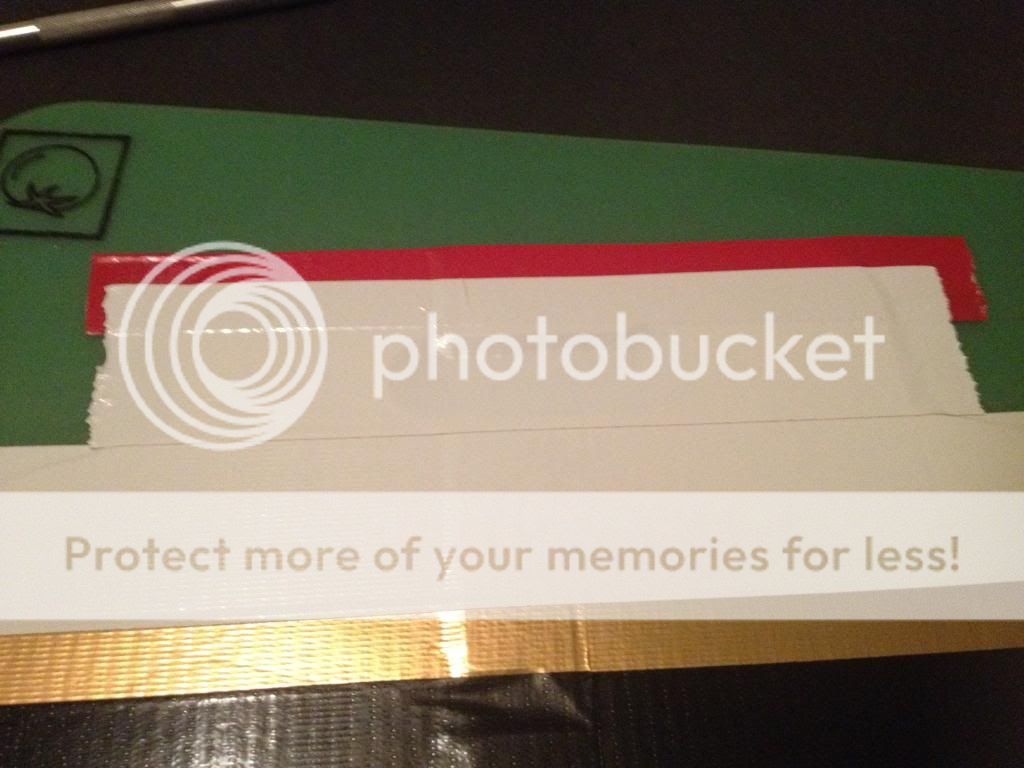
Step One: Starting where the cardboard overlaps, make a row of red duct tape across the bottom of the holder.
Flip over and continue across back.
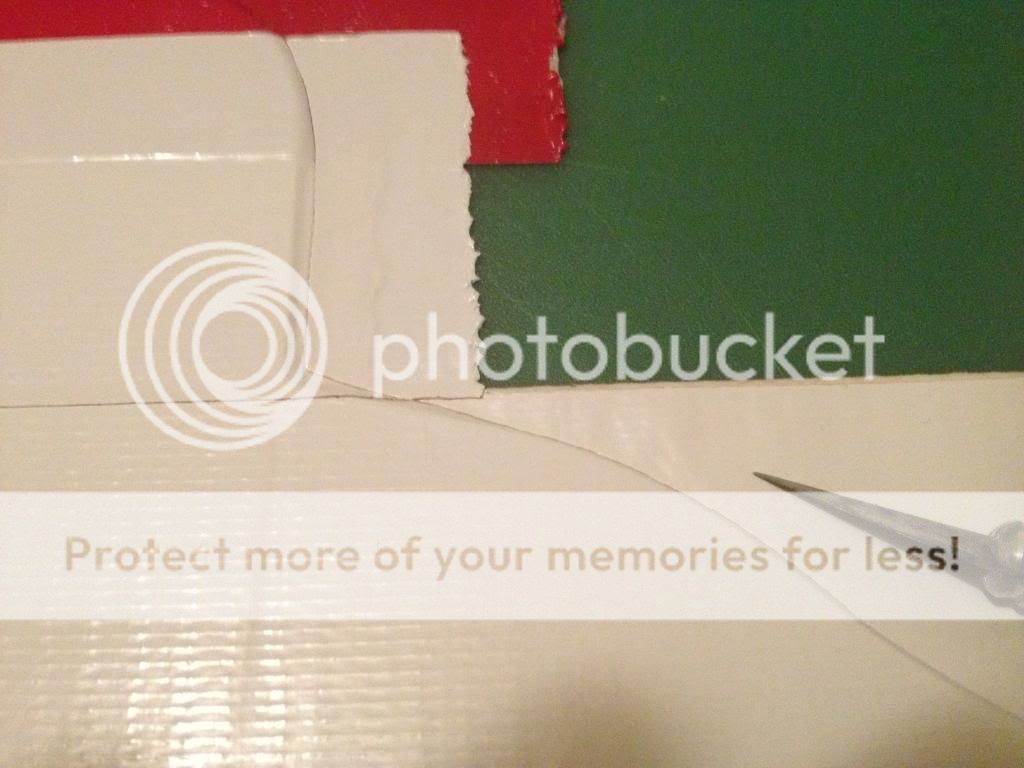
Flip back over and overlap the beginning to match the crease in the box. Score with the exacto knife and tear.
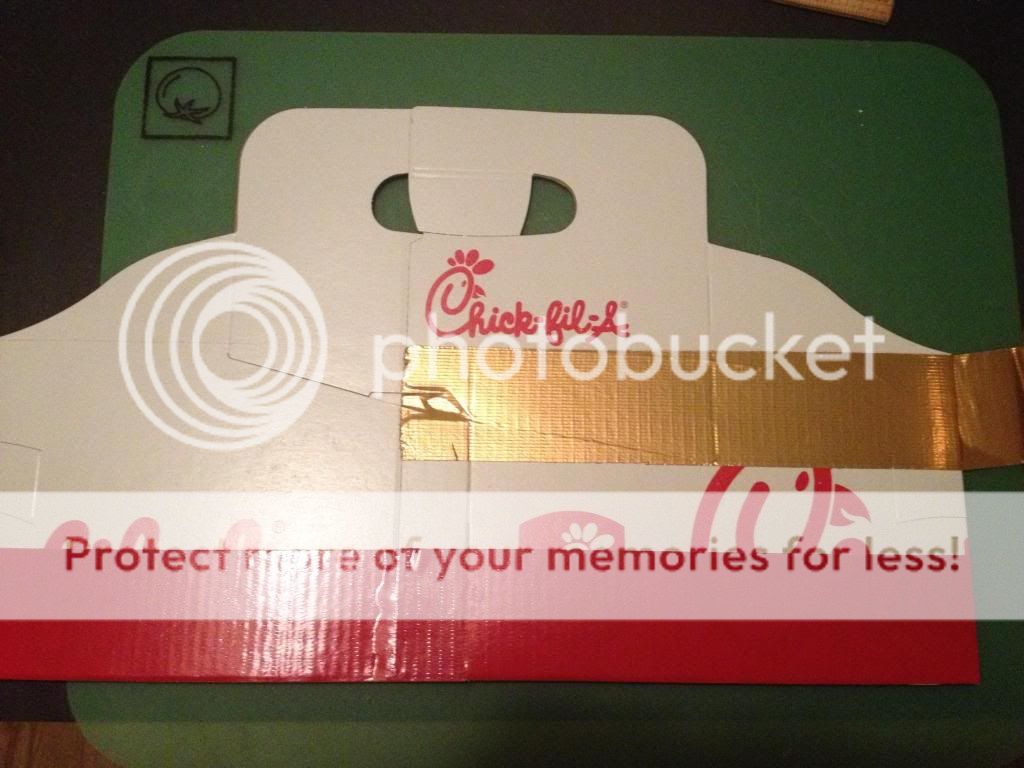
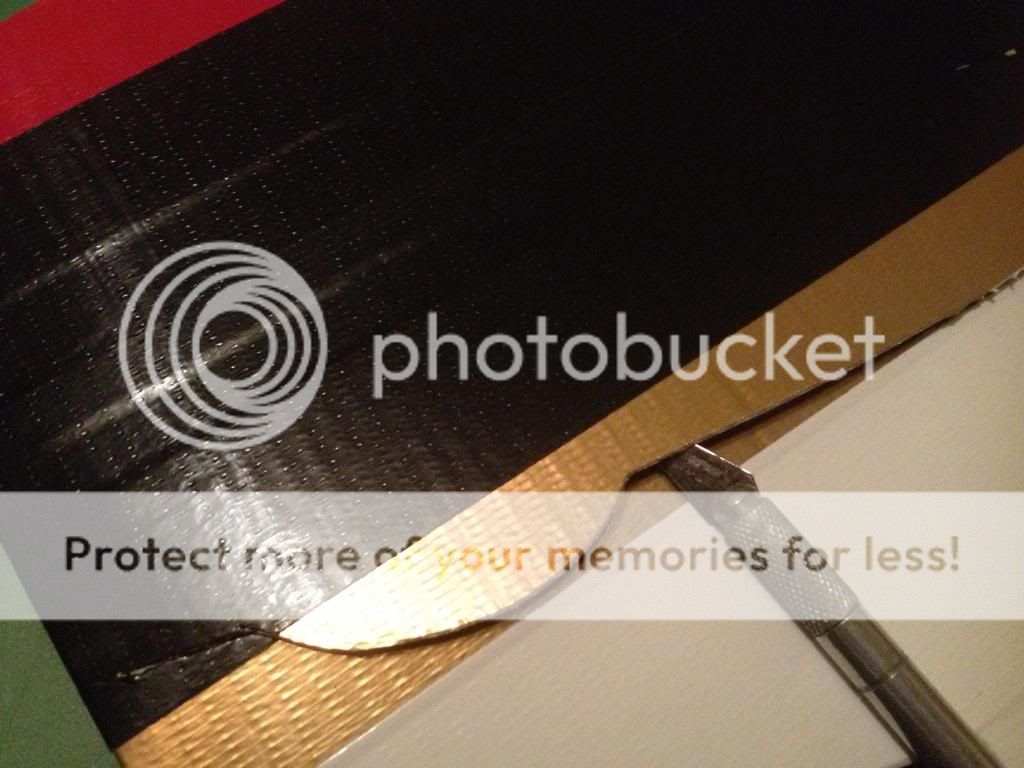
Step Two: (Optional- Use a ruler to draw a line across top from corner to corner.) It is pretty easy to keep duct tape straight and the shiny surface makes it easy to lift and restick duct tape if necessary. So the line is optional Repeat step one with gold duct tape across top of bottom portion of holder. (Tape, flip, tape, flip, tape, score and tear.)
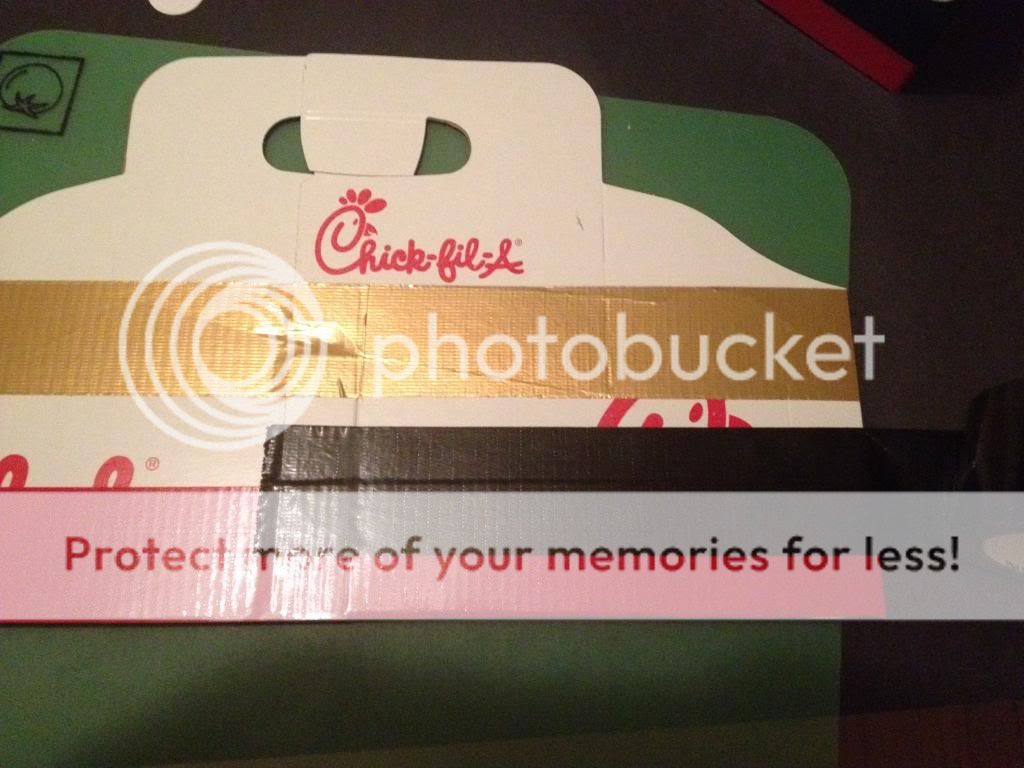
Step Three: (Once again using ruler is optional. You can draw a line about an inch up from bottom across the red duct tape.) Repeat step one with black duct tape about an inch from the bottom. (Tape, flip, tape, flip, tape, score and tear.)
Then do a second row of black duct tape about ½ inch below top of gold strip. (You can draw a line if it helps)
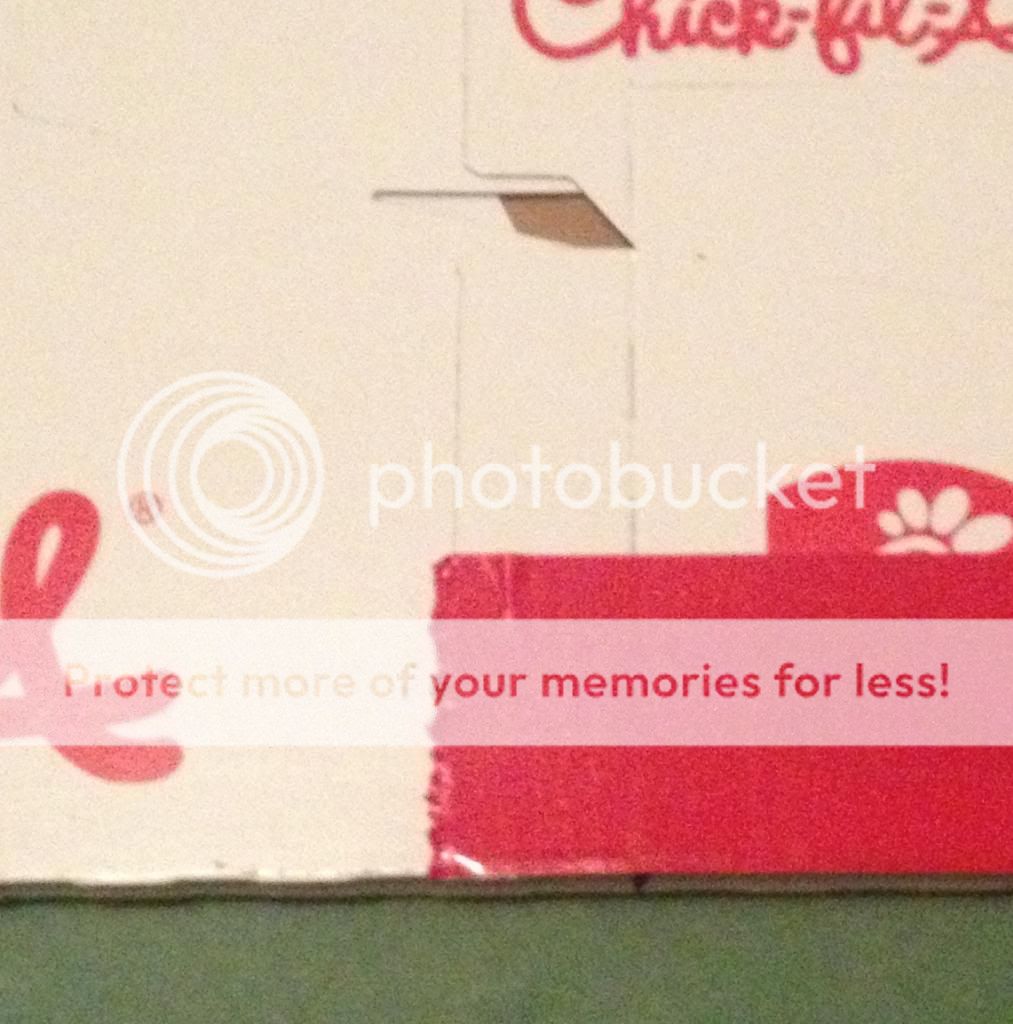
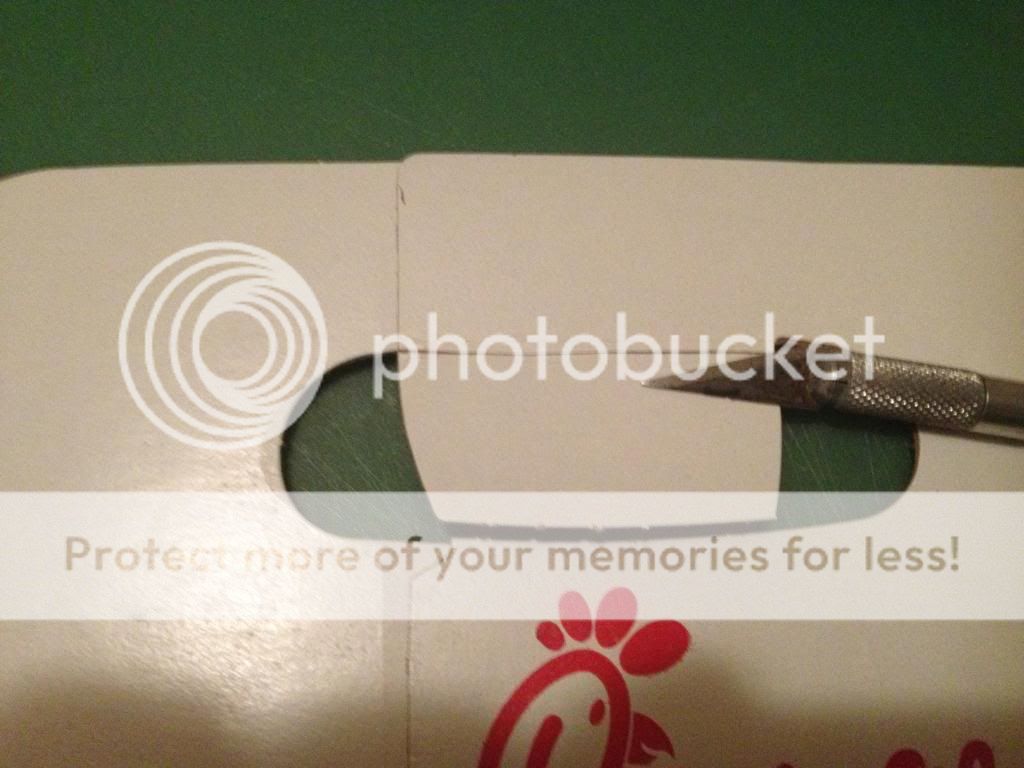
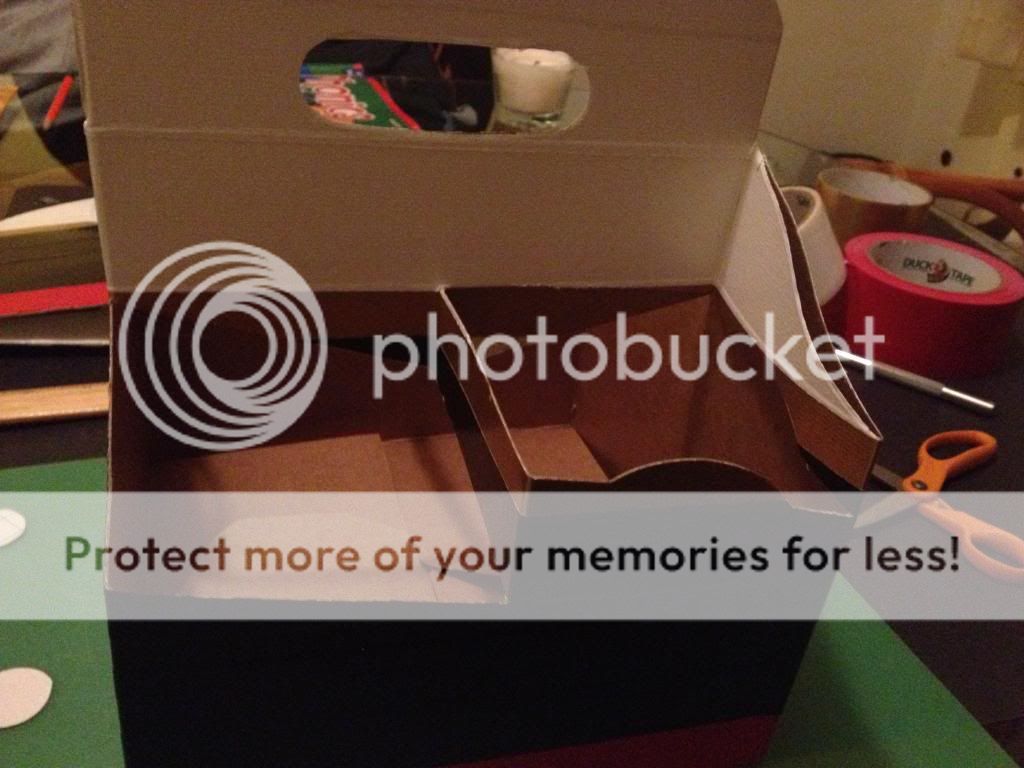
Step Four: Score and remove this little flap.
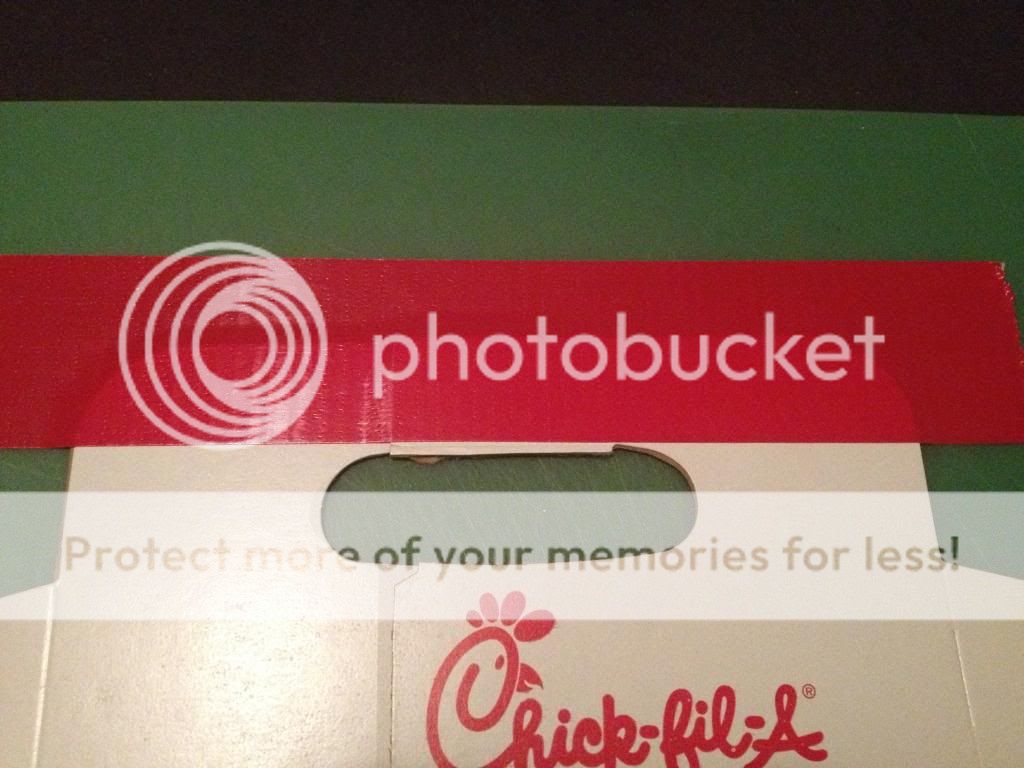
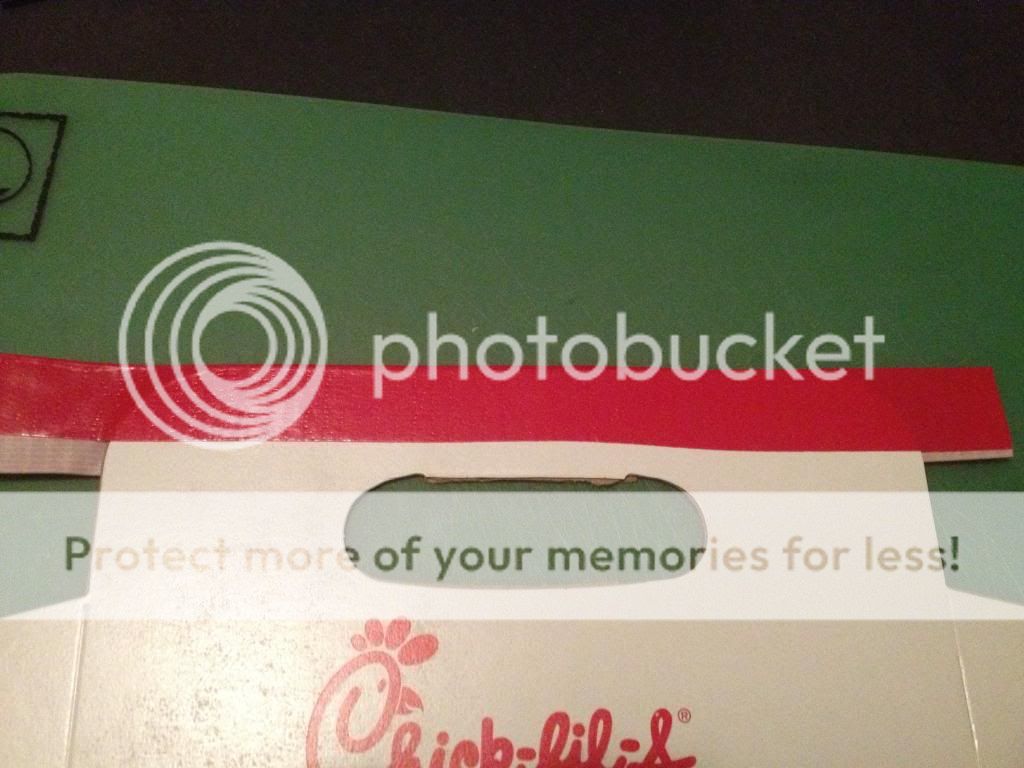
Step Five: (Once again if you want use a ruler to draw a line just above the hole) For this step tear off piece of red tape about 9 inches long. Place across top.
Then flip over holder and fold tape down on opposite side.
Step Six: Tear off a piece of white duct tape about 18 inches long. Place at top of gold strip.
Step Seven: Tear off a piece of white duct tape about 9 inches long. Place about ½ from top of red. (Once again drawing a line may help)
FLIP OVER AND REPEAT STEPS 6 AND 7
Step Eight: Rub edges well so you can see where to trim using an exacto knife.
Step Nine: This step can be the most challenging. You are going to use the exacto knife to cut through the tape on the lines needed to open holder.
To make this easier- rub lines well, have a second holder to make sure how far lines go, and once you start let the exacto knife just slide gently along the line.
At this point you might want to open up. Make sure all the cuts have been completed. And crease it into shape. Then fold flat again for next step.
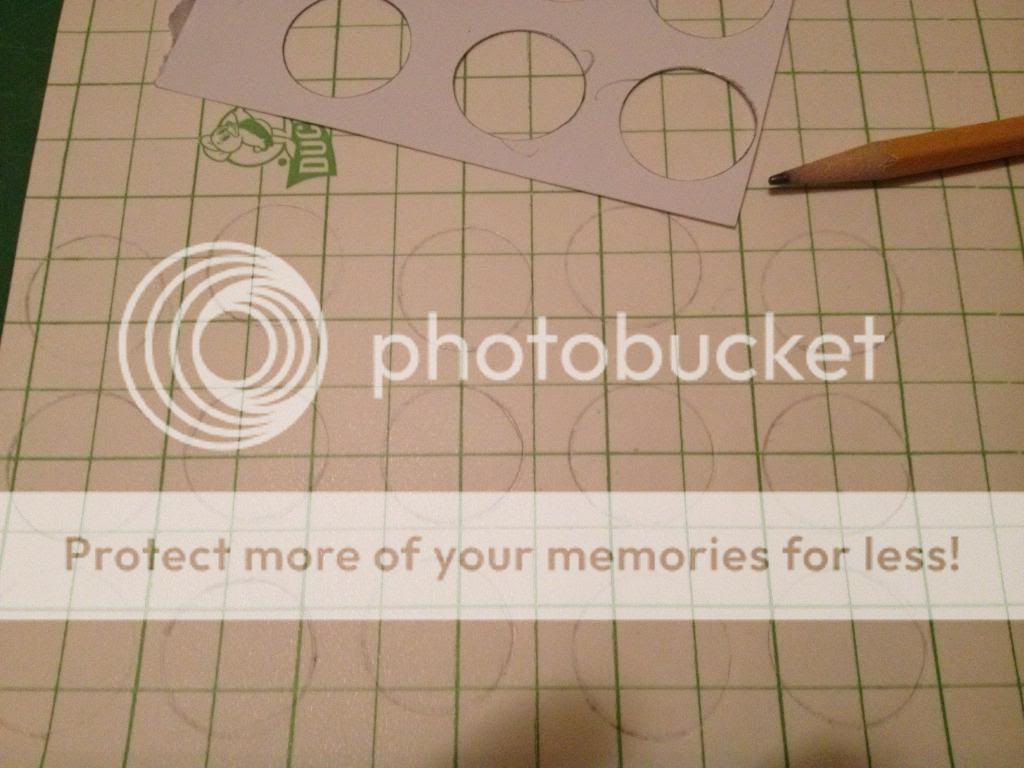
Step Ten: The punch does not work well with the duct tape sheet. So I used a 1 inch punch to make a stencil. Trace 10- 1 inch circles on the paper side of the duct tape sheet. Cut our circles.
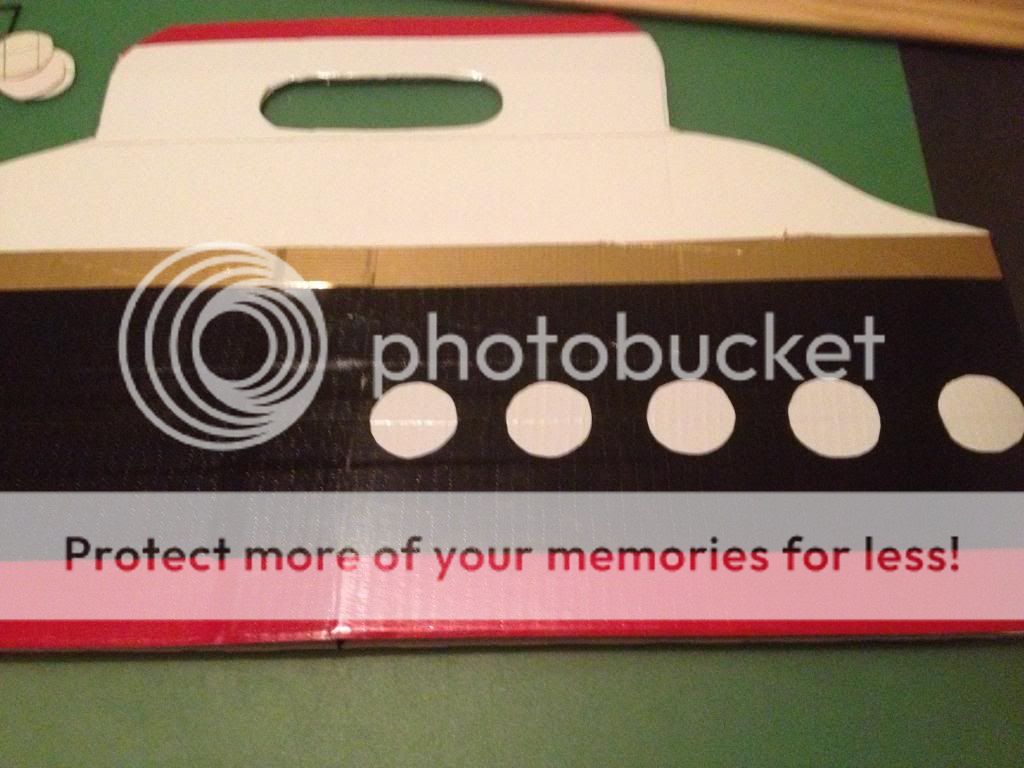
Step Eleven: Starting at the corner where duct tape strips end, peel paper off the back and place circles. Using the line where the two black strips overlap as your guide, place circles so that line is in the middle. Leave about ½ inch gap between circles. These are easy to lift and restick if needed.
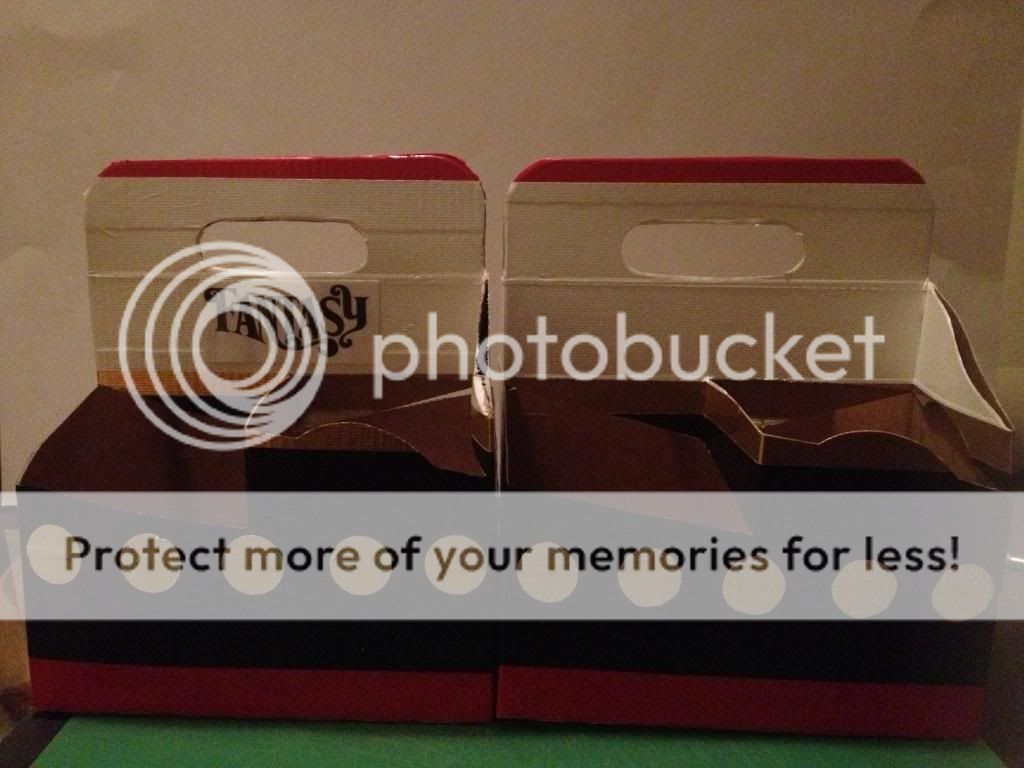
Optional: Print the name of your ship. Laminate and attach with glue dots so you can change in case you use again for a different ship.
Drink holder folds flat. Great for packing in your luggage
")
Another optional step is bring the extra of the duct tape sheet (or a roll) and reinforce the bottom to protect from spill. Then just remove the tape from the bottom before you pack to come home
Enjoy! You will be the envy of every parent trying to balance 4 cups and a plate of goodies to carry back to the stateroom