OK - Here goes:
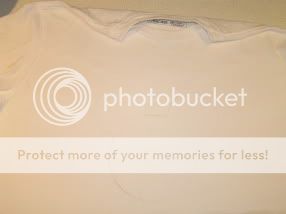
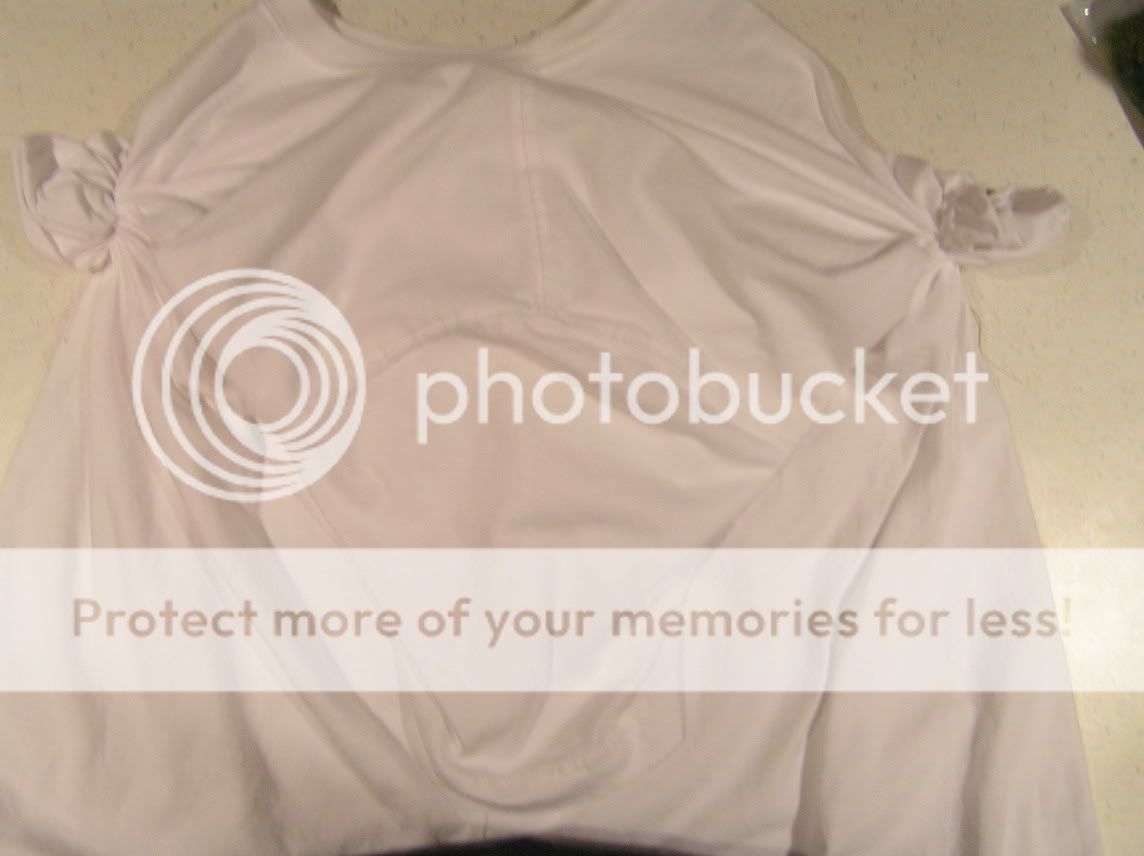
1. Draw Mickey head on front and back of shirt
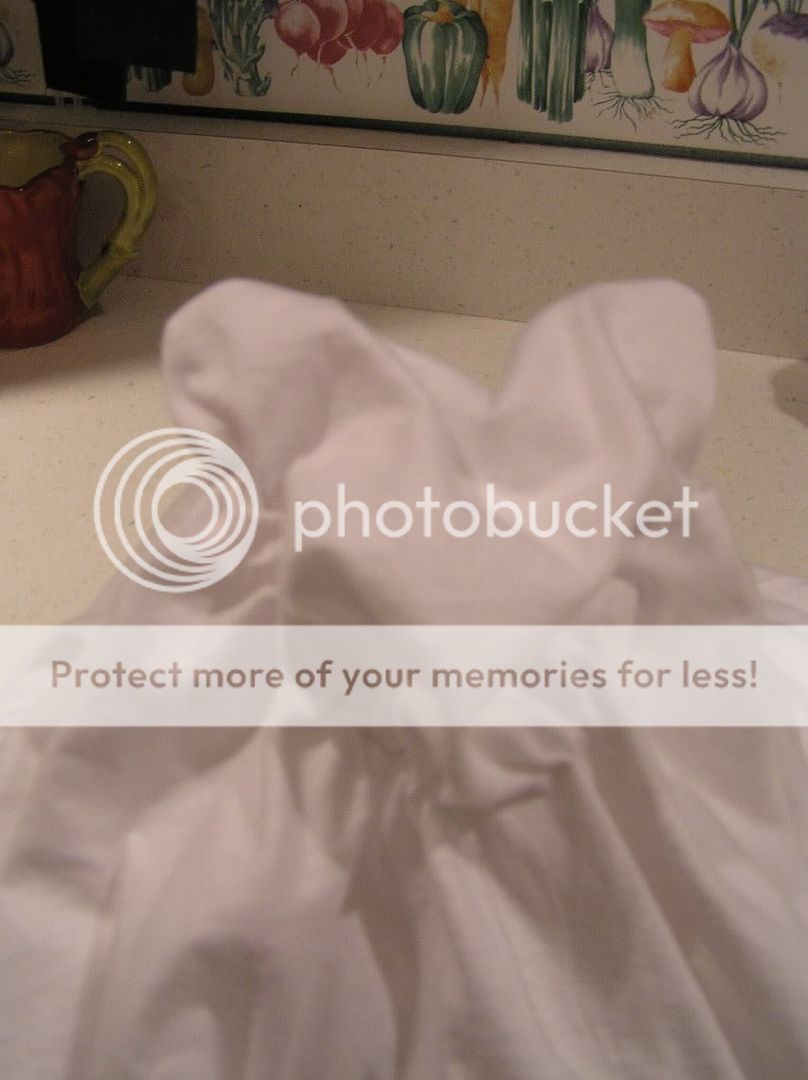
2. Baste just outside of pencil marks
3. Pull thread tight making sure all material poofs to the outside
4. Tie off (keeping very tight) Mickey heads are on right and left - neckline showing to the top of picture, sleeve laying on top of shirt
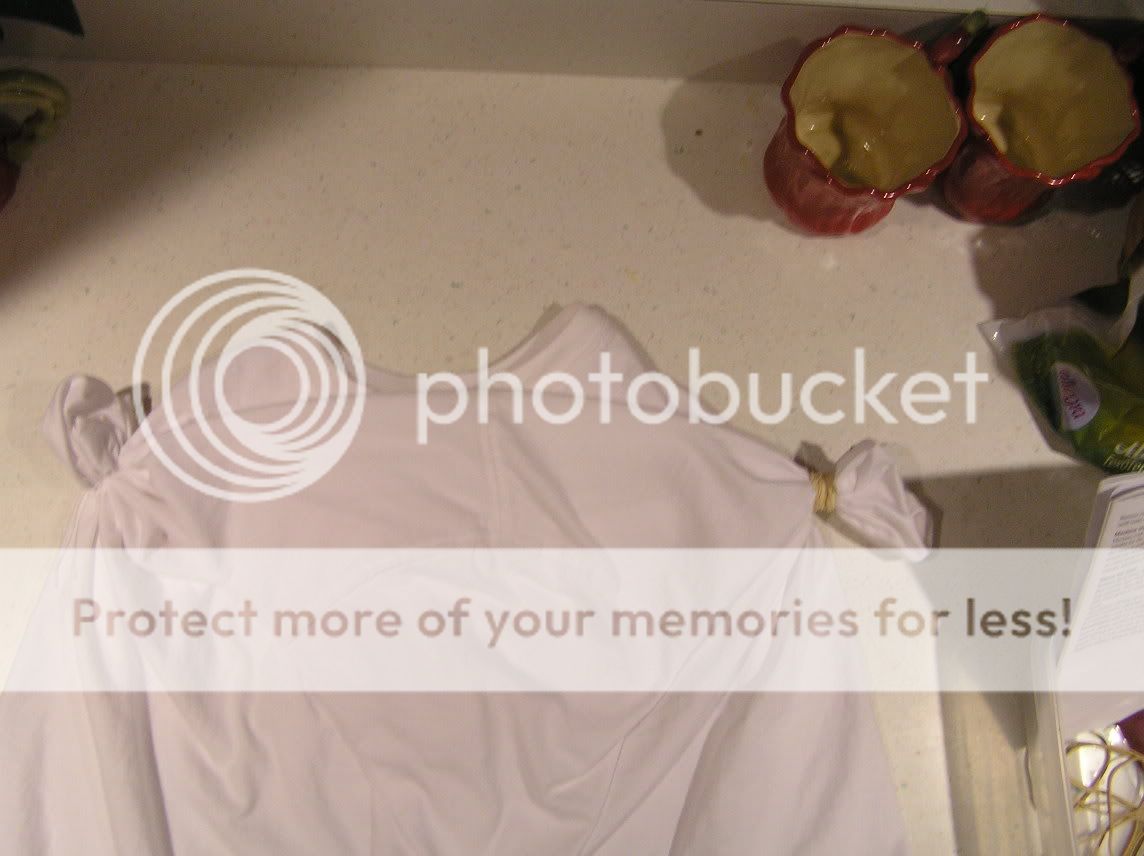
5. Band around Mickey heads
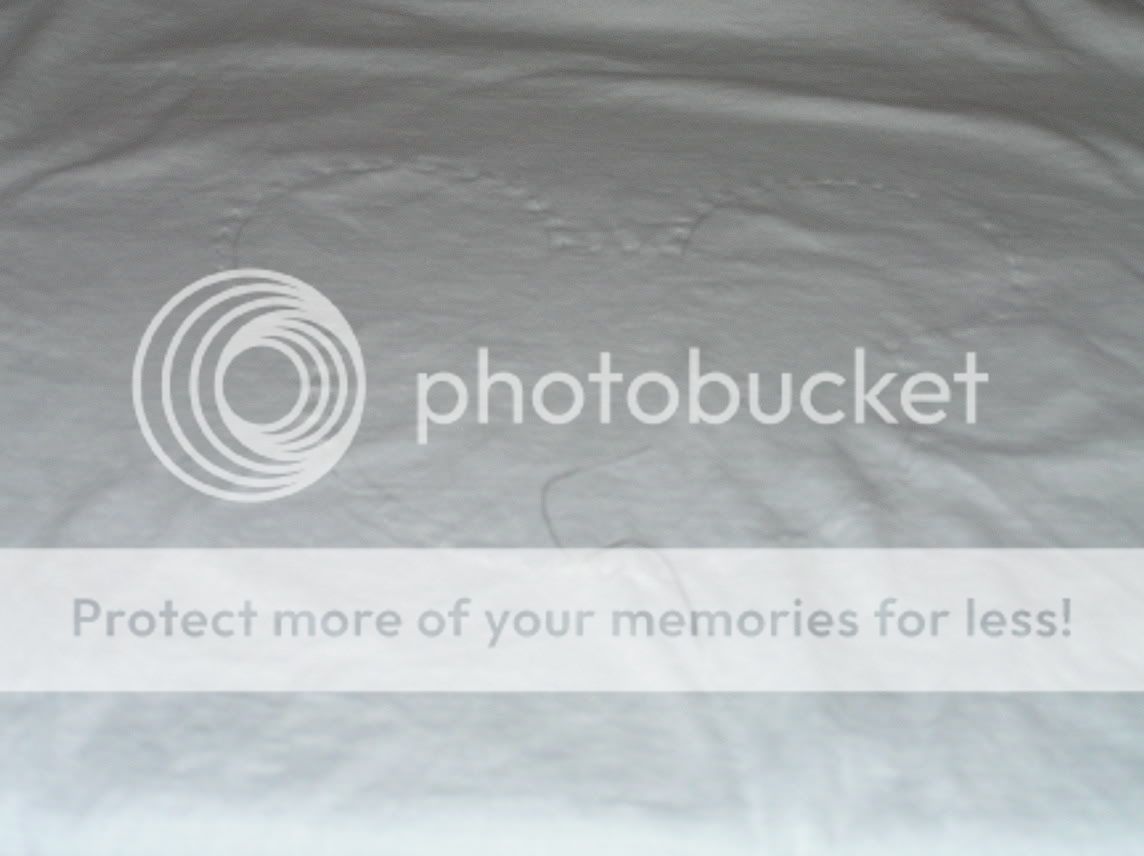
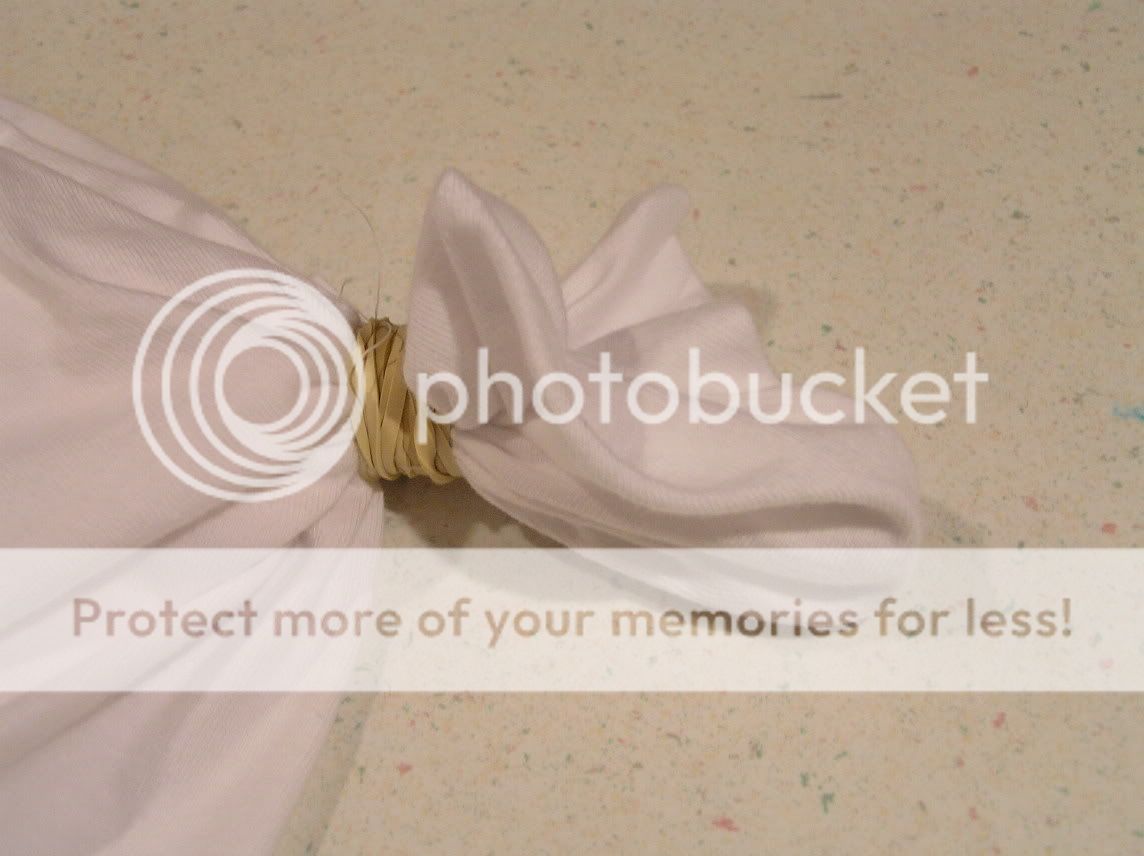
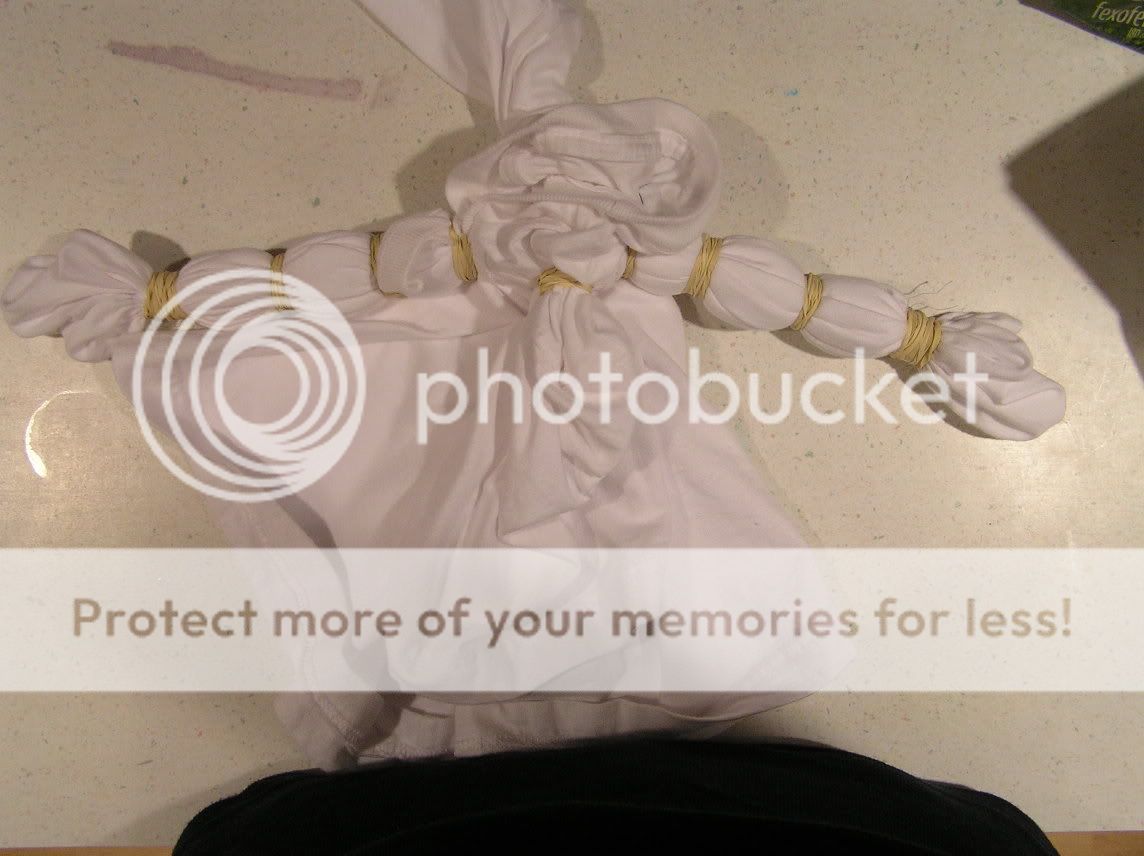
Here is a close up you can see "ears" are smaller tabs, "head" is larger
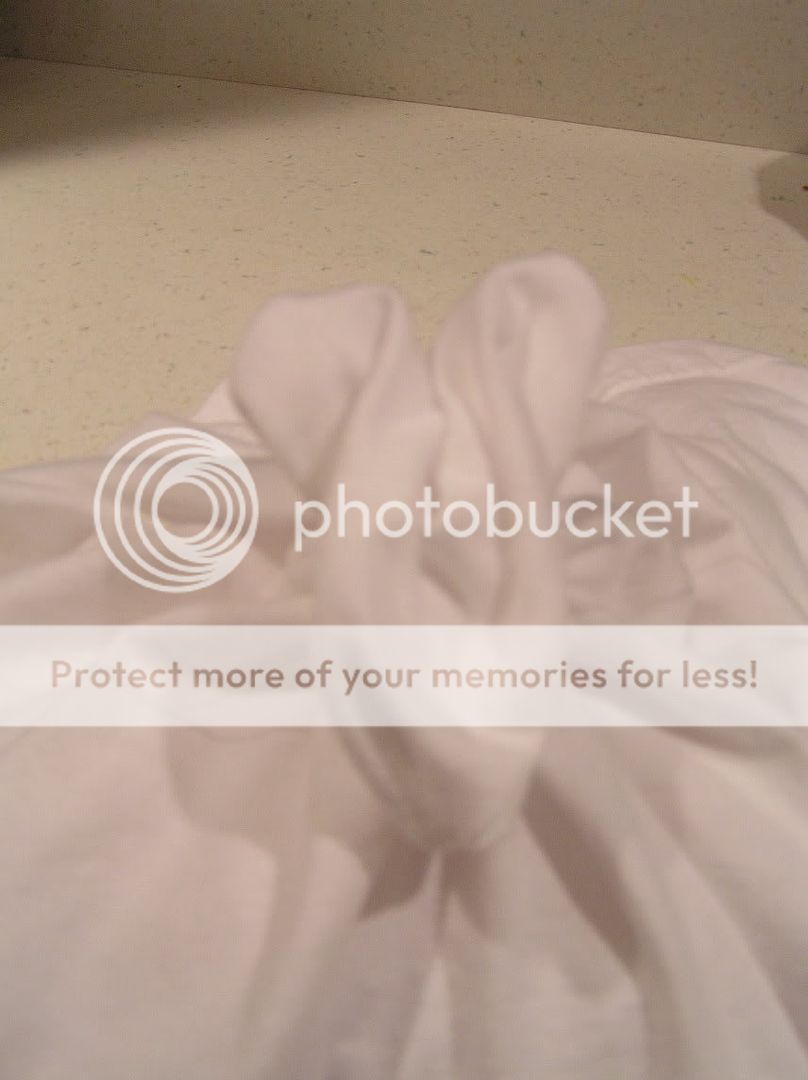
Now is where it gets to be very personal. I wanted concentric circles around Mickey's head - like the pictures of my kids' shirt. Thus I just kept bunching the fabric in a tube and banding every couple of inches up to neckline and sleeves.
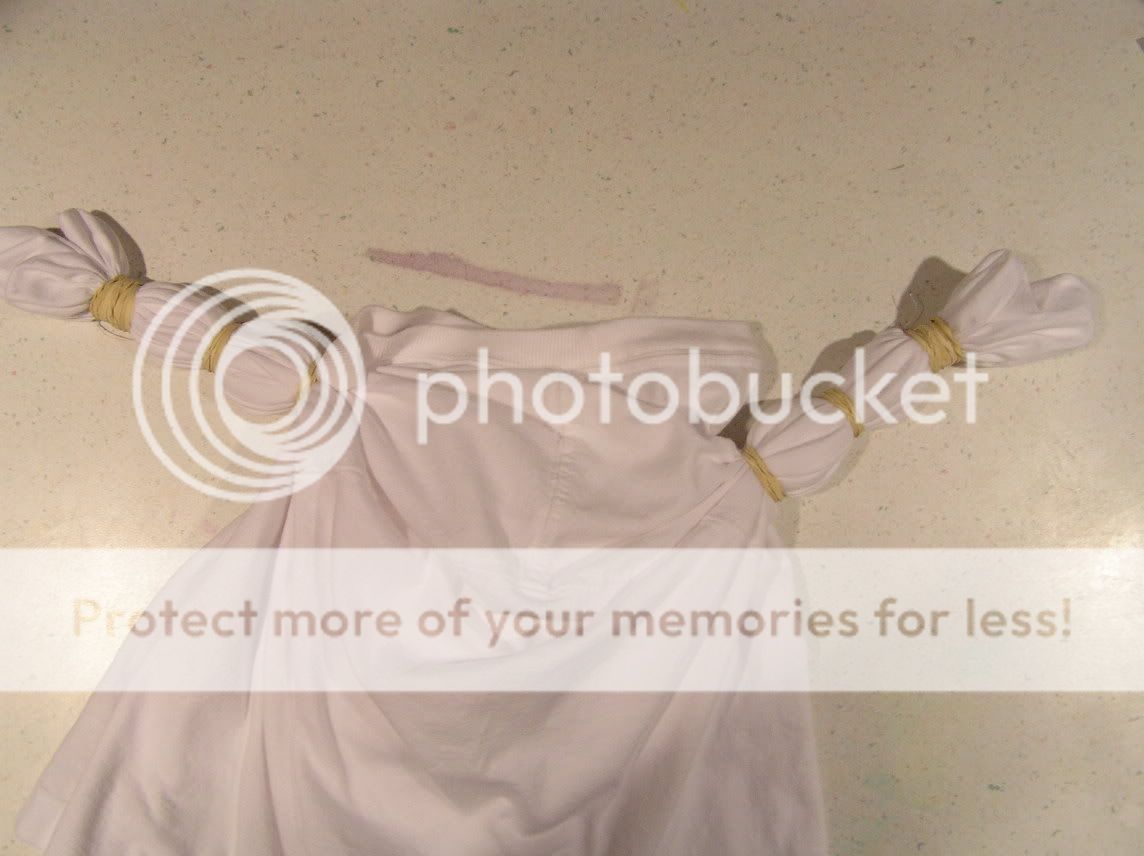
I then banded top of each sleeve
Then I banded the sleeves 1/2 down and banded down the bottom part of the shirt
To produce more of a white outline around Mickey head and to separate colors more, use more than one rubber band. The most recent shirts I have done have about 1" of banding around head. DD6 dyed her g-ma's tonight. We'll have to see how it looks tomorrow.
Additionally, some sites say to pleat before you band, or roll. To be honest, I pleated the first two and didn't like the way they turned out. Thus, I just started scrunching from then on.
Hope these help. If someone needs more pics, let me know. I still have at least 3 more shirts to go!

") I showed the shirts to my mom and she wants to try them. Neither one of us could figure out the directions because we are both visual learners!! Now we can make our shirts for our Grand Gathering!
I showed the shirts to my mom and she wants to try them. Neither one of us could figure out the directions because we are both visual learners!! Now we can make our shirts for our Grand Gathering! 


