Yay! It's finally my turn!


Castle design was nail polish, nail decals, and castle tattoos from a Frozen sheet of tattoos. I painted white nail polish on the exposed side of the tattoo and used a craft knife to trim to the edges. Then I put a very thin coat of clear on the band and positioned the tattoo onto it. I did both sides and they both turned out great! I dabbed on a slightly darker blue in the center by the Mickey head - in person, it's really pretty and it merges into the lighter blue perfectly. I used Sinful Colors "Cinderella" for the blue (super pretty and subtle sparkle). The sparkle over the white is a combination of nail decals with glitter on them and a clear coat with glitter in it. I also added base coat as the final layers (no glitter). There is SO MUCH polish on that band; I packed touch up supplies for when it chips!
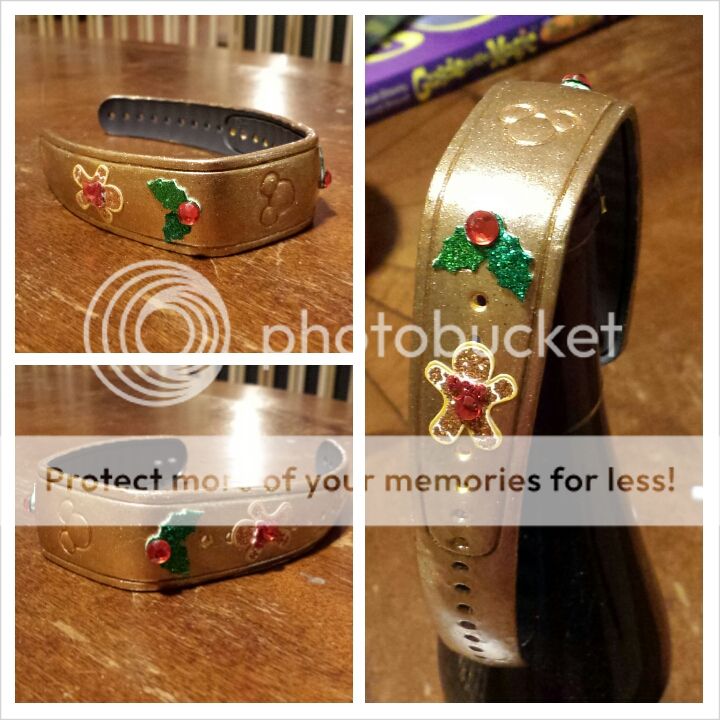
My daughter really just wanted dark purple and sparkly. She's very happy with her efforts! She also added the same glitter over her color layers and nail decals.
My DH utterly refused to decorate his. DD pestered him relentlessly until he gave in. Now he agrees it was a good choice. Of course, tiger stripes weren't HIS choice! DD was also considering tiger stripes for her band. She put the orange on, and I outlined with the black sharpie. I added one coat of base over that to prevent scratches. We'll see how it holds up!
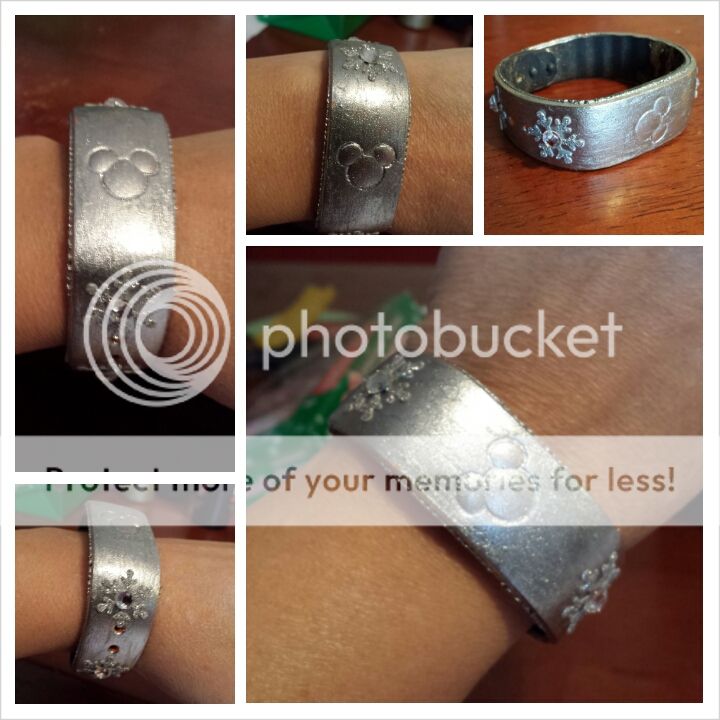
The most fun and most time-consuming were the 4 layers of glow-in-the-dark. I ordered "Ghoulish Glow" from
Amazon - local stores carried nada. The glow polish turns, well, pasty ghoulish yellow. It looked good on DH's orange, but not so much on DD and my silver Mickey's.
COOL TIP: If you use glow, you can put a thin coat of color ON TOP to restore the aesthetics. Glitter is also an option. The glow will still work!
My glowing Mickey looks goofy because I accidentally put way more than a thin coat on top. But the other two came out great.
These were ridiculously fun. I can't wait for our trip!


") "
"
 Unfortunately, I don't have any experience using a base coat but I guess in theory you could paint the whole band white as a base, apply the tattoos, then paint the band around the tattoos a different color. That actually sounds pretty complicated.


")


