Originally Posted by brettcw23
With much help and inspiration from PixieDust32
Required:
1. Soda ash fixer - this helps the dyes to bond with the fiber.
2. Urea (optional) - Helps the dye to dissolve nicely and keeps the shirt damp so that the colors can set.
3. Synthrapol (optional) - gets the excess dye out when you wash them. Not necessary but helpful.
4. Dye (or kit)
5. Rubber bands
6. Mickey Head template (just Google it and you'll find them)
7. Sewing thread or waxed dental floss
8. Sewing needle
9. Pencil or wash out fabric marker (used to trace the Mickey head onto the shirt)
10. 100% cotton t-shirts or other items. You'll be disappointed if you get anything but 100% cotton. The colors are much more vivid and crisp with cotton. Mixed blends or lycra material just dont work well.
The Process:
Trace a Mickey Head on your shirt (I draw mine a few inches below the neck line, but you can create them anywhere youd like and any size.)
Then do baste stitching around the template. I do a lot of small stiches using waxed dental floss. The stitches are probably 1/8". The rule of thumb is that the tighter the stitching, the better the more defined that the Mickey head will be.
Pull the thread tight so that the Mickey head puckers up from the shirt. Wrap the excess string around the base of the "puckered Mickey head"
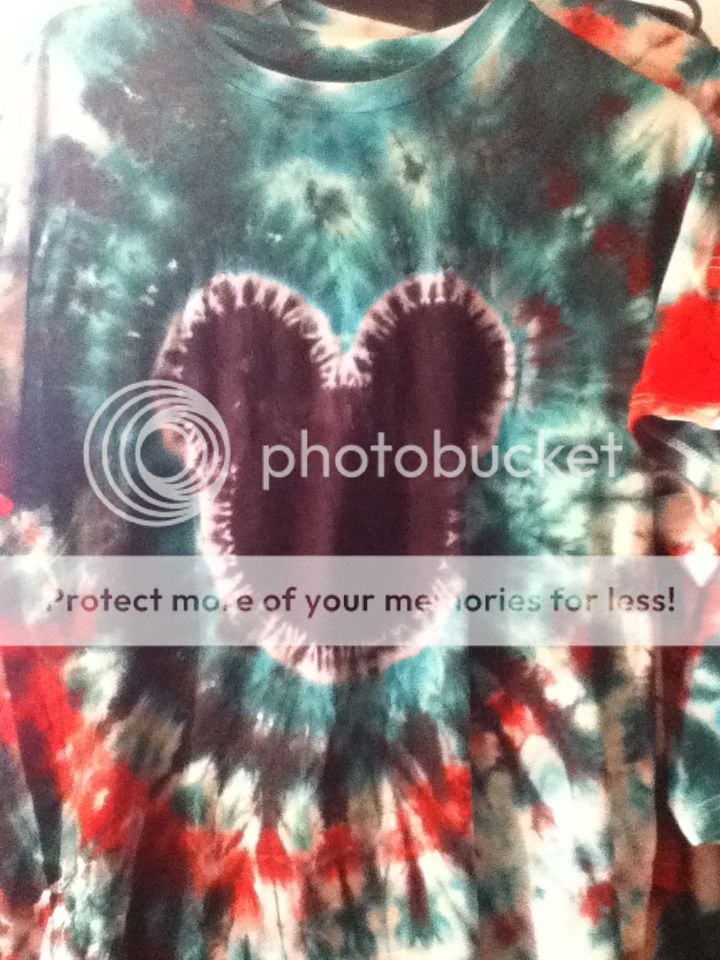
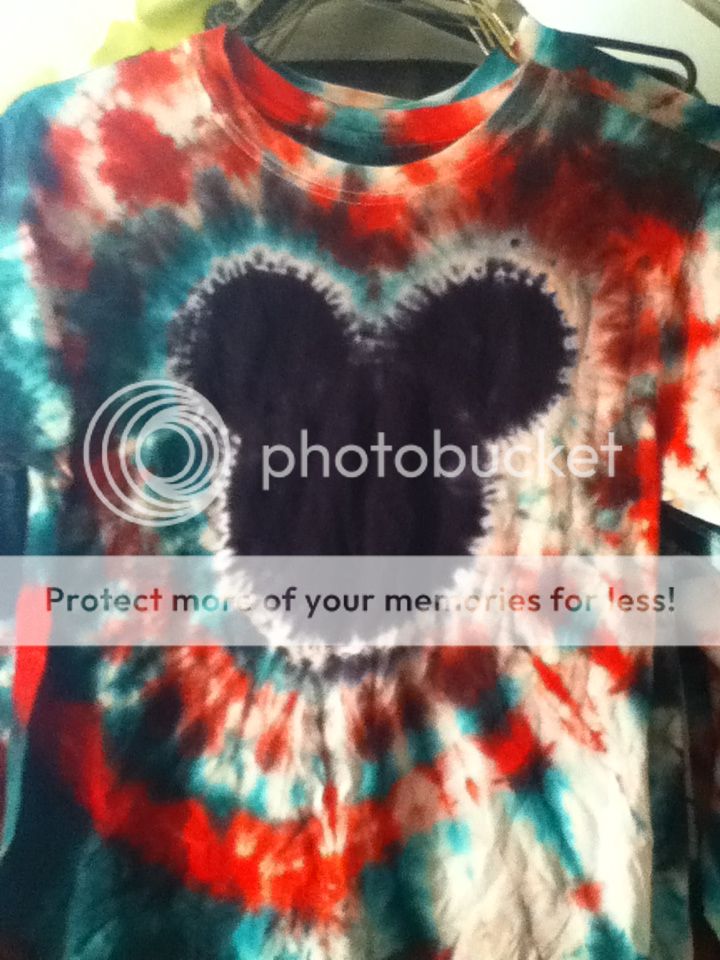
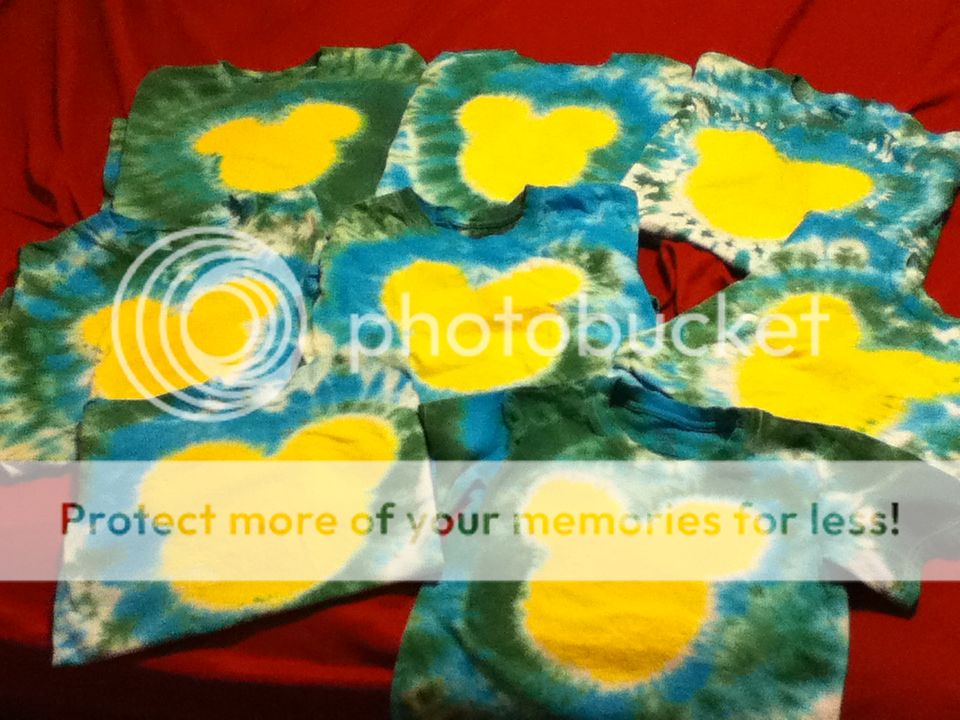
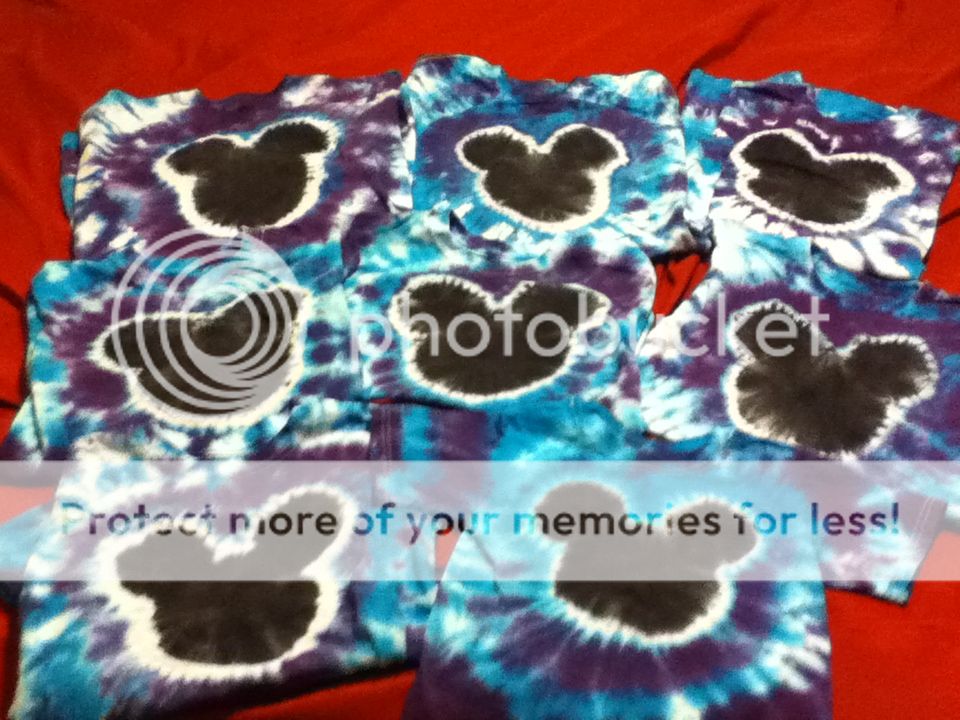
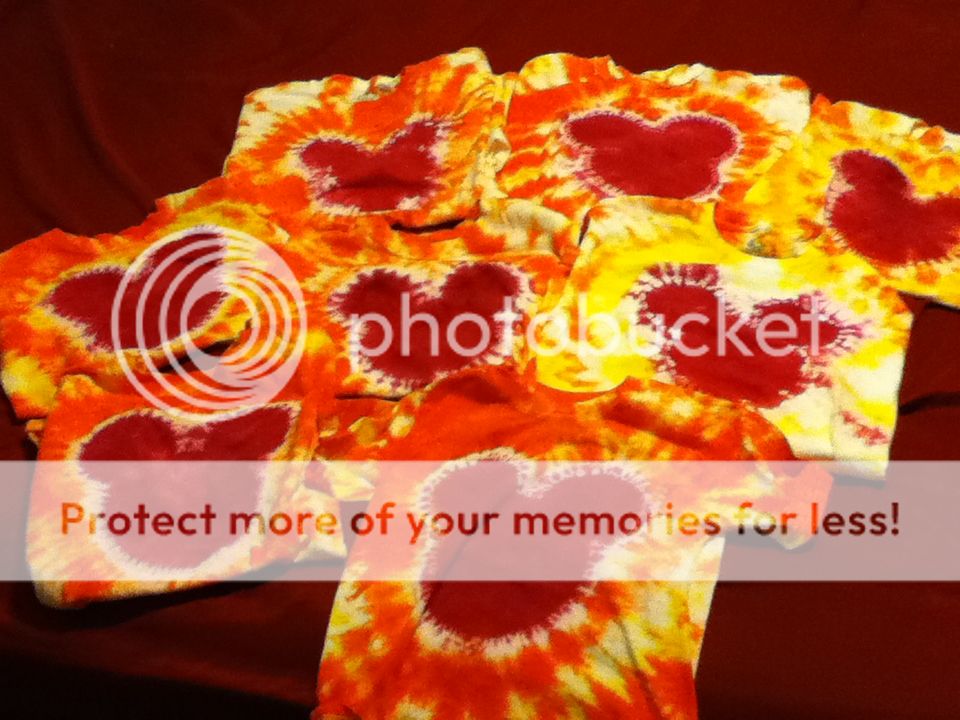
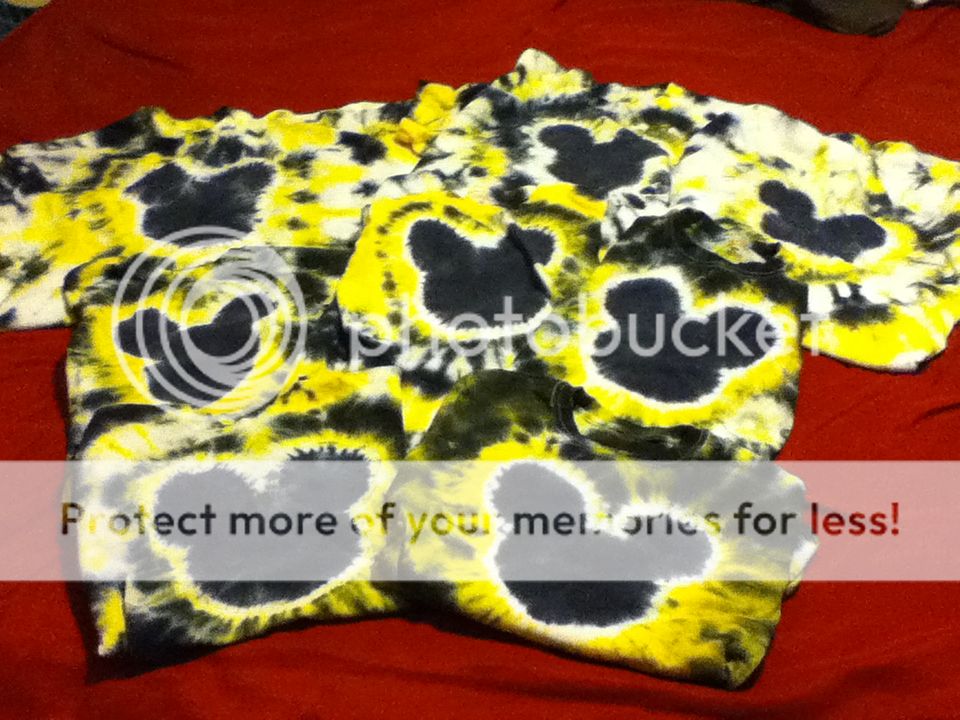
Put rubber bands REALLY tight around the base of the Mickey head. This creates the white outline around the head.
Put a packet of Soda Ash in a bucket of warm water and mix it up. Soda Ash can be bought at most craft stores or at Lowe's\Home Depot in the pool section (listed sodium carbonate or sodium UP)
Put the t-shirts into the mixture for at least 45 minutes.
When time is up, ring out the shirts by hand and get as much water out as you can..
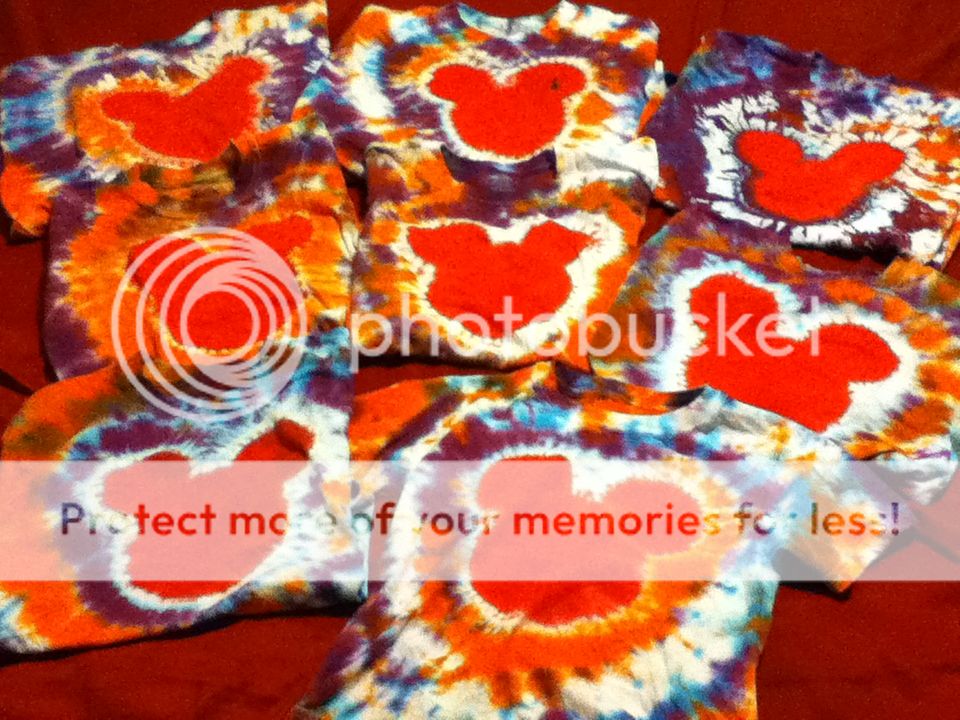
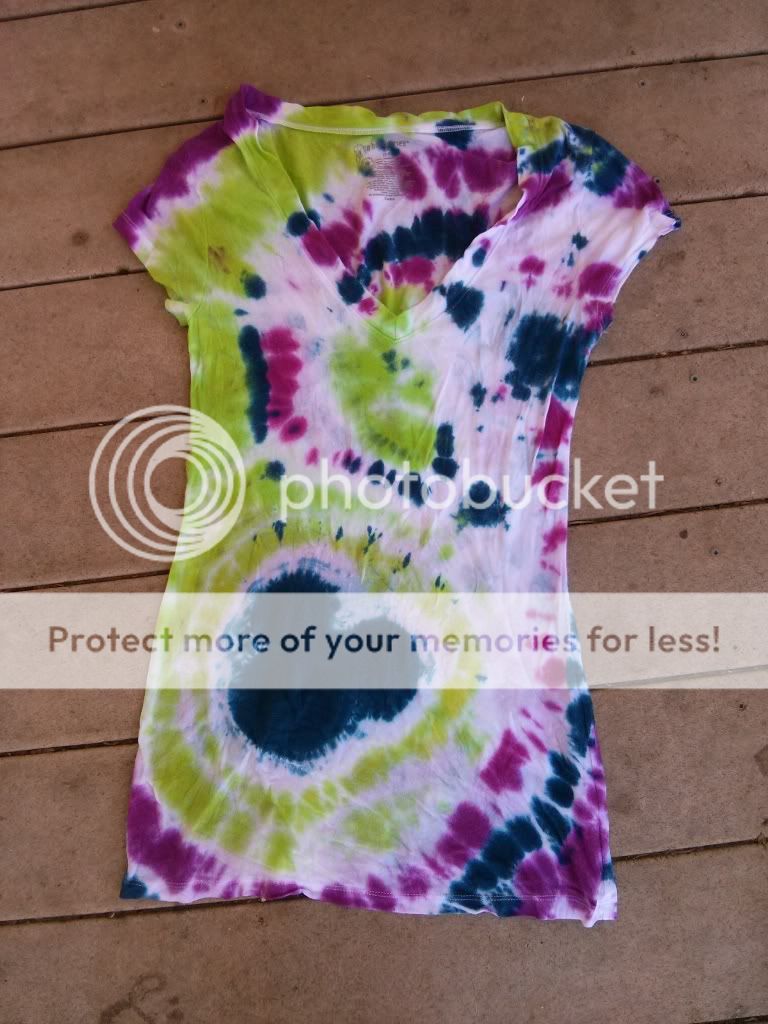
Then create your shirt design. Most people will grab the Mickey head and start twisting so that the shirt will form into a danish looking circle,
One the shirt has been twisted into a circle, put rubber bands around the shirt dividing it into pizza type shapes. I normally use 6 rubber bands to help keep the circle formed nicely.
Now, mix your dyes. There are a variety of types and they are personal preferences.
Dharma trading Company seemingly produces the best results.
When I mix mine, I use 4oz bottles and I also use urea and mix it with the water. Once the mixture is made, I pour it into the bottles using a funnel.
So the mixing process for me goes like this.
Using Dharma dyes, I put 1 TSP of dye into the bottles (unless the specific color requires more dye per the Dharma instructions. i.e., Jet Black required 4 TSP of dye.
Next I put whatever amount of water I need into a bowl (my wife has a Pampered Chef one with a spout...works great)
Then I put in however much urea is needed and mix it all up.
Then I pour the water into the bottles and shake them up.
Once you have the dye mixed, you can begin coloring the shirt.
Some people start with the Mickey head. If you do that is fine. Try not to oversaturate the head or it will run past the rubber bands onto the rest of the shirt and you will end up with a blob instead of a defined Mickey head.
To keep from dripping the dye for the head onto other parts of the shirts, you can over the shirt with a plastic bag, cling wrap, or grocery bag.
I actually do the shirt first and the head last.
I cover the head in cling wrap right away and can then use it as sort of handle to turn the shirt as I dye and do not have to worry about getting the wrong color dye on it by mistake.
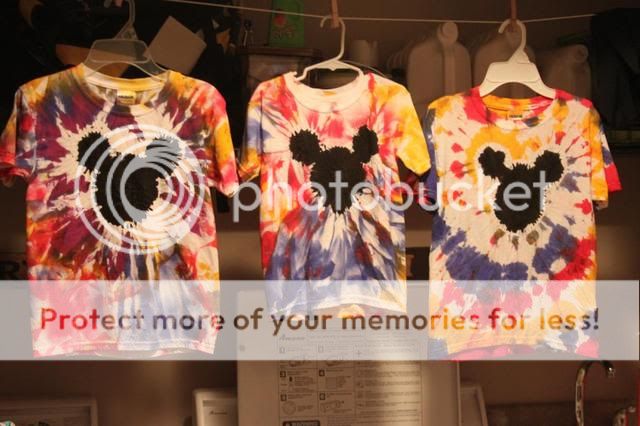
I dye the shirt using 4 colors. I use one color for each quarter of the circle.
Make sure to do the top and bottom of your shirt and also make sure to get the tips of the bottle into the folds of the shirt. If you don't get the tip in the folds, you will end up with a lot of white in your shirt.
When I am don with the shirt part, I wrap it in cling wrap.
Next I take the cling wrap off of the head and color it in.
Once the head is completely dyed, I wrap it again with cling wrap.
Let the shirt sit for 24 hours.
Take the shirt out and rinse it in the sink with warm water.
Take the rubber bands and thread out while washing out the extra dye. The rubber bands can be stubborn to get undone, so I use a thread ripper to get the rubber bands off the Mickey head.
Wash the shirts with Synthrapol if you have it. I wash it on hot. If you don't have Synthrapol, use All or something similar.
When done, dry the shirts on low heat or hang up and dry.
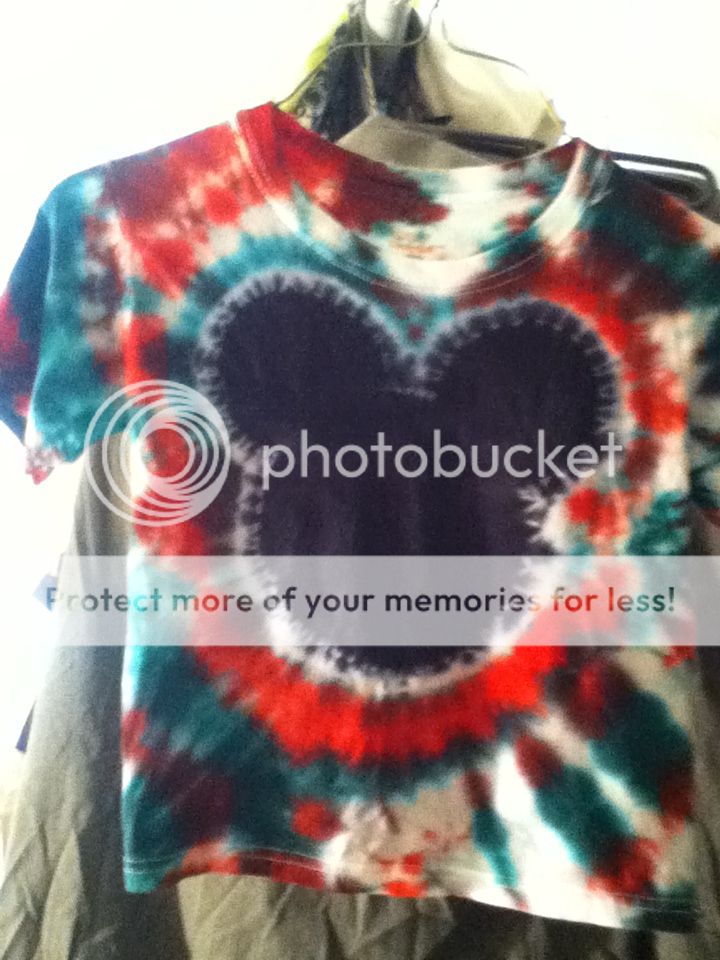
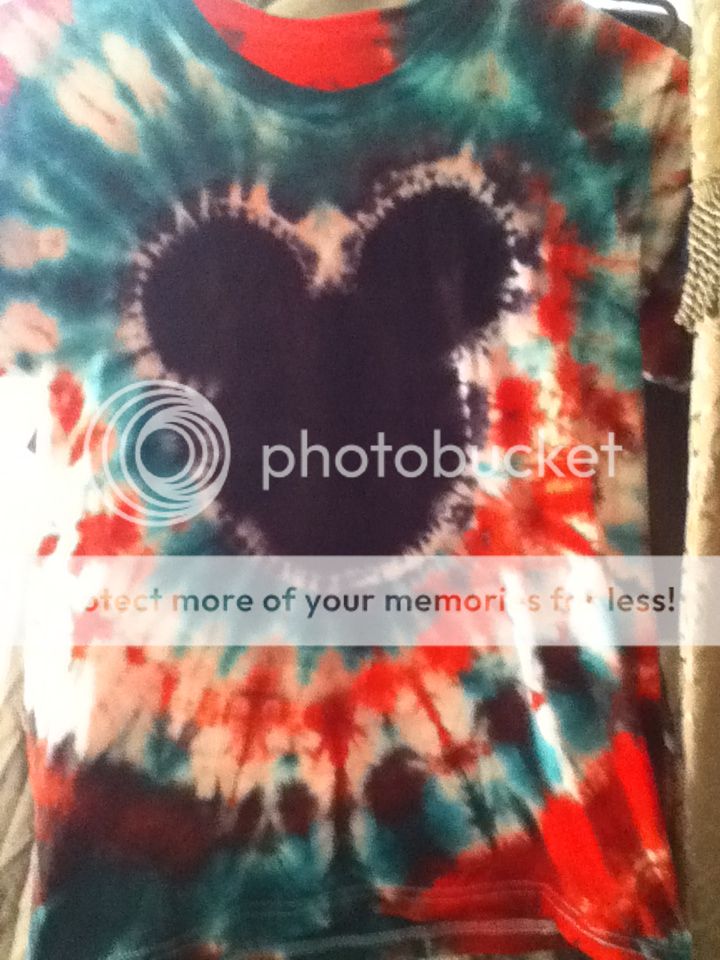
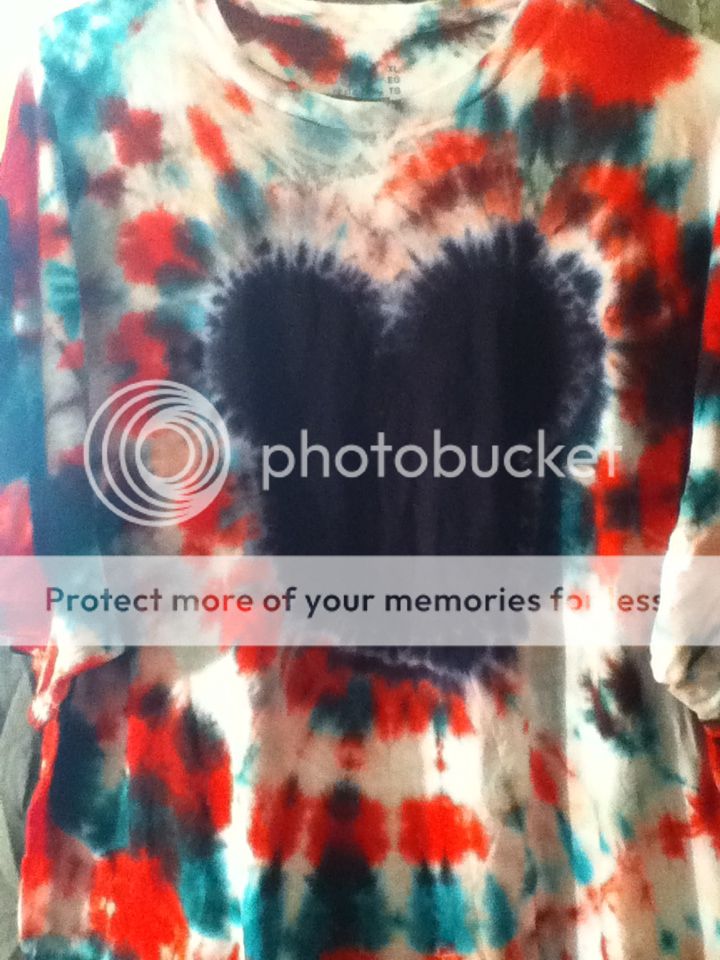
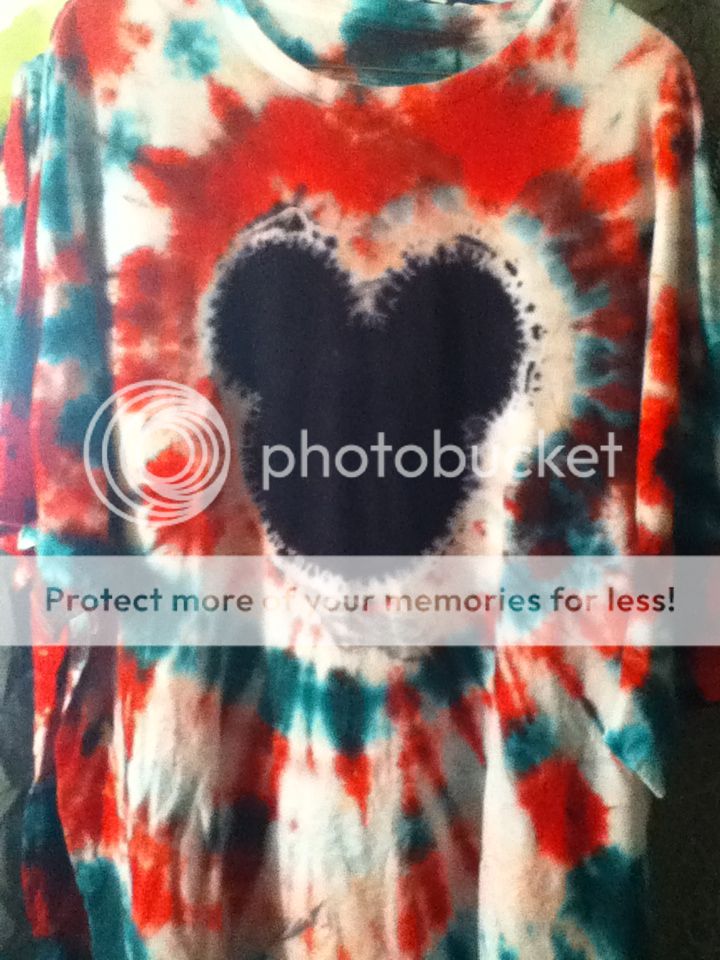
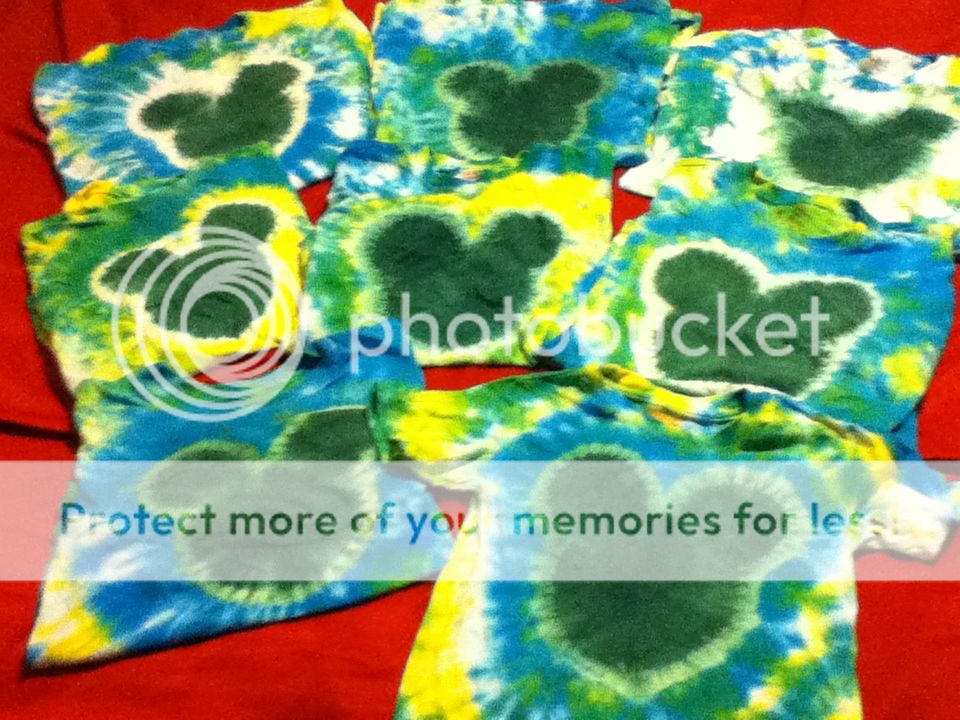
Now enjoy your shirts!


")
 I held tough- was the only one in the parks with shorts on!


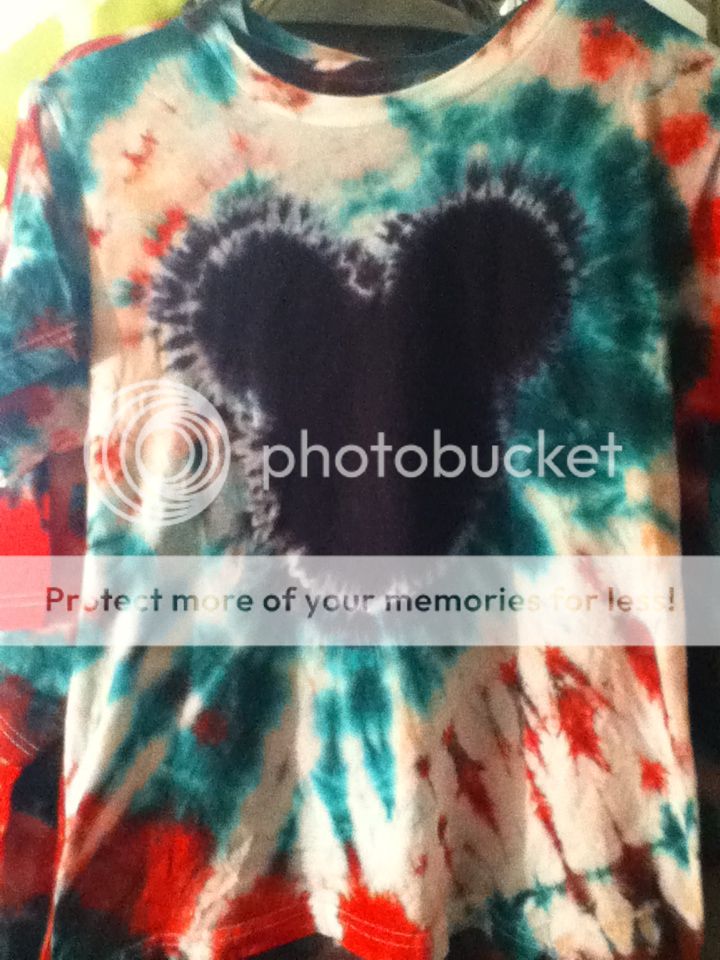
") ) I would have also liked a more definitive white border around Mickey but I think that was because I needed a tighter rubber band around the Mickey head base?? I've got another one brewing right now so we shall see! Just thought I'd share my result.
) I would have also liked a more definitive white border around Mickey but I think that was because I needed a tighter rubber band around the Mickey head base?? I've got another one brewing right now so we shall see! Just thought I'd share my result. 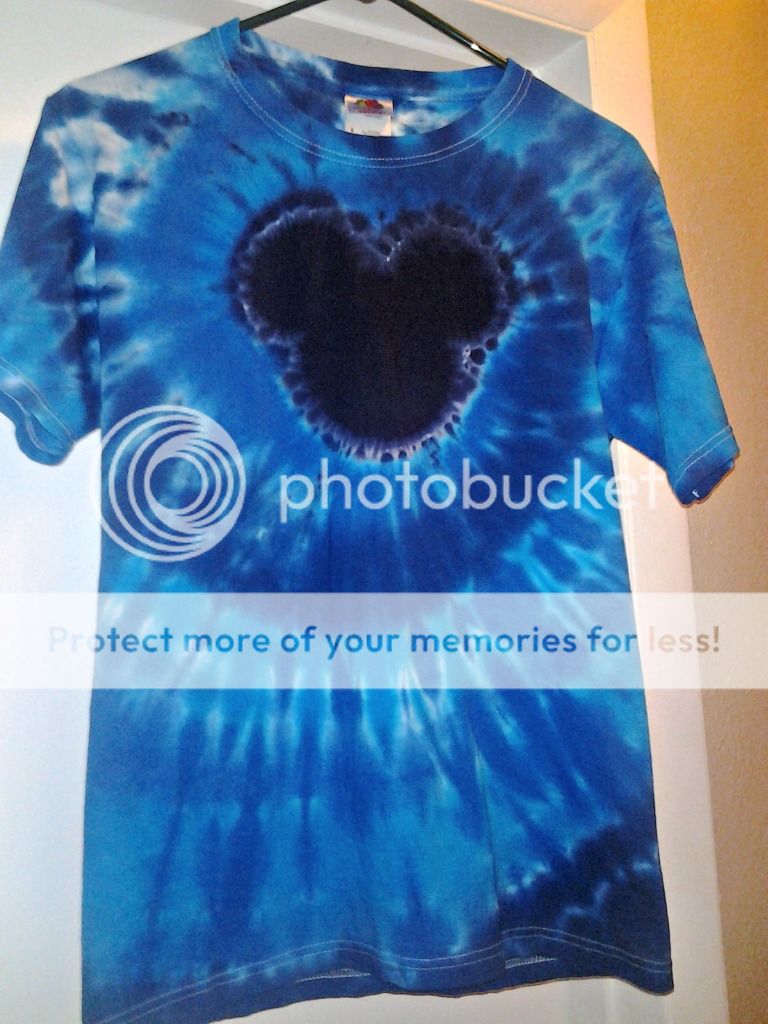


 I know what a basting stitch is and can manage that, but when you're done and have pulled it tight, do you tie it off? Just wrap it around the Mickey head? What?