Every now and then I'm tempted to switch to shooting jpeg, and them I'm reminded of the benefits of shooting raw.
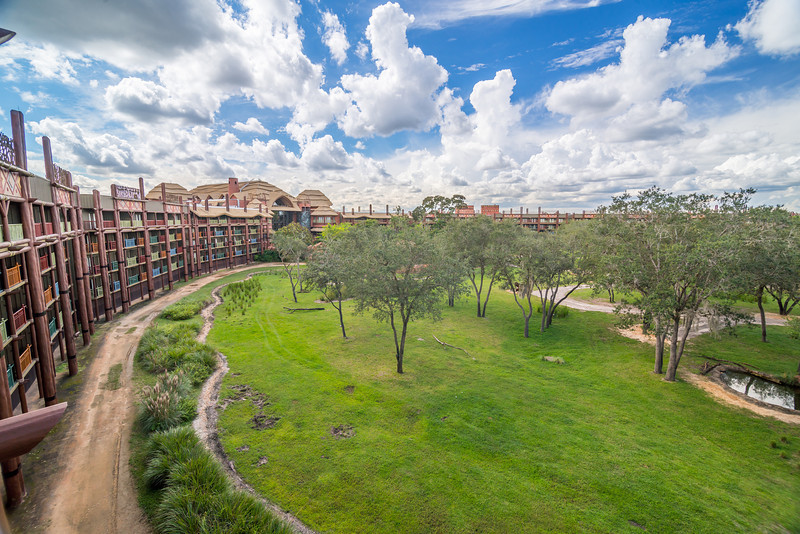
I was shooting early morning, the sky had a golden glow that I kept losing. I did one of my shots severely underexposed, and at first glance, it still didn't seem to really work:

before70.jpg by Havoc315, on Flickr
5 minutes in lightroom:

fallsunrise-70.jpg by Havoc315, on Flickr
I was shooting early morning, the sky had a golden glow that I kept losing. I did one of my shots severely underexposed, and at first glance, it still didn't seem to really work:
before70.jpg by Havoc315, on Flickr
5 minutes in lightroom:
fallsunrise-70.jpg by Havoc315, on Flickr


")


 kingsland_91.jpg
 Kingsland Point Park at Sunset