Andrea - Im a floater too - lol....I got too much hoop burn and off centered designs when I tried to hoop the shirt. Here is my 2 cents!!
-Using my grid that came with the hoop and a marking pen I put the dots on the shirt (I do this at the ironing board)
-Hoop some medium weight cut away, spray some 505 spray on the stabilizer
-I use the little marks on the top/bottom and sides of the hoop to line up my dots and stick my shirt onto the stabilizer and smooth it all out.
(for filled designs, I float another layer of stabilizer under the hoop)
(for towels or fleece, I float a layer of wash away stabilzer on top of the hoop)
-Tack Down Stitch
-Happy Stitching!!! KEEP AN EYE ON YOUR MACHINE!!!!!!!!!!
-Sometimes I iron on a piece of the soft meshy stabilizer to keep designs from being itchy (especially for Big Gives who say they are sensitive to materials)
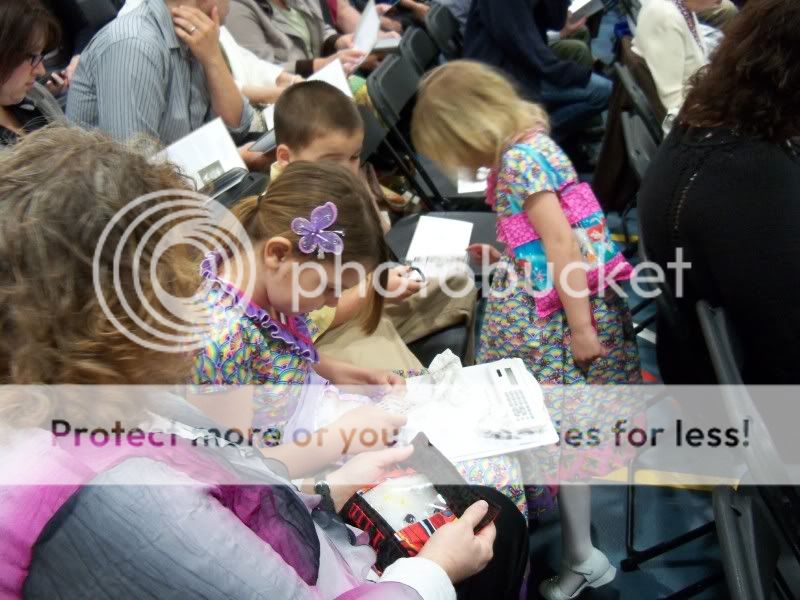
I didnt get a real good pic of the girls in their dresses. I do think that I chose the right size for my girls as across the back, the dresses fit perfectly in the shoulders and arms. It was kind a gappy in the front though, even when tied tightly. They did wear a shirt underneath them just in case. Of course their dad helped them with them in the AM, and he didnt tie the insides!!! Fortunately I noticed it in the parking lot and we quickly fixed that. I did use a knot first, then the bow. The girls REALLY liked them and I did too, but I would have liked them to be a bit smoother across the chest. Also they LOVED their eye spy bats, but the big surprise was that the BIG TEENAGERS love them!!! lol!!! they were so funny and made it a race!!!
Big kids racing
Eliz and I racing - Hannah wearing hers as a purse. She seemed to enjoy telling us what to find than actually finding things (she is 4)
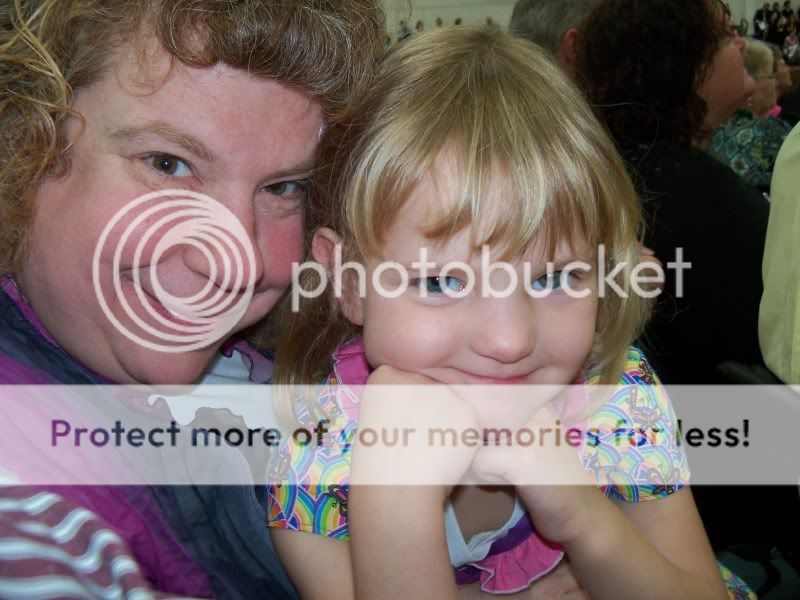
Hannah and I
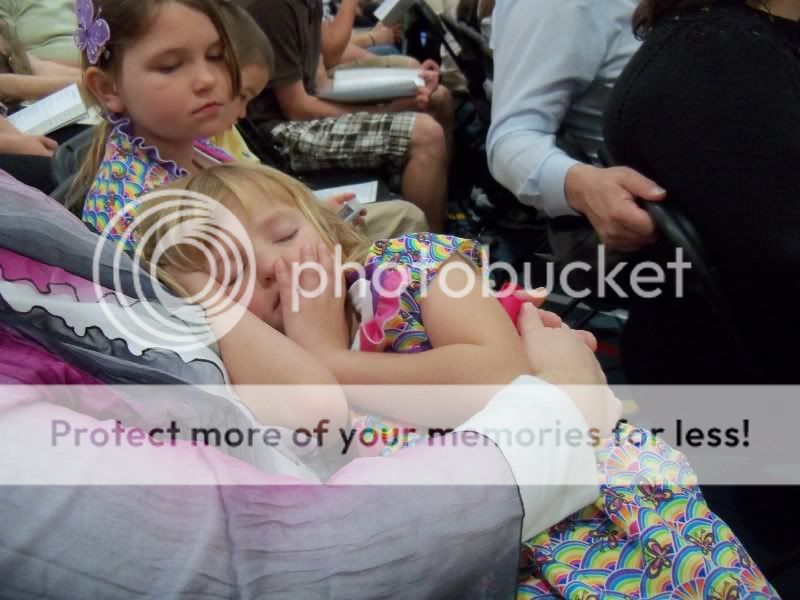
Hannah after we were 2 hours into it - 600 graduates took a while!!!
Yes, this is my girls acting SILLY!!
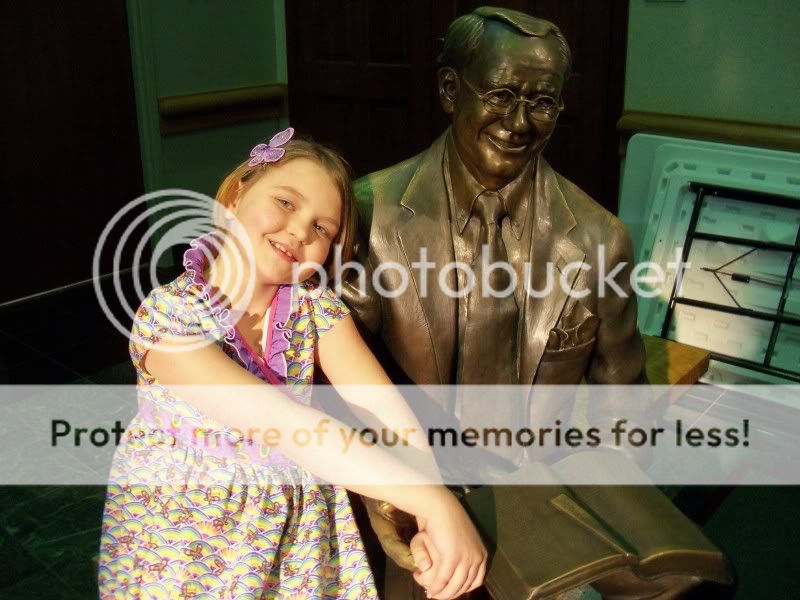
All of us including the GRADUATES!!!
Zoey enjoying the hotel life!!! lol
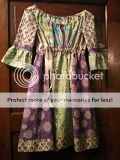
") Thanks everyone for the comments on the My Little Pony outfits. The girls loved them and pranced around all weekend in them. I think I lost some of my quotes.
Thanks everyone for the comments on the My Little Pony outfits. The girls loved them and pranced around all weekend in them. I think I lost some of my quotes. 


 )! I'm SOO inspired by what I've seen here! I cannot wait to try my hand at some of these types of projects!
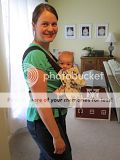
 It can also be worn for a back carry. The decorative fabric was from a receiving blanket three pack I got for a shower gift several years ago. I used the matching blanket to make a nursing cover that has served me for three babies.
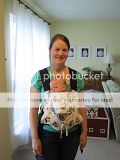

 to get it out of the box! I am hoping to try something on it by tomorrow, but we shall see. I really am terrified of it now that I own it!


 DH asked last night what my plan was. When I told him, he was very nice but said that while there are many things that I do very well, sewing isnt really one of them LOL.
  I figure I just need practice.


 All I know is I don't want to hoop my shirts because I really don't want to risk hoop burn. I have a page written down in my notebook with all your tips!


 , but if I had been worried about sizing, I never would have thought of it.
  :rolleyes:")


 Now, I have a question for everyone. I have been lusting after an embroidery machine (my husband says "Thanks Dis!"). I found a Simplicity SE2 on craigslist today for $200. That is in my budget! Is it worth it? It comes with a smartbox. Can I do disney stuff? My DD is 9 now, so I am not sure how much cutsy stuff she will keep wearing. Please advise.


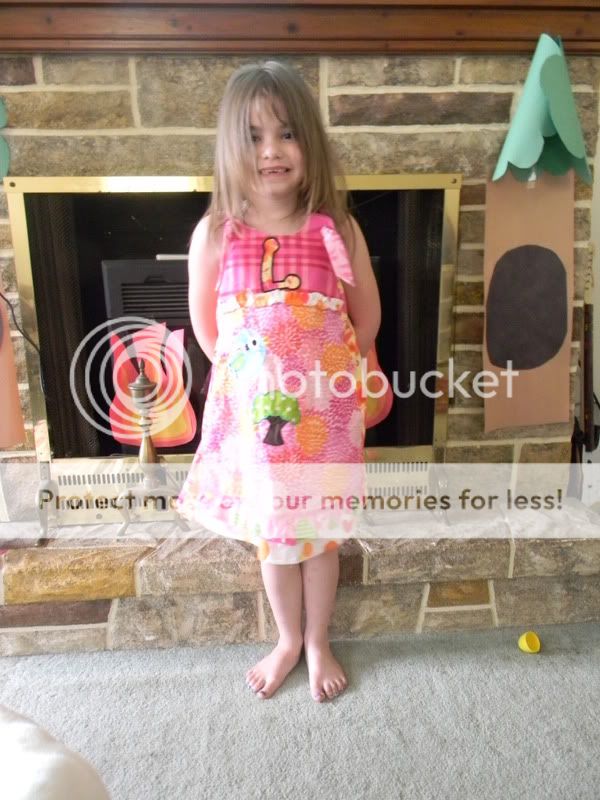


 The bodice came out so small that I don't think it will even fit my 4 year old niece.
 That looks beautiful!!!!