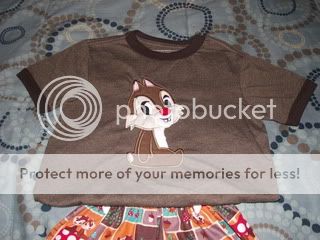
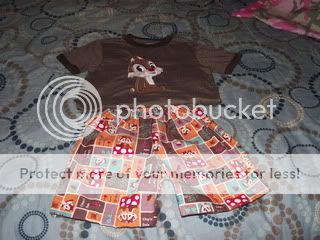
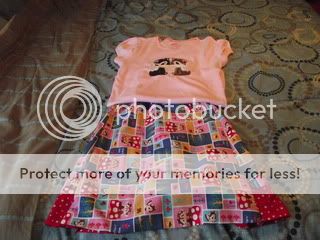
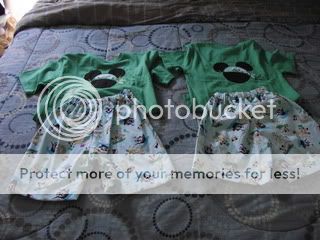
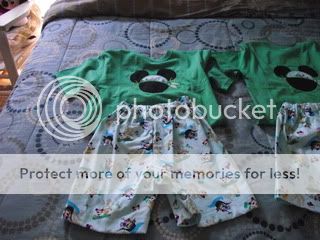
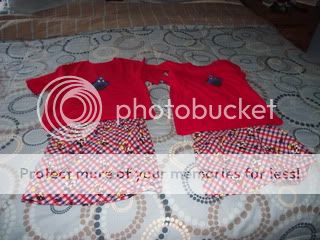
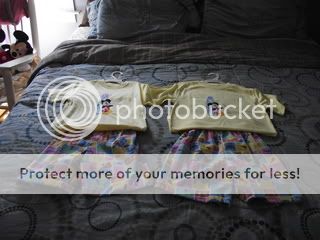
These are the easy directions I wrote up for a fellow Diser. I am sure everyone makes the skirt differently however this is the way I make the skirt and have found it was very easy this way. I honestly have never once read the directions that came with the book or skirt because I, Well I hate to read directions for ANYTHING lol Im a trial and error kinda gal I guess. Anyway, here they are! I will be making some more of these skirts on Monday so if it would help anyone Id be happy to take some pictures while making it. Also, I am sure I can write up some easier directions for the feliz with pics as well but there is already a good tute for that one but hey if it helps IM willing to make a go at it, just let me know! I do do several things differently then the patterns but they are only to make it easier!
First determine your size. I strongly suggest using measurments and not so much the size of the skirt because there is not much wiggle room in these as they do not have any give that the hips and not much room to stretch at the waist at all!
Cut out 4 of each of the skirt top and skirt bottom pcs. (8 total 4 for the top layer 4 for the bottom layer)
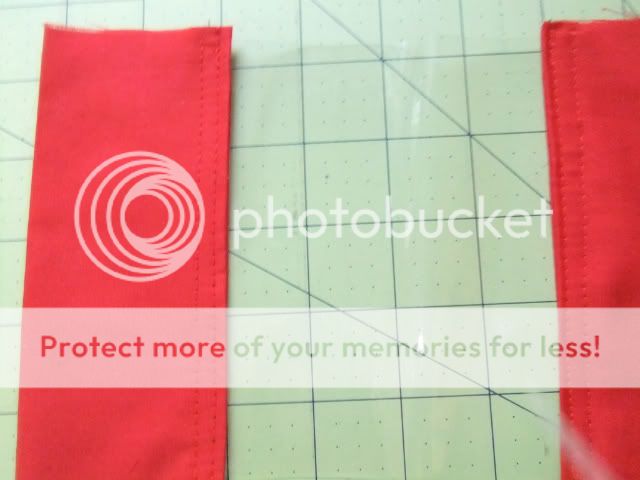
Cut out the waist band. I ALWAYS cut then in half. The waistband is huge but I am not a huge fan of larger drop waists so I use the pattern pcs as a template but I cut it in half length wise
")
so it does not reach my daughters ankles!
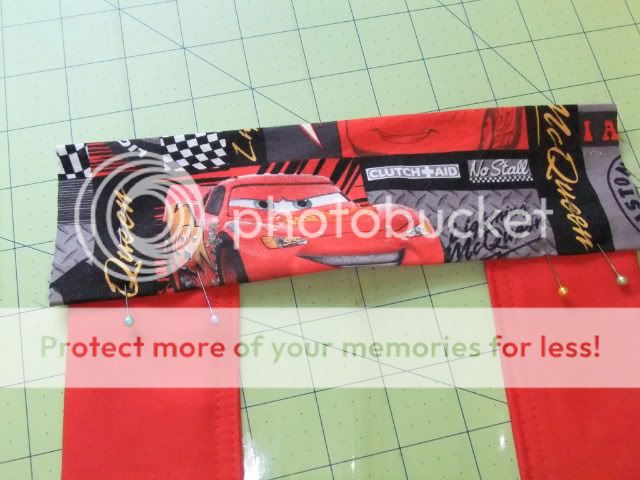
Once you complete this you will finish the sides of all 4 of your top and bottom pattern pcs. I have a serger and I just do the sides of each pcs.
You then sew the 4 top layer skirt pcs together with your sewing machine then do the same for the bottom.
Press the seams open and topstitch each to the side of the panel.
Sew your waistband together at the sides to form a circle.
I always do the casing for the elastic here because i think it is easier
So I finish the top edge of the waistband and then I fold it over depending on the size elastic I am using and stitch it in place leaving a small opening for the elastic to go in.
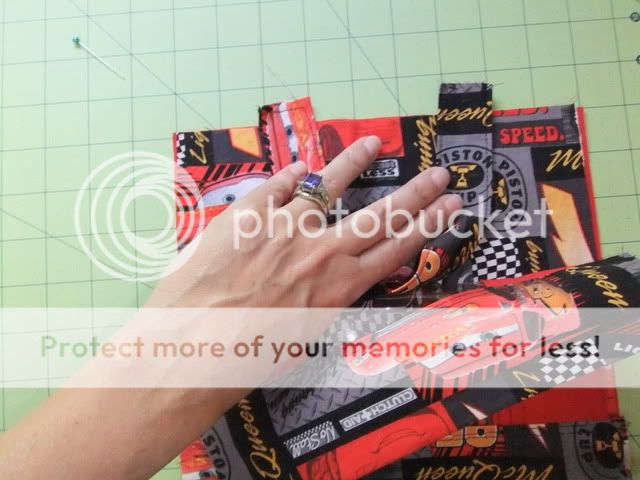
Now here is where you need to pin pin and pin some more.
You will take the top layer of the skirt and place it overtop of the bottom layer with the wrong side of the top layer facing the right side of the bottom layer (Basicly how it will look when it is finished. I normally use a basting stitch and stitch them together to avoid one slipping out on the next step.
Next you will turn the waistband inside out and place the wrong side of the waistband over top of the right side of the skirt portion with the raw edges touching.
I Sew it first then finish the seam. Press the seam allowence to the top and topstitch. INsert the elastic and sew up the hole.
You can choose to either finish with ruffles or hem. Either way it looks super cute!


 LOVE
LOVE")