crocko
DVC Member
- Joined
- May 19, 2009
Now that I've been on DIS for almost 3 months, I've read a lot of trip reports and spent some time over on the Photography Board and have definitely picked up some pointers after seeing so many great pictures.
So, on this trip, I tried to use a couple techniques I've seen to see how they turned out. Where possible, I'm going to post a "normal" picture. Which means, the type of picture that I would normally take and then the "DIS" picture. Which means the picture I took based on tips I've seen here on the DIS boards.
Make sure to let me know what you think....when I downloaded these last night, Bridgette REALLY liked them.
First.....from the middle of the store, at shot over at the IKEA logo on the right-hand side of the store.
Normal pic:

DIS pic:

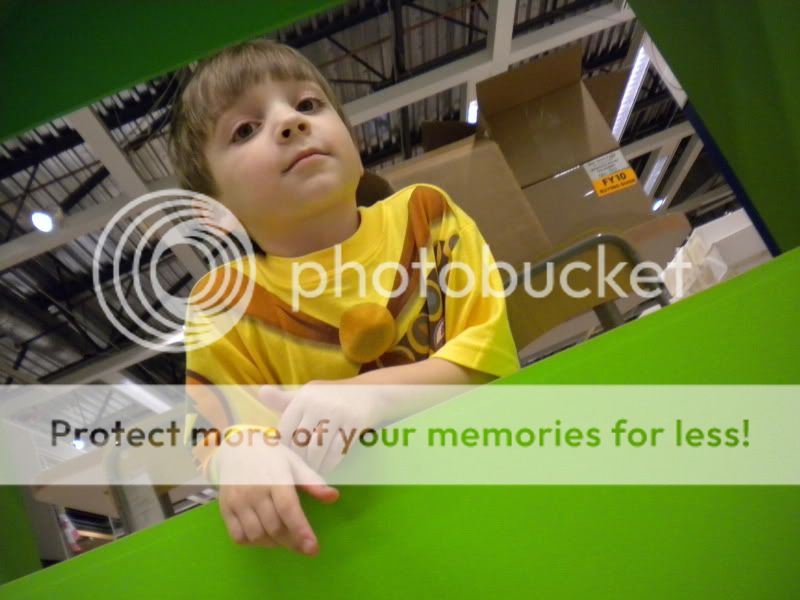
Inside the store, I had Joshua stand near the play area where you're supposed to measure yourself to see if you fit the height requirements.
Normal pic:

DIS pic:

Later....pictures over at the PlayHouse area in the middle of the store.
No normal pic, but imagine a straight ahead, eye-level photo, or even a straight photo from my standing vantage point down to where Joshua would be.
DIS pic:
Last, comes the STAR picture of the weekend (the picture that has become our new computer wallpaper at home). As seen in the TR post, the kids sitting outside of Mary's house.
Normal pic (kids in the center):
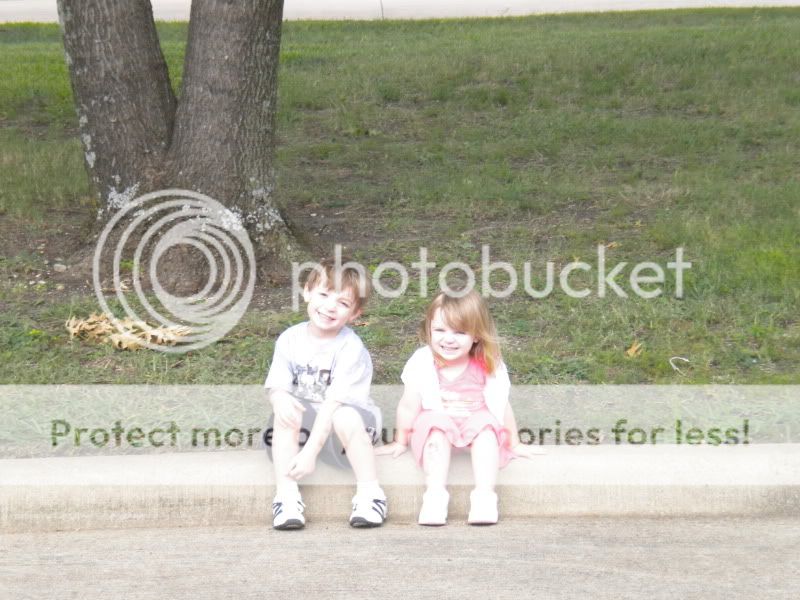
It is a good pic, but again...has a very normal feel to it.
DIS pic (focused my center on being between the tree and the kids....putting the kids actually off-center):
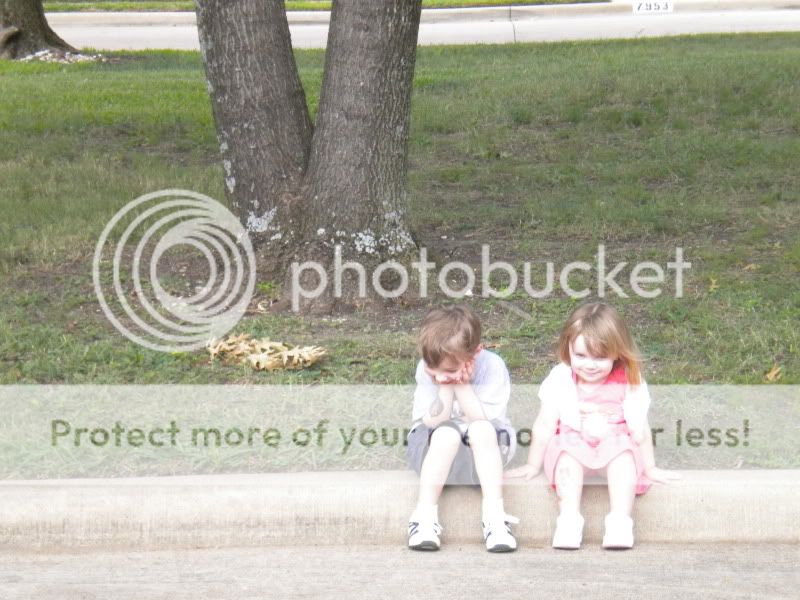
IMO, picture turned out great! Completely helped by the wonderful poses I managed to catch the kids with. Joshua, looking down and to the side while laughing about something and then Samantha, head down a little but eyes looking up ahead with a cute and sassy smile on her face.
Good chance we get that one printed as an 8x10(ish) and ends up hanging up in our house at some point.
Again, let me know what you think......I'm a very amateur picture-taker, but trying to learn from all you guys' great Disney pictures.
So, on this trip, I tried to use a couple techniques I've seen to see how they turned out. Where possible, I'm going to post a "normal" picture. Which means, the type of picture that I would normally take and then the "DIS" picture. Which means the picture I took based on tips I've seen here on the DIS boards.
Make sure to let me know what you think....when I downloaded these last night, Bridgette REALLY liked them.
First.....from the middle of the store, at shot over at the IKEA logo on the right-hand side of the store.
Normal pic:
DIS pic:
Inside the store, I had Joshua stand near the play area where you're supposed to measure yourself to see if you fit the height requirements.
Normal pic:
DIS pic:
Later....pictures over at the PlayHouse area in the middle of the store.
No normal pic, but imagine a straight ahead, eye-level photo, or even a straight photo from my standing vantage point down to where Joshua would be.
DIS pic:
Last, comes the STAR picture of the weekend (the picture that has become our new computer wallpaper at home). As seen in the TR post, the kids sitting outside of Mary's house.
Normal pic (kids in the center):
It is a good pic, but again...has a very normal feel to it.
DIS pic (focused my center on being between the tree and the kids....putting the kids actually off-center):
IMO, picture turned out great! Completely helped by the wonderful poses I managed to catch the kids with. Joshua, looking down and to the side while laughing about something and then Samantha, head down a little but eyes looking up ahead with a cute and sassy smile on her face.
Good chance we get that one printed as an 8x10(ish) and ends up hanging up in our house at some point.
Again, let me know what you think......I'm a very amateur picture-taker, but trying to learn from all you guys' great Disney pictures.
 I especially like the one of the kids off-center. And the first one of IKEA--with the signs and part of the parking lot. Very cool. I know you probably won't want to lay down at Disney World, but one thing I learned in my photography class in college was Find the Right Angle. Sometimes, that means laying down on your back. Sometimes that means standing on a table, sometimes that means looking through something at something else... Endless possibilities!
  I feel so DIS clueless. I know nothing about cameras except how to take a picture with regular point and shoot so I feel overwhelmed when I go to the board... but I really like those DIS pictures, especially the one with your kids on the curb- that one's really cute.
 ) When we ask Myles what his favorite part of Epcot was he will always say Kim Possible. He can't wait to go back and do the rest of the missions.


")
")

 it's almost time!!!