andrewilley
GNU Terry Pratchett
- Joined
- Oct 17, 2007
Over the years I've taken a number of bracketed RAW exposures at Disney (especially night-time shots) for later HDR processing. But no matter how hard I try, I can never seem to get results I'm happy with (using Photomatix). I find white balance is especially difficult to get right from raw images. In almost all cases, I find I'm happier with the results I get from a fairly basic Photoshop or Lightroom adjustment of the correct-exposure raw file.
Could the assembled experts here maybe give me a few pointers as to how they go from their bracketed raw images to a final HDR image (in terms of common Photomatix adjustment levels, etc)?
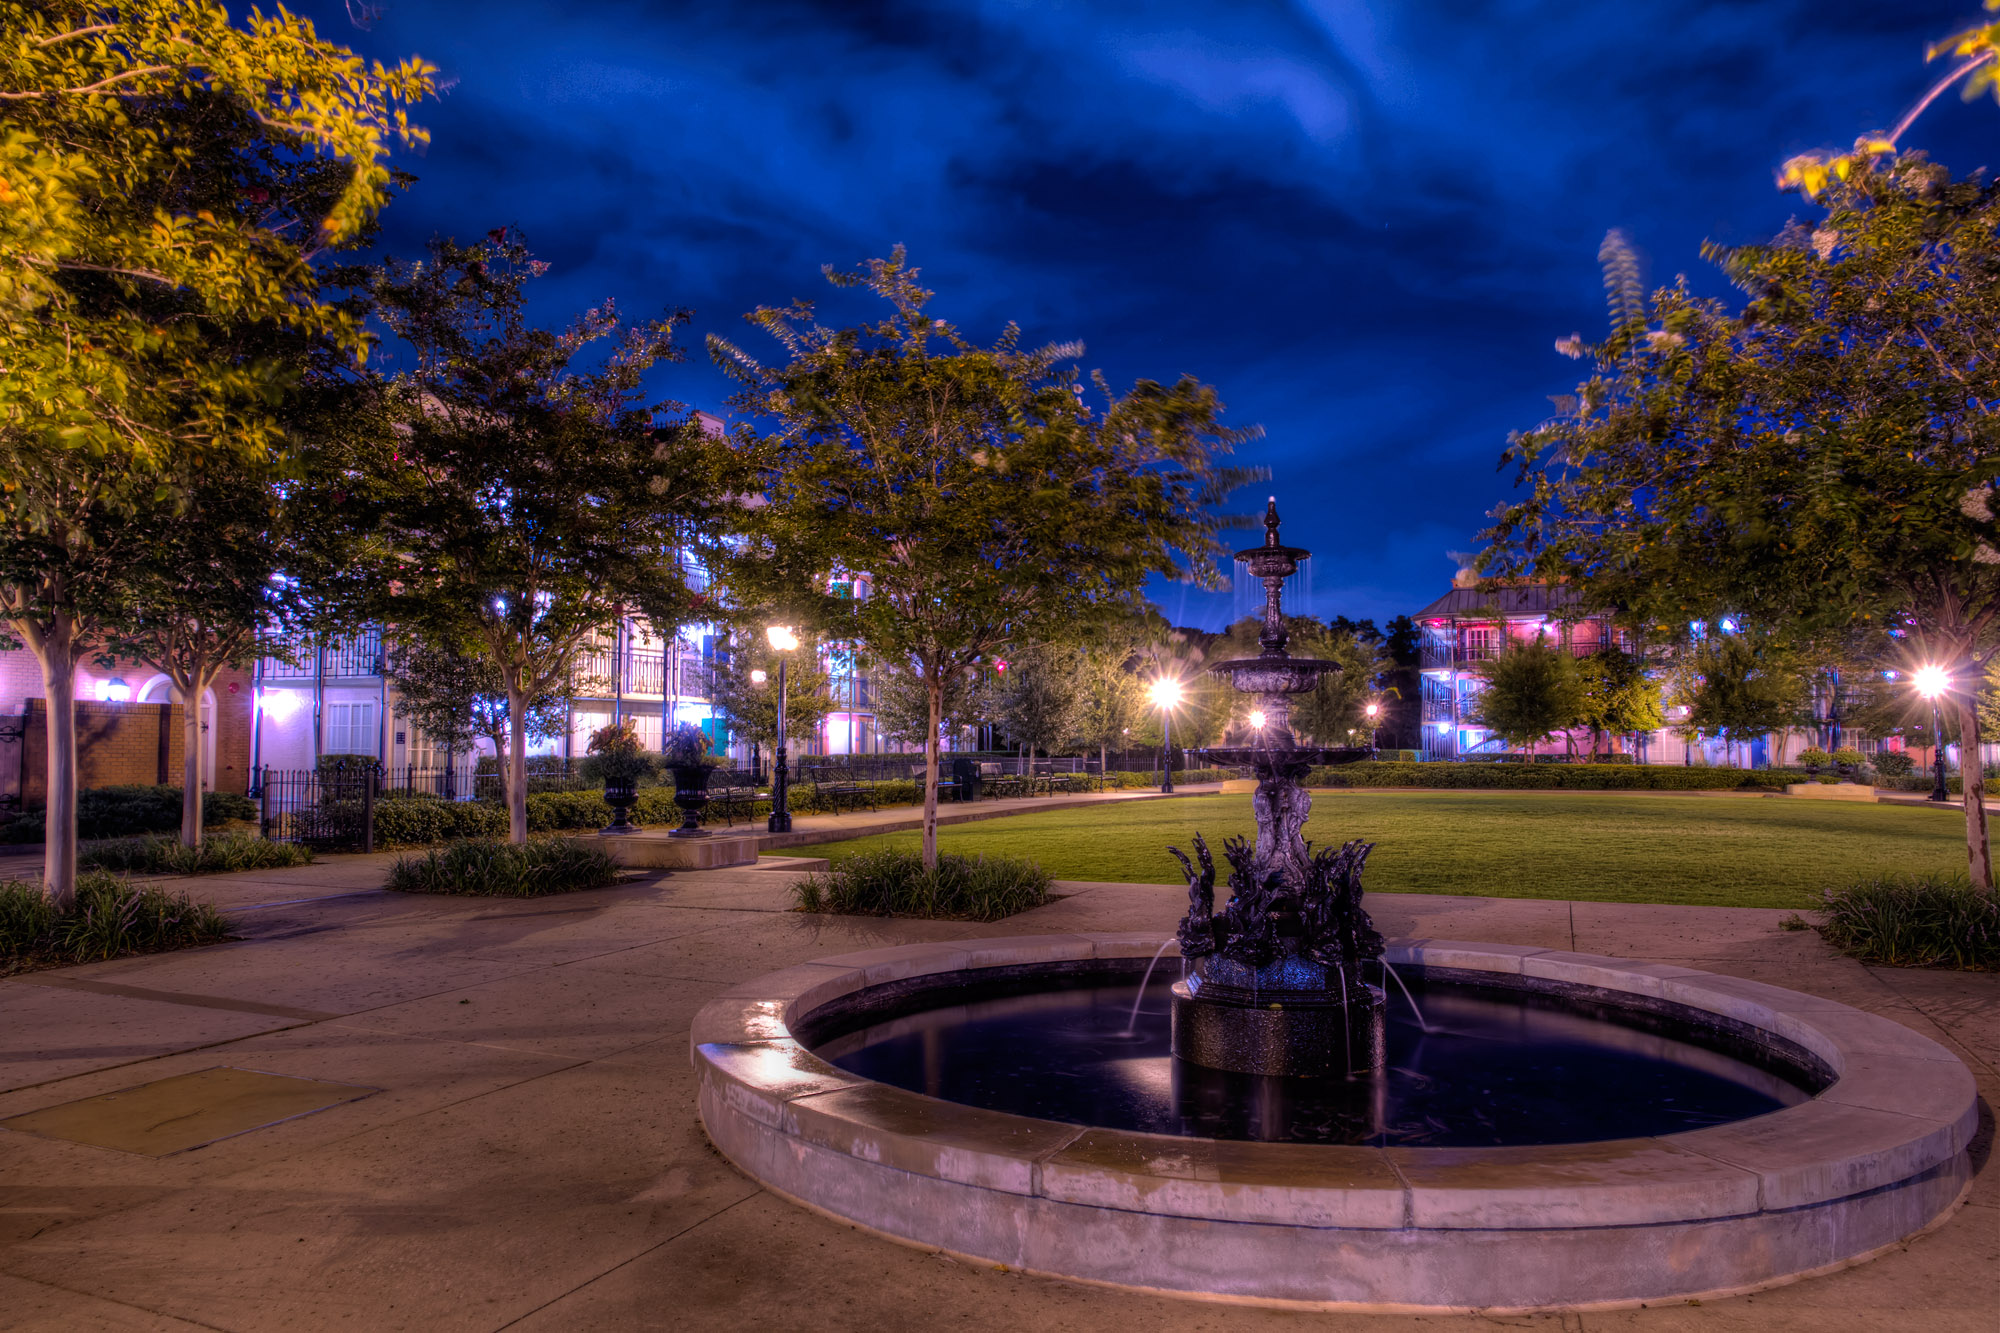
If anyone wants an example, the following is an image I made using Adobe Camera-RAW processing from the middle-exposure of a bracketed three-image set (6 sec, 20 sec and 30 sec shutter speeds), without any HDR work:

[Link to full-sized TIFF]
However I can get nowhere near to what I'm looking for in Photomatix. Anyone got any suggestions, or maybe could have a play around with my source files and see if they can do better? Or is there not enough exposure range in the source files perhaps?

[Link to source raw CR2 file]

[Link to source raw CR2 file]

[Link to source raw CR2 file]
Andre
Could the assembled experts here maybe give me a few pointers as to how they go from their bracketed raw images to a final HDR image (in terms of common Photomatix adjustment levels, etc)?
If anyone wants an example, the following is an image I made using Adobe Camera-RAW processing from the middle-exposure of a bracketed three-image set (6 sec, 20 sec and 30 sec shutter speeds), without any HDR work:
[Link to full-sized TIFF]
However I can get nowhere near to what I'm looking for in Photomatix. Anyone got any suggestions, or maybe could have a play around with my source files and see if they can do better? Or is there not enough exposure range in the source files perhaps?
[Link to source raw CR2 file]
[Link to source raw CR2 file]
[Link to source raw CR2 file]
Andre


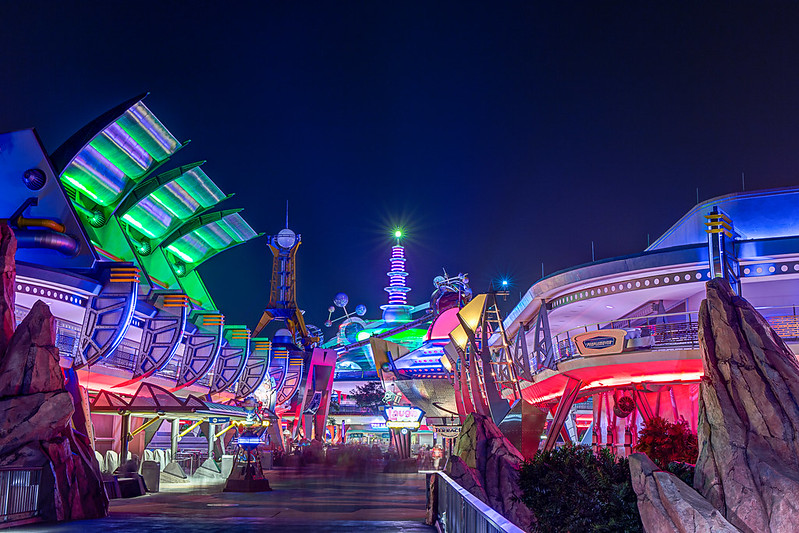 Entering Tomorrowland
 but your source images don't have enough difference in exposure IMHO, perhaps ensure that you use at least 2 stop intervals, always shoot in RAW, make your lens corrections and ensure you match your WB in LR before sending them to PHotomatix. I've built all my presets in PM to reduce saturation, add blacks, and never push it too far that it glows at the edges. Keep shooting when you get a result you like save the preset, you can always adjust them from there....