I see some versions really seem to show the brush strokes and others not at all. Is this a technique thing or type of polish or just good camera work?
I've done several now and it comes down to:
1. Quality polish - if you use the $1 stuff, you're going to get a $1 result. The better quality polishes (I eventually used Essie) did better in my tests. Also, do not use any kind of "quick dry" polish, that just makes it harder to spread evenly before it gets tacky.
2. Fresher polish - if it's old and thick, it's going to be hard to spread without leaving brushstrokes.
3. Multiple coats - the first coat will have thin spots, just like it would on your fingernails. Three coats is what I do on the base background of the band. Three should be enough, if the polish is good quality.
4. Use a lot of polish when you load the brush. If you push it against the bottle neck to remove most of it (like you do when painting your fingernails), it's going to go onto the band very thin and dry very very fast. Goop that stuff on like you never would on your nails!
5. Work in small areas. Just like painting a wall - don't try to brush half the band in one swipe, do a spot, coat it well, overlap the next spot, etc.
6. Be patient between coats. Really doing a band right takes repeat visits - I let every coat dry for an hour before going back with another. Then I wait a day before I start using super glue to attach things.
Top Coat polishes (including any brands that boast an included top coat) are not such a great idea. They tend to crack instead of remaining flexible. I use clear top coat only in small spots, usually over the top and around the edges of rhinestones and other artwork as an extra layer of insurance to keep the item attached to the band (I use super glue, attach the item, let that dry, and then glom clear polish around the edges of it and atop it to protect and hold it).
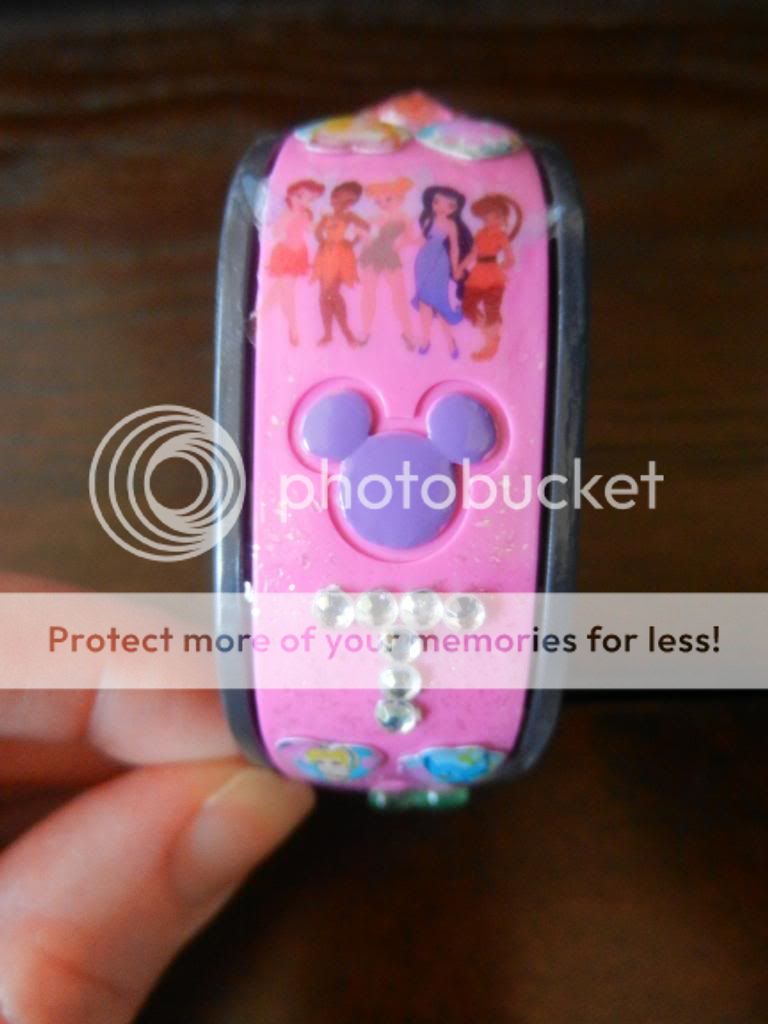
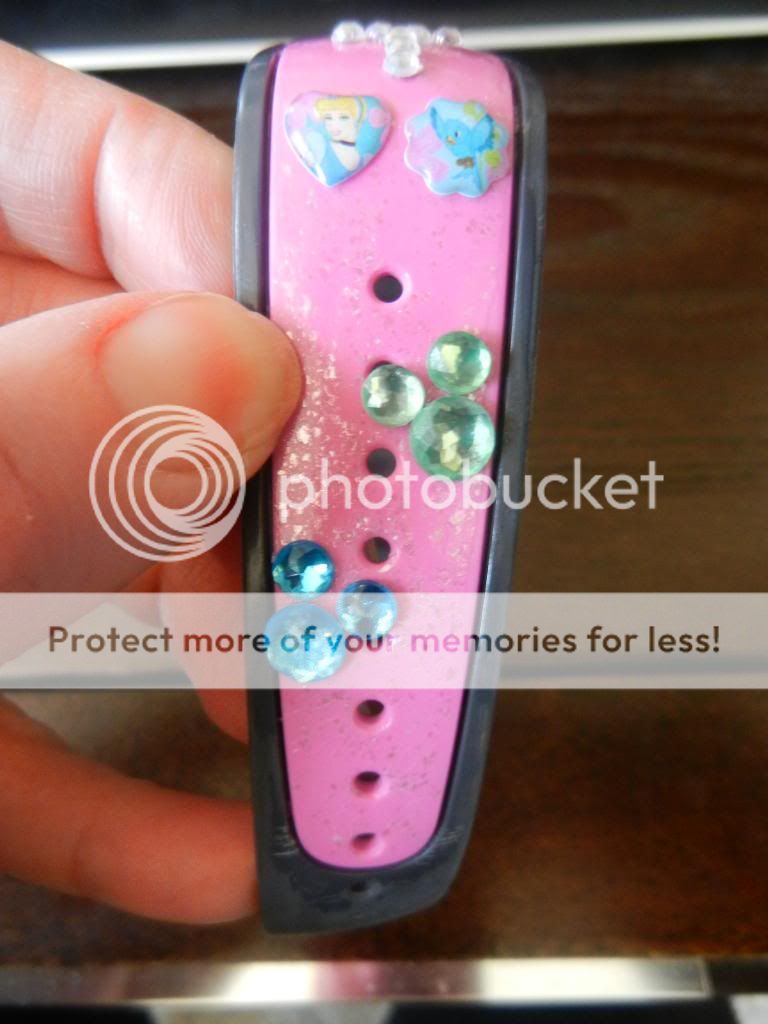
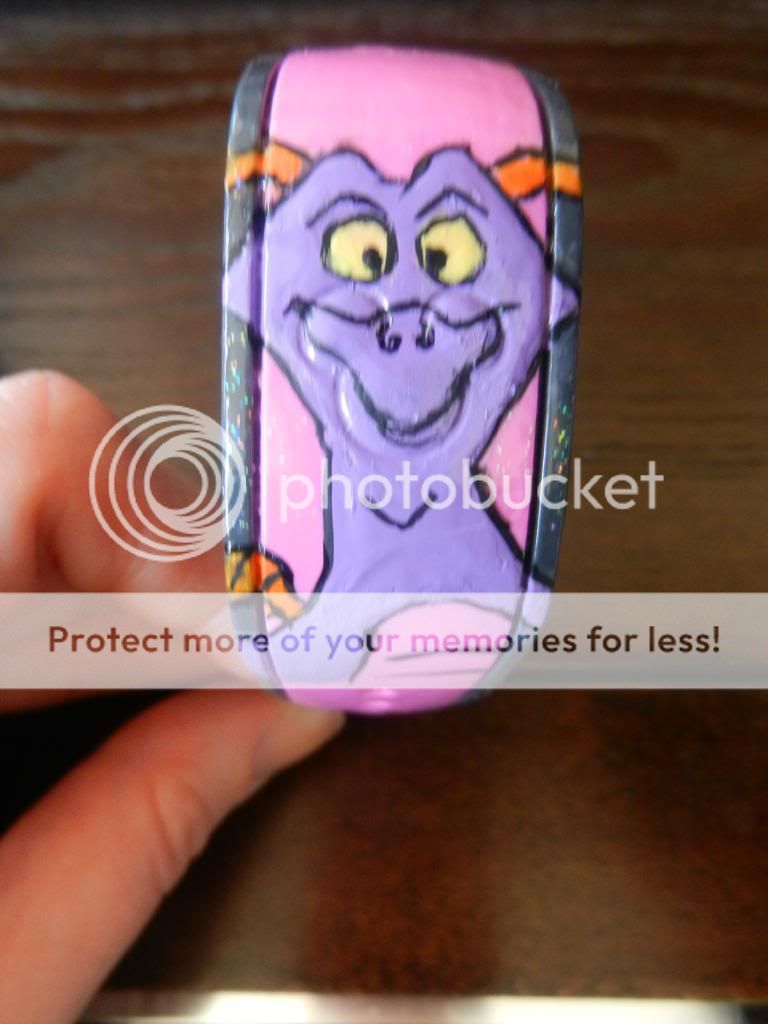
I'll try to get photos uploaded soon. I've got a couple of full-on polished bands that turned out well, and held up well in the parks for a week. None of the attached bling fell off them and even a few dings against concrete walls and such didn't damage the polish. The only thing I haven't done yet is swim in them.

")