Photo Sharing: Photoshop Wonders

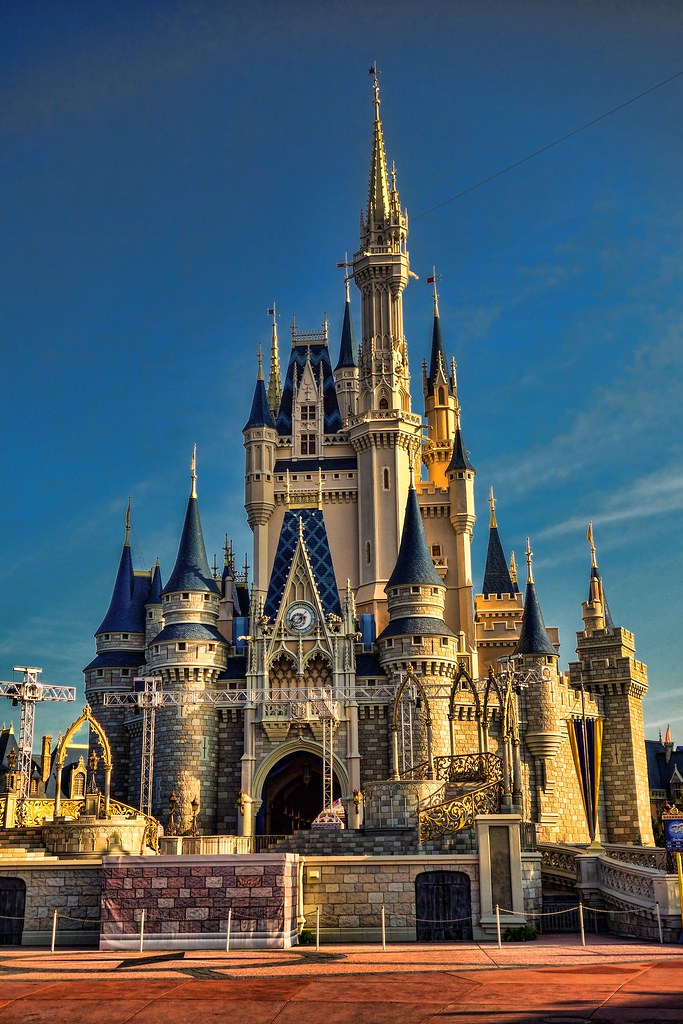
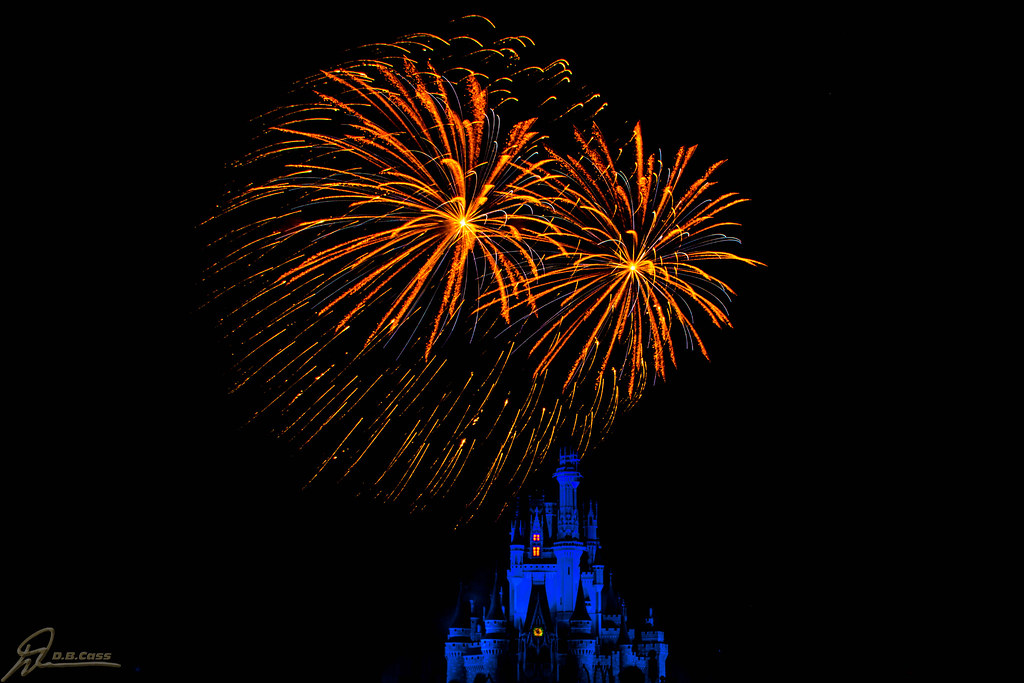
Is there an online reference to do some of the Photoshop techniques I've seen in this thread? I have PS Elements 10. I took some Wishes pictures from the TOWL at BLT. I read on the DISboards to take pics of the castle before the fireworks because if you leave your shutter open long enough to get a nice shot of the fireworks, then the castle would be blurry due to it changing colors and being over exposed. I took the pre-fireworks pic of the castle and then took pics of the fireworks with a ND filter, tripod and leaving the shutter open 5-10 seconds. Separate they are decent pics but I want to put them together. Where can a novice go to learn how to do this? TIA and keep your pics coming. In the immortal words of Tony the Tiger, "They're great!"
 
Is there an online reference to do some of the Photoshop techniques I've seen in this thread? I have PS Elements 10. I took some Wishes pictures from the TOWL at BLT. I read on the DISboards to take pics of the castle before the fireworks because if you leave your shutter open long enough to get a nice shot of the fireworks, then the castle would be blurry due to it changing colors and being over exposed. I took the pre-fireworks pic of the castle and then took pics of the fireworks with a ND filter, tripod and leaving the shutter open 5-10 seconds. Separate they are decent pics but I want to put them together. Where can a novice go to learn how to do this? TIA and keep your pics coming. In the immortal words of Tony the Tiger, "They're great!"
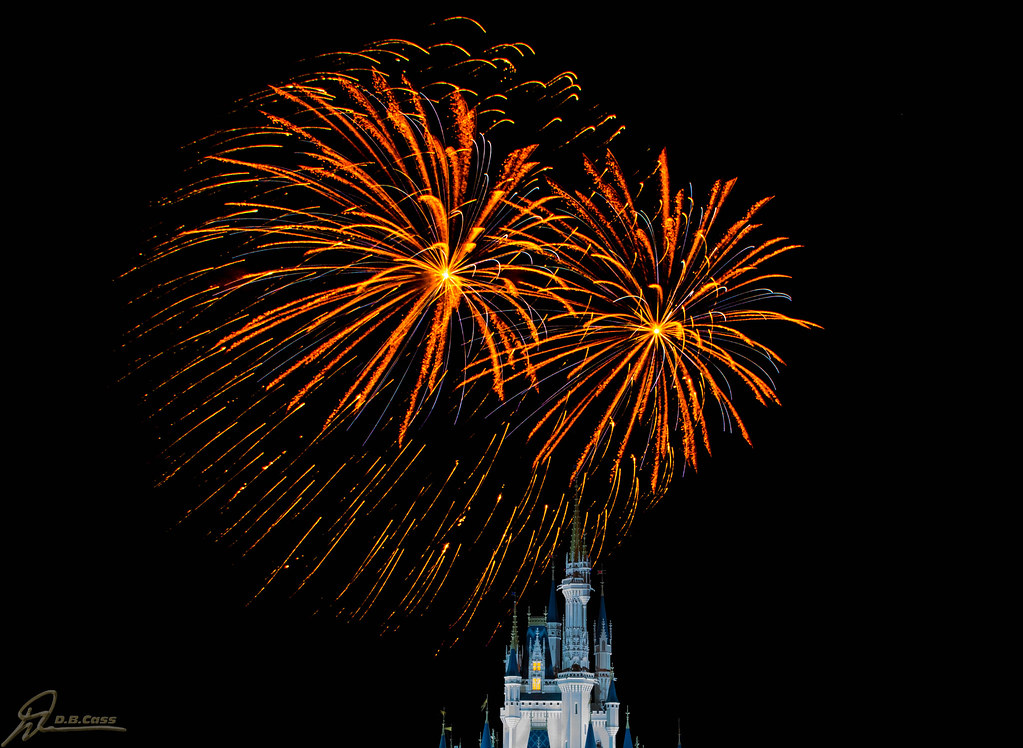
Here's a Wishes photo I took during our Easter trip. I liked it, but wished the castle wasn't quite so dark.


Wishes Fireworks by BirdsOfPreyDave, on Flickr

So I processed it as you describe, above. I took a picture from earlier in the day and did some compositing. I use Photoshop CS6, but I would think the procedures would be the same in Elements.

First, I used the various selection tools to select the top spires on the castle from the pre-Wishes castle photo, and copied it into the fireworks picture. I then used the free-transform and move tools to stretch the new castle to the same size and position as the castle in the fireworks. Even though I had the camera on a tripod and hadn't moved it between shots, I wasn't able to get both castles to line up perfectly. I had to use the brush, clone stamp, and spot-healing brush tools to erase the old castle where it was showing.


Wishes Fireworks by BirdsOfPreyDave, on Flickr

While I like the looks of the second one much better, it's easy to get caught in having manipulated the photo. A real Disney aficionado will recognize that the castle is never lighted like this when the fireworks are actually going off.
 
Just started playing with Photoshop. Still learning my way around the software (not sure I'll ever figure it all out) but by trying various things I've come up with this.

Original:
282948_3951147424533_1430876333_n.jpg


Simple Chrome Filter:
600865_3951146864519_1563643773_n.jpg


And perhaps the one I like the best:
603117_3951146424508_588800401_n.jpg


Now if I could just remember what I did to that third one. :rolleyes1
 
Stupid boaters... :rotfl2:

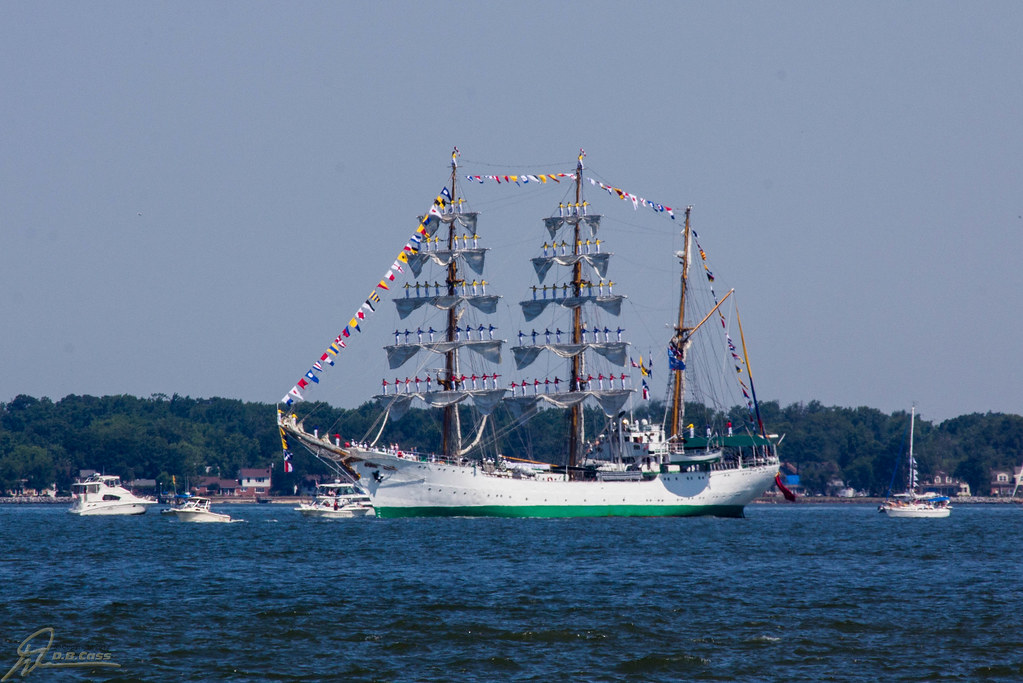
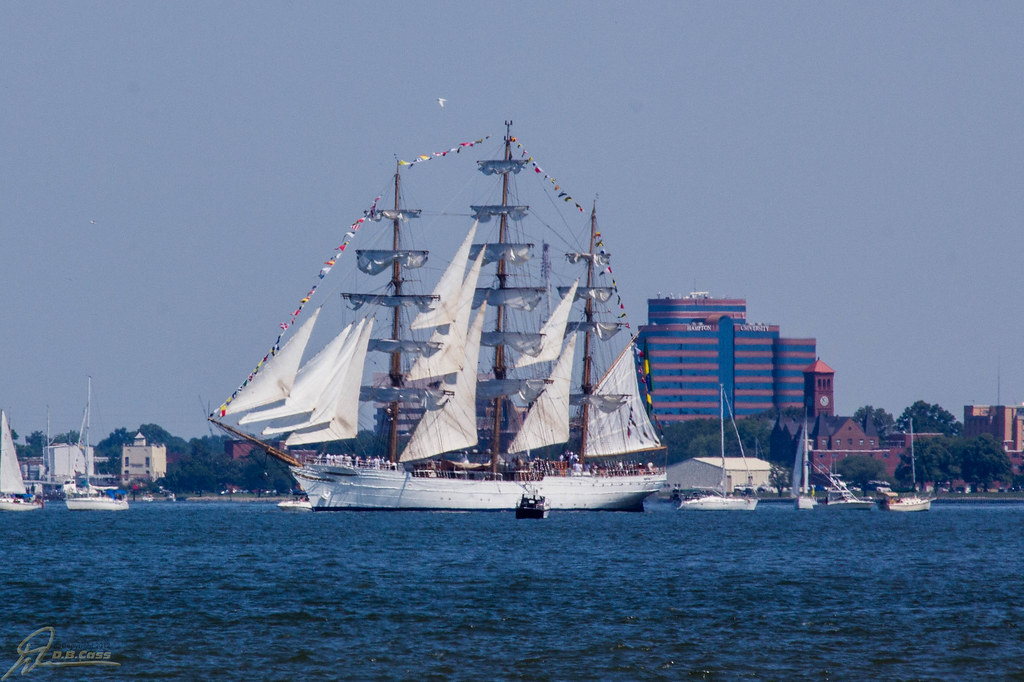
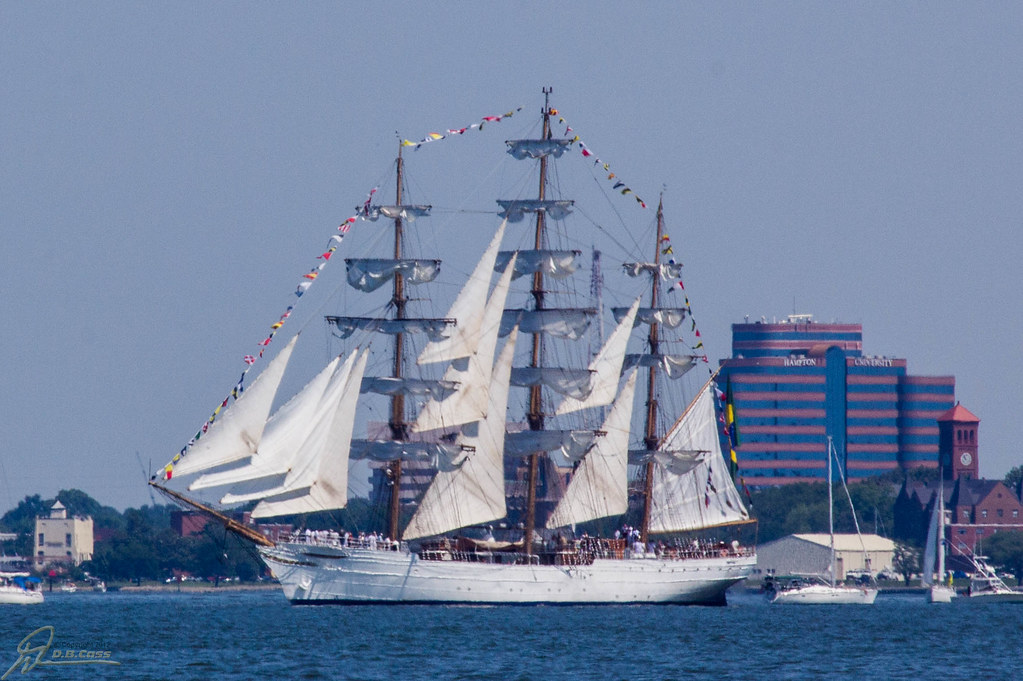
I got some great shots of the tall ships, but didn't like the small boats that got in the way. Here are some before/afters:


_MG_6432.jpg by BirdsOfPreyDave, on Flickr

became...


The Gloria from Columbia by BirdsOfPreyDave, on Flickr


_MG_6438.jpg by BirdsOfPreyDave, on Flickr

became...


Tall Ship Cisne Branco from Brazil by BirdsOfPreyDave, on Flickr

and


_MG_6462.jpg by BirdsOfPreyDave, on Flickr

became...


The Bounty, a replica built for the Marlin Brando movie by BirdsOfPreyDave, on Flickr

This was done mostly with the Clone Stamp Tool and spot healing brush.


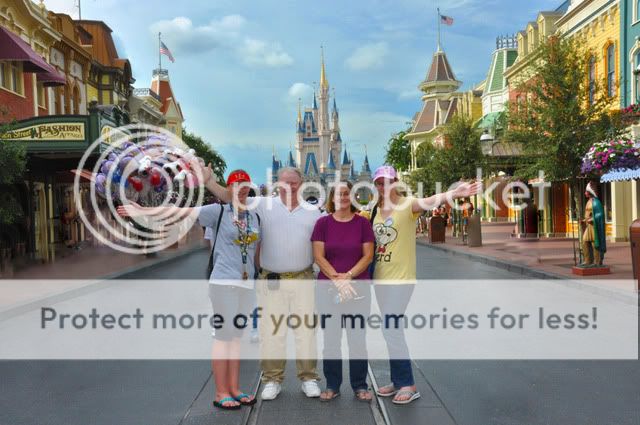
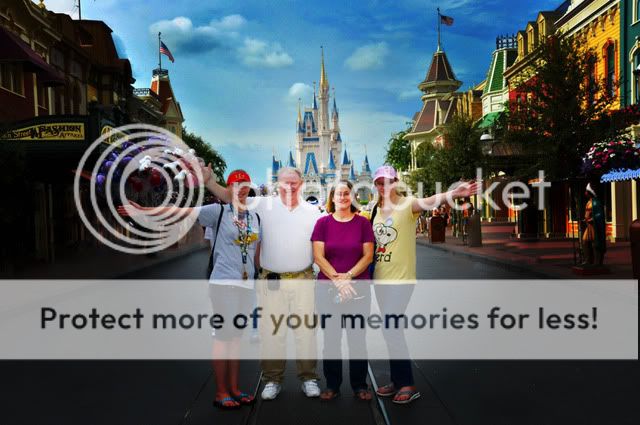
I thought that I would toss a few into the mix here.

Original
fe4c5dfc.jpg


Took out some of the distractions and made a few color adjustments
b78bfaa7.jpg


Added a gradient layer
1a8a17ff.jpg


Added another gradient just for fun.
9911711c.jpg


Not to be all sad, but isn't this the ship that Hurricane Sandy sank? If so, great picture to have!

Well, even if it wasn't that ship, it's still a great picture and great work. ;)
Yes, that's the HMS BOUNTY that sank during Hurricane Sandy.
 
I'm still learning. I pushed myself to do an actual portrait session this past weekend -- my first.

A friend's daughter is graduating from high school, and they asked me if I'd take a photo they can use for the party invitations. I haven't done a lot of practicing with portraits, and never anything with portrait lighting techniques. I saw this as a good opportunity for both camera work and photoshop skill building.

I watched Scott Kelby's Light It. Shoot It. Retouch It. -- On a Budget with Hot Shoe Flash video on www.kelbytraining.com as a starting point. I can't tell you how helpful this video was. I wish I'd watched it a second time before the shoot, though, as I forgot a few of the key points. The big one was forgetting that the camera should be in manual mode. I had it in aperture priority mode. This worked out fine for the outdoor shots, but gave me a lot of problems with the indoor shots.

I shot with a Canon 5D Mark III with Canon EF 24-105mm f/4 IS lens and a Canon 430EX II flash w/ 24" x 24" softbox.

The tips in the Kelby video on retouching were also wonderful. I watched the video again while I was doing the retouching; pausing and practicing each step along with him.

Here's a before and after of the shot my friends are actually going to use.


Abbie Before Retouch by BirdsOfPreyDave, on Flickr
(This is a SOC JPEG)


Abbie by BirdsOfPreyDave, on Flickr

Here's the workflow as I remember it:

In Lightroom:

- Imported the RAW file from the camera

- Adjusted overall exposure and contrast

- Used the brush to lower exposure on everything in the background

- Used the brush to lower highlights on everything in the background

In Photoshop:

- Used the healing brush to remove skin blemishes and lint from the jacket

- Created a layer in "screen" mode w/ a black mask. Painted in whites of eyes and teeth to brighten. Set opacity of the layer in the 40% range.

- Used the same technique to create a layer to brighten the iris of the eyes, brushing a "U" shape on the bottom of the irises.

- Used the same technique to brighten highlights in her hair.

- Used the patch tool, healing brush, and clone tool to remove a flag pole and two light towers from the background to de-clutter it. (In retrospect, I'm not sure why I didn't remove the second flagpole and the remaining lamppost.)

- Created a layer, ran the highpass filter with the radius set at 9 pixels. Changed the mode of the layer to soft light, then inverted the layer. Masked it to just the skin on her face and chest. This softened the skin.

- Created a layer and ran Nik Color Efex Pro 3. Applied polarization, glamour glow, sunlight, and vignette: lens filters. (I didn't have an orange gel to use on the lens when shooting, but the sunlight and vignette filters in Color Efex Pro allowed me to add some of that color. Looking at the photo, today, I think I went a little too heavy with the vignette in the upper-right corner.)

Back in Lightroom:

- Uploaded to the web, adding the signature/watermark

Critiques and suggestions are welcome!
 
I thought that I would toss a few into the mix here.

Original
fe4c5dfc.jpg


Took out some of the distractions and made a few color adjustments
b78bfaa7.jpg


Added a gradient layer
1a8a17ff.jpg


Added another gradient just for fun.
9911711c.jpg

Very nicely done "surgery". I have had to do similar operations on WDW shots as well!
 

GET A DISNEY VACATION QUOTE

Dreams Unlimited Travel is committed to providing you with the very best vacation planning experience possible. Our Vacation Planners are experts and will share their honest advice to help you have a magical vacation.

Let us help you with your next Disney Vacation!


facebook twitter
Top