poohnpigletCA
DIS Veteran
- Joined
- Apr 3, 2008
Hi all I did not want to bog down disboutiquers with this many pictures so I am starting a thread (if this is the wrong place please move.)
I am not a professional tutu or bow maker. I make them for my girls and the BIG GIVE. I have been getting PM's and emails asking for instructions so I thought I would post pictures.
If you make tutu's or bows and have helpful hints please post away.
The Traditional tutu:
TO USE TULLE FROM A BOLT (FLAT TULLE) GO TO POST 40.
This is an easy to make tutu. I originally made these as a party favor for my girls Birthday.
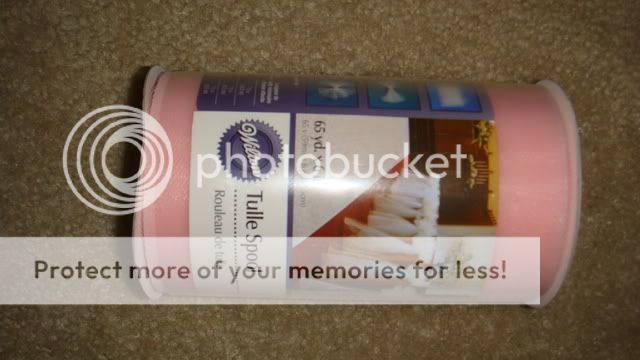
You will need about 3 6 inch x 25 yards of tulle. This will work for about an 8 yo and younger. For older girls just buy more tulle.

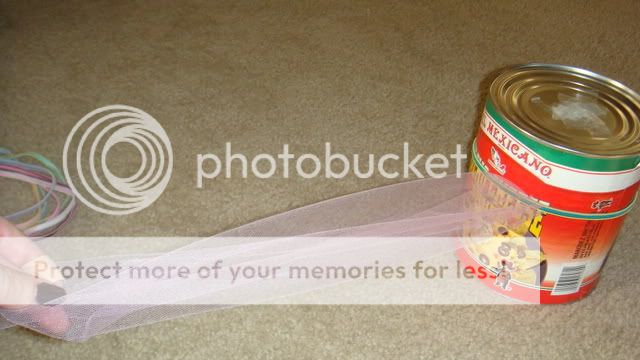
You will also need hair bands. They can be found at Target or Walmart. I have found that the child size ones as pictured above work better than the black adult ones (they tend to roll). I use hair bands for the waist. much easier than cutting and measuring elastic.
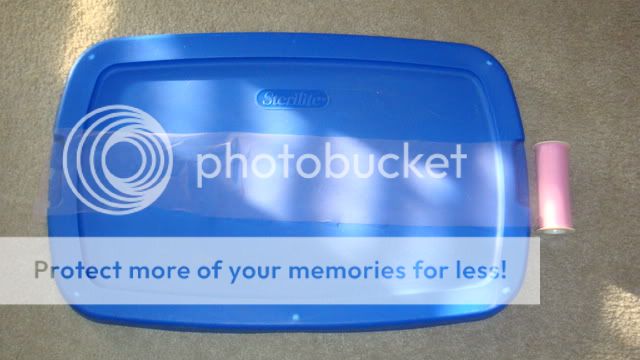
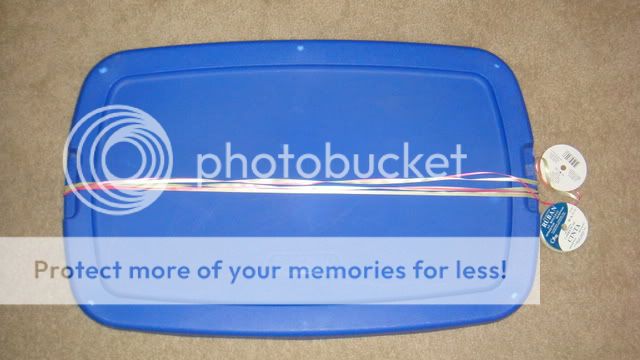
To measure and cut the tulle look around your house for something in your desired length. This storage lid is approximately 33 inches. This will be floor length on a 2 year old. I will show this length pictured on a 4 & 7 year old. For 2-4 years you want about 28 inches. Tape one side of the tulle unto the lid.
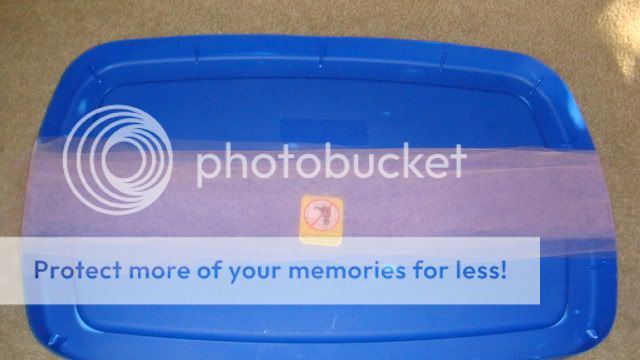
Now pick up the lid and spool the entire roll of tulle onto the lid.

Cut the tulle on both ends.

You will now have a nice stack of cut tulle strips.
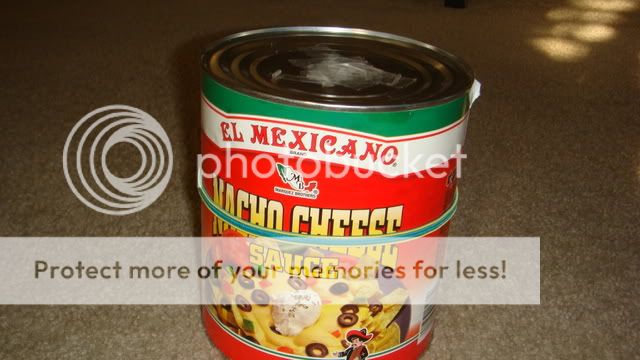
Place your head band around a large circular item, a dress for if you have one, a large can of coffee or Nacho Cheese.
Place the tulle under the hairband and pull it half way.
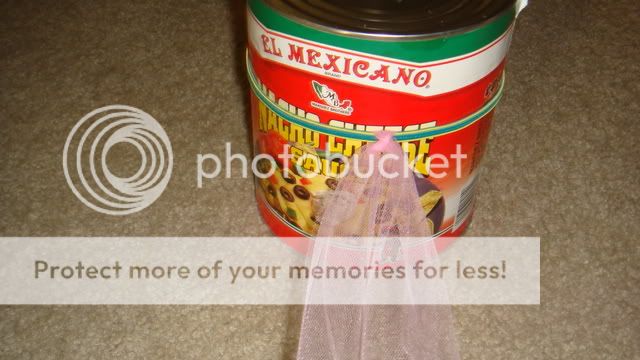
Tie one loose knot so as not to stretch out the elastic, then tie a tighter knot.
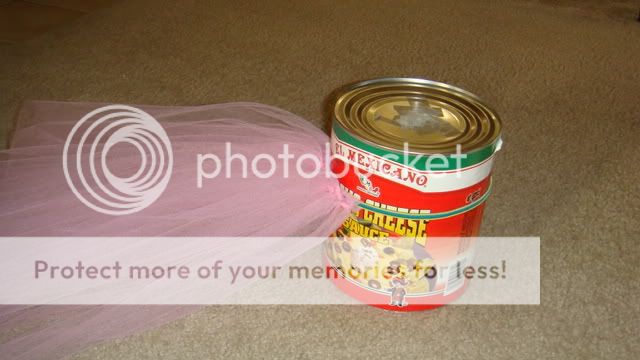
Keep doing this all the way round. Here is 15 strips.
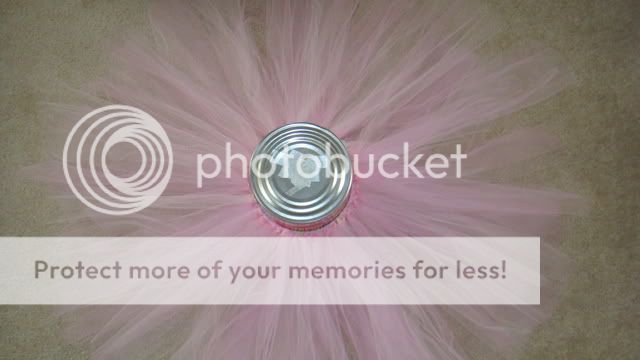
Once you have finished try it on your child. If you add to much tulle (like 4 spools) it might stretch out the elastic and be to large.

Here is your finished tutu on a 4 year old.
Embellishing your tutu:
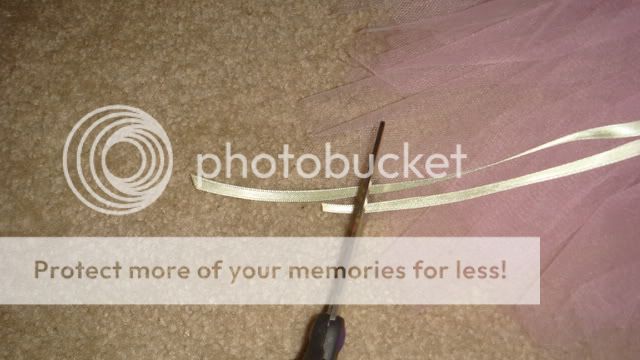
Use the same method to cut your ribbon. Your ribbon is now the same length as your tulle.
Double tie off your ribbon just like you did with the tulle.
Once you knot if one side come out longer simply trim both pieces together.

I start on one side of the tutu and then add a ribbon to the opposite side.

I use a North, South, East, West method with the ribbon.

Once you have added all of your ribbon the top of the tutu should look like this.
Now you cut a long piece of tulle about 70 inches long. We are going to be wrapping the top of the tutu so that you do not see the headband underneath.

You take your strip of tulle and make the left part match the length of the other pieces, tie one knot. Now take the tulle in your right hand (if you are right handed) you are going to go all the way around. Loop the tulle in between each knot that is on your tutu. Above and below keep looping.

Go all the way around the tutu when you get back to the beginning tie your second knot and you are done.

This is how a wrapped tutu will look. You can do this step with the matching tulle or satin ribbon.

By hot gluing 1 inch acrylic pom pom that you get at the craft store you can make a "Minnie" looking tutu.
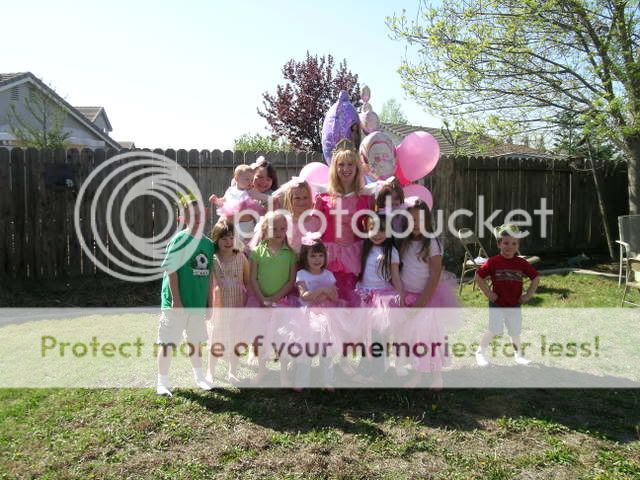
These are the tutus I made as party favors.
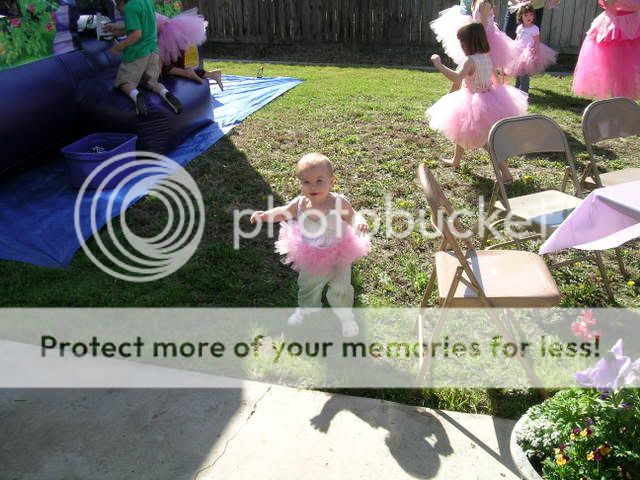
I used about 15 inches of tulle for the little girls. I also tied it to grosgrain ribbon instead of the head band.
I am not a professional tutu or bow maker. I make them for my girls and the BIG GIVE. I have been getting PM's and emails asking for instructions so I thought I would post pictures.
If you make tutu's or bows and have helpful hints please post away.
The Traditional tutu:
TO USE TULLE FROM A BOLT (FLAT TULLE) GO TO POST 40.
This is an easy to make tutu. I originally made these as a party favor for my girls Birthday.
You will need about 3 6 inch x 25 yards of tulle. This will work for about an 8 yo and younger. For older girls just buy more tulle.
You will also need hair bands. They can be found at Target or Walmart. I have found that the child size ones as pictured above work better than the black adult ones (they tend to roll). I use hair bands for the waist. much easier than cutting and measuring elastic.
To measure and cut the tulle look around your house for something in your desired length. This storage lid is approximately 33 inches. This will be floor length on a 2 year old. I will show this length pictured on a 4 & 7 year old. For 2-4 years you want about 28 inches. Tape one side of the tulle unto the lid.
Now pick up the lid and spool the entire roll of tulle onto the lid.
Cut the tulle on both ends.
You will now have a nice stack of cut tulle strips.
Place your head band around a large circular item, a dress for if you have one, a large can of coffee or Nacho Cheese.
Place the tulle under the hairband and pull it half way.
Tie one loose knot so as not to stretch out the elastic, then tie a tighter knot.
Keep doing this all the way round. Here is 15 strips.
Once you have finished try it on your child. If you add to much tulle (like 4 spools) it might stretch out the elastic and be to large.
Here is your finished tutu on a 4 year old.
Embellishing your tutu:
Use the same method to cut your ribbon. Your ribbon is now the same length as your tulle.
Double tie off your ribbon just like you did with the tulle.
Once you knot if one side come out longer simply trim both pieces together.
I start on one side of the tutu and then add a ribbon to the opposite side.
I use a North, South, East, West method with the ribbon.
Once you have added all of your ribbon the top of the tutu should look like this.
Now you cut a long piece of tulle about 70 inches long. We are going to be wrapping the top of the tutu so that you do not see the headband underneath.
You take your strip of tulle and make the left part match the length of the other pieces, tie one knot. Now take the tulle in your right hand (if you are right handed) you are going to go all the way around. Loop the tulle in between each knot that is on your tutu. Above and below keep looping.
Go all the way around the tutu when you get back to the beginning tie your second knot and you are done.
This is how a wrapped tutu will look. You can do this step with the matching tulle or satin ribbon.
By hot gluing 1 inch acrylic pom pom that you get at the craft store you can make a "Minnie" looking tutu.
These are the tutus I made as party favors.
I used about 15 inches of tulle for the little girls. I also tied it to grosgrain ribbon instead of the head band.

")


")


